Start planking without shaking, sagging, or wrist pain: 8 beginner plank variations with form cues, smart progressions, hold-time ranges, and safety notes.
Plank Variations for Beginners: Build Up Safely
The plank looks simple: hold your body straight, breathe, wait. Yet for most beginners, the reality is shaking shoulders, a sinking lower back, and wrists that beg for mercy within twenty seconds. The problem is rarely your core — it is the starting point. Jumping straight into a full forearm plank is like starting with a heavy dumbbell on day one. The good news: plank variations exist for every fitness level, and a sensible progression takes you from a supported, pain-free position to a strong full plank in a matter of weeks.
This guide contains affiliate links. If you buy through them, VÉLORA may earn a commission at no extra cost to you.
What You Need
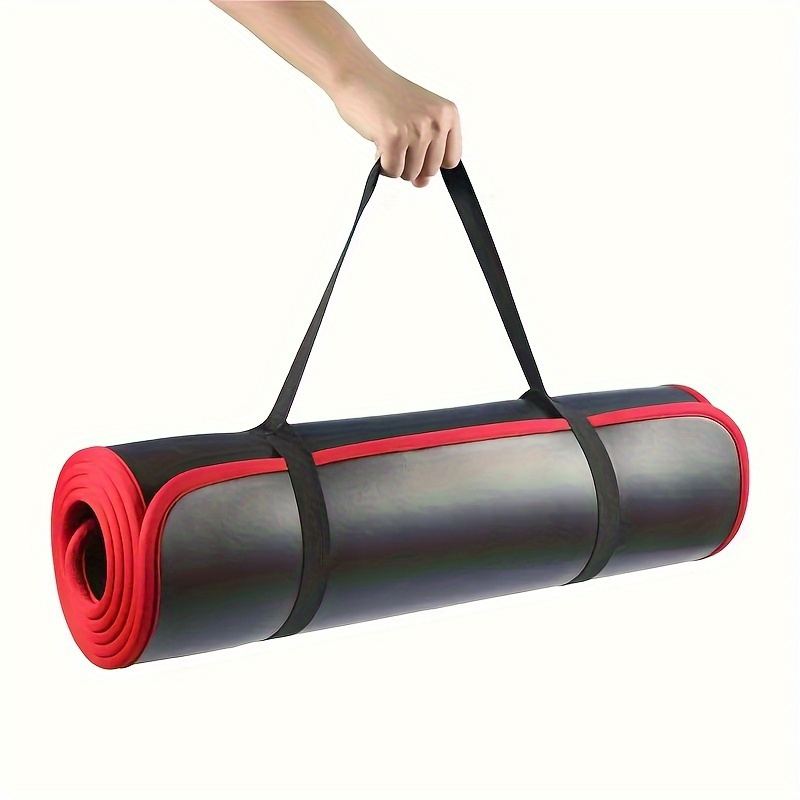
- A cushioned mat or soft surface. Elbows and knees press into the floor in most plank variations, so a thin mat can be genuinely uncomfortable. An Extra-Thick 10mm Non-Slip Yoga Mat gives your forearms and knees the padding they need. See also our guide to Women's Home Gym Essentials for building a floor-workout setup.
- Space for your body to lie straight — about two meters.
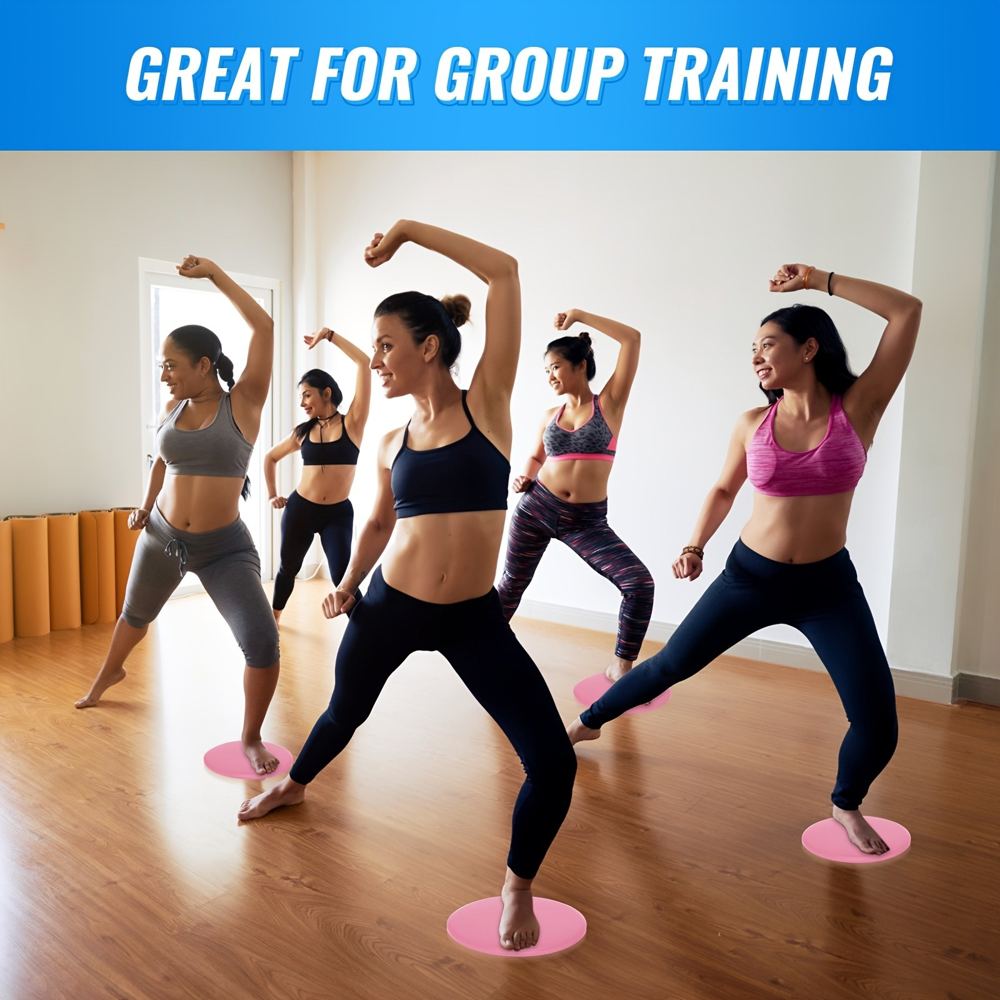
- Optionally, a pair of Core Sliders for advanced variations later.
Warm-up (3 minutes): 30 seconds of marching in place, 10 cat-cow movements on all fours, 10 easy shoulder rolls, and 5 slow downward-dog pedals. Warm wrists and shoulders make every plank feel better.
The 8 Variations (Easiest First)
1. Tabletop Plank (Hands and Knees Hold)
Purpose: Teaches the core-bracing pattern with zero lower-back risk — the true starting line.
Starting position: On all fours, wrists under shoulders, knees under hips, back flat like a tabletop.
Technique: Draw your navel gently toward your spine, tuck your pelvis slightly so your tailbone points down, and press the floor away through your hands. Keep your neck long, eyes down at the floor. Hold 20–45 seconds for 2–3 sets.
Breathing: Slow, steady breaths — never hold your breath.
Beginner modification: This IS the beginner variation. If it feels unstable, widen your knees slightly.
Common mistakes: Arching the back, dropping the head, holding the breath.
2. Incline Plank (Hands on an Elevated Surface)
Purpose: Builds toward a full plank while reducing the load — your body works at an angle instead of flat.
Starting position: Hands on a sturdy sofa edge, bench, or countertop, arms straight, feet back so your body forms a straight line from head to heels.
Technique: Brace as in the tabletop hold, squeeze your glutes lightly, and keep your shoulders stacked over your wrists. Hold 20–45 seconds for 2–3 sets.
Breathing: Steady inhales and exhales; keep the air moving around the brace.
Beginner modification: Use a higher surface (a wall for wall planks, then a countertop, then a sofa) as your personal ramp.
Common mistakes: Letting the hips sag, shrugging the shoulders, locking the elbows.
3. Knee Plank (Forearms and Knees)
Purpose: The classic "half plank" — full core engagement with the knees as support.
Starting position: Forearms on the mat, elbows under shoulders, knees on the floor behind you. From knees to head, your body is one straight line — do not let the hips stay high.
Technique: Press through your forearms, tuck the pelvis, brace the stomach, and think "long body from knees to crown." Hold 20–40 seconds for 2–3 sets.
Breathing: Exhale slowly as you settle in; keep breathing continuously.
Beginner modification: Double the mat under your knees or wear long sleeves for forearm comfort.
Common mistakes: Hips piking up (the most common knee-plank error), back arching, elbows flaring wide.
4. Forearm Plank (Full)
Purpose: The standard plank — the milestone variation you have been building toward.
Starting position: Forearms on the mat, elbows under shoulders, legs extended, feet hip-width apart or together, toes tucked.
Technique: This is where everything comes together: pelvis slightly tucked, glutes lightly squeezed, shoulder blades drawn gently down and together, neck long. Your body is a straight, rigid line. Hold 20–45 seconds for 2–3 sets.
Breathing: Keep breathing smoothly.
Beginner modification: Drop back to the knee plank for any set where form breaks; finishing a clean knee plank beats a sloppy full plank every time.
Common mistakes: Sagging hips (squeeze your glutes), hiking the hips up (tuck the pelvis), shrugging (press the floor away).
5. High Plank (Straight Arms)
Purpose: Loads the shoulders, arms, and core together; the base for push-up training.
Starting position: Hands on the mat under your shoulders, arms straight but not locked, legs extended.
Technique: Press the floor away, screw your shoulder blades slightly outward (away from your spine), brace the core, and hold a rigid line from head to heels. Hold 20–40 seconds for 2–3 sets.
Breathing: Slow nasal breathing; resist the urge to hold tension in your shoulders.
Beginner modification: Drop the knees to the floor for a high knee plank, or elevate the hands on a sofa.
Common mistakes: Rounded shoulders collapsing forward, elbows bending, and head dropping — look at the floor a hand's width in front of you.
6. Side Plank (On Knees)
Purpose: Targets the obliques and side stabilizers — the muscles that keep your torso steady when you walk, carry, or lift to the side.
Starting position: Lie on one side, bottom knee bent with the knee on the floor, top leg extended (or both knees bent stacked). Forearm under your shoulder, elbow bent.
Technique: Lift your hips until your body forms a straight line from knees to head, and stack your shoulders. Keep the chest open and the top shoulder rolled back. Hold 15–30 seconds per side for 2–3 sets each.
Breathing: Breathe steadily; consciously keep the air moving.
Beginner modification: Keep both knees bent and stacked, or drop the bottom knee and top foot staggered.
Common mistakes: Rolling forward or backward (check your form in a mirror or film yourself), shrugging the bottom shoulder, and hips sagging toward the floor.
7. Full Side Plank
Purpose: The complete side-body challenge — obliques, hip stabilizers, and shoulder work together.
Starting position: Side-lying, legs extended and stacked (or top foot staggered forward for balance), forearm under your shoulder.
Technique: Drive through the bottom forearm, lift the hips into one straight line from feet to head, and reach the top hand to the ceiling or rest it on your hip. Hold 15–30 seconds per side for 2–3 sets.
Breathing: Smooth, even breaths; a slight exhale helps you re-brace between holds.
Beginner modification: Stagger the feet (top foot in front of bottom foot) for a wider base, or drop the bottom knee.
Common mistakes: Hips drifting behind the body line, the top shoulder rolling forward, and holding the breath.
8. Plank with Leg Lift (Forearm Plank + Alternating Leg Raises)
Purpose: Your first "dynamic" plank — holding the line while one leg moves, which doubles the anti-rotation demand on your core.
Starting position: A solid forearm plank, exactly as in variation 4.
Technique: Keeping your hips perfectly still, lift one foot a few inches off the floor, squeeze the glute, pause for one second, and lower slowly. Alternate sides. Aim for 6–12 lifts per leg for 2–3 sets — stop when your hips start to shift.
Breathing: Exhale on the lift, inhale on the lower.
Beginner modification: Lift only an inch or two; the value is in the stillness of the hips, not the height of the leg.
Common mistakes: Hips rocking side to side (the movement is too big — shrink it), arching the back as the leg rises, and speeding up. Slower is harder and better.
Difficulty Comparison Table
| # | Variation | Main Target | Hold-Time Range | Move On When... | |---|---|---|---|---| | 1 | Tabletop plank | Core bracing pattern | 20–45 sec | You can hold 45 sec with steady breathing | | 2 | Incline plank | Chest, shoulders, core | 20–45 sec | A sofa-height hold feels easy for 45 sec | | 3 | Knee plank | Full core, low back risk | 20–40 sec | 40 sec with a straight knee-to-head line | | 4 | Forearm plank | Full-body core | 20–45 sec | 45 sec with zero hip sag | | 5 | High plank | Shoulders, arms, core | 20–40 sec | You can transition from high to forearm plank smoothly | | 6 | Side plank (knees) | Obliques, side stabilizers | 15–30 sec/side | 30 sec per side with open chest | | 7 | Full side plank | Obliques, hip stabilizers | 15–30 sec/side | You can hold 20 sec without rolling forward | | 8 | Plank with leg lift | Anti-rotation, glutes | 6–12 lifts/side | Hips stay level through all reps |
How to Progress: A Sample 4-Week Plan
Start with variations 1 and 2, then advance one variation at a time as 45-second holds become comfortable — always leading each session with the hardest clean version you own and finishing with an easier one.
If you want variety sooner, our Core Workout for Women Beginners and Push-Up Progression for Women pair naturally with this plan.
Ready for more? Once variations 4–7 feel solid, core sliders unlock body-saw planks and slider pikes — but only add them when a 45-second forearm plank is genuinely easy.
Safety Notes
- Stop if you feel sharp pain in the wrists, shoulders, or lower back — muscle effort is fine, joint pain is not. For wrist sensitivity, plank on fists or use push-up handles.
- Pregnant or postpartum? Side planks and incline planks are often better choices than full front planks — see our Exercise During Pregnancy Safety guide and check with your provider.
- If you have uncontrolled high blood pressure, avoid very long maximal holds and breath-holding; keep sets moderate and breathe continuously.
FAQ
Q: How long should a beginner hold a plank?
As long as you can with perfect form — usually 15–45 seconds. A clean 25-second plank does more for you than a wobbly 60-second one. Build time gradually as the table above shows.
Q: Should I do planks every day?
Two to three times per week is plenty when you are building up. Daily planking is fine once you can hold comfortably, but most beginners progress faster with rest days between sessions. See our guide on how often women should work out.
Q: Why does my lower back hurt during planks?
Usually one of two things: your pelvis is tilting forward (anterior tilt), letting the back arch, or you have progressed too far. Tuck the pelvis slightly, squeeze your glutes, and drop back to an easier variation. If pain is sharp or persistent, stop and get it checked.
Q: Are planks enough for core training on their own?
Planks are excellent for endurance and stability, but a complete core program also includes movement — exercises like dead bugs and bird-dogs train your core to stay stable while your limbs move, which is how your core actually works in daily life.
Q: Do planks burn belly fat?
No exercise burns fat from a specific area. Planks build and strengthen your core muscles; overall fat loss comes from a sustained calorie balance through nutrition and activity. Expect stronger abs and better posture, not spot reduction.
The Bottom Line
Every strong planker started with a shaky one. Begin with the tabletop and incline variations, master the knee plank honestly, and earn the full plank — your lower back will thank you. Two to three short sessions a week, patient progression, and the form cues above will get you there without the pain that makes most beginners quit.
