A gentle 10-minute core workout for women beginners: five safe stability exercises with form cues, breathing tips, and modifications that meet you where you are.
Core Workout for Women: A 10-Minute Beginner Routine
Ten minutes is a surprisingly honest amount of time for core training. It is long enough to work every part of your midsection properly and short enough that you will actually do it — three or four times a week, alongside walks or strength sessions. This beginner core workout for women uses five stability-focused exercises, no crunches, and no equipment to start.
A quick reframe before we begin: your "core" is not just your abs. It is the deep abdominal muscles, the obliques along your sides, the muscles of your lower back, the pelvic floor, and the diaphragm — a cylinder of support around your spine. Training it is less about visible lines and more about a back that stays happy when you lift groceries, a posture that holds through long days, and balance that keeps you steady. Results vary, and there are no timelines promised here — just steady, sensible progress.
This guide contains affiliate links. If you buy through them, VÉLORA may earn a commission at no extra cost to you.
What You Need
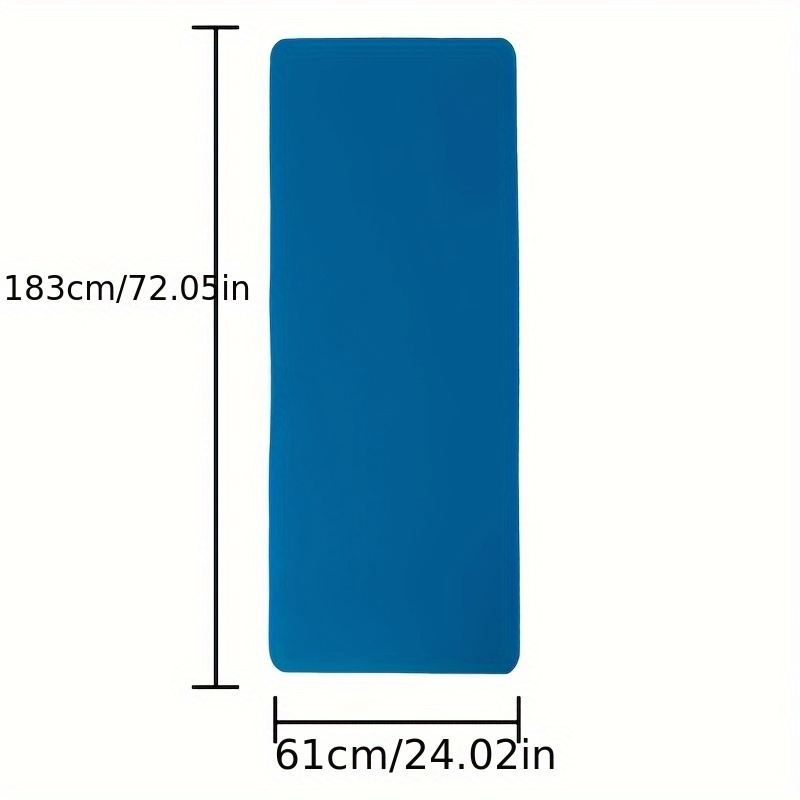
A clear patch of floor about the size of a yoga mat, comfortable clothes, and water. A mat makes floor exercises much kinder on knees and elbows — the 8mm Thick Yoga Mat gives good cushioning without the wobble of very thick mats. Everything below is bodyweight; a tool like the ab wheel is a fine later progression, not a starting requirement. If floor work is uncomfortable, check our guide to choosing a yoga mat for bad knees.
The Routine: 5 Exercises, 10 Minutes
Do the exercises in order. Perform each for the time or reps given, rest 20–30 seconds between exercises, and complete one full round. If 10 minutes feels long on day one, do the first three exercises only and build up — the best routine is the one you finish.
1. Dead Bug — 30–45 seconds per side
Purpose: Teaches your deep core to stabilize your spine while your limbs move — the fundamental skill behind safe lifting.
Starting position: Lie on your back on the mat, arms pointing at the ceiling, hips and knees bent at 90 degrees (shins parallel to the floor). Press your lower back gently toward the mat — a small, natural engagement, not a forceful flattening.
Technique: Slowly lower your right arm overhead and extend your left leg out, keeping your lower back in contact with the mat. Stop the movement the moment your back starts to arch. Return to the start and switch sides. Move slowly — speed hides instability.
Breathing: Exhale as you extend the limbs; inhale as you return. Steady, unhurried breaths throughout.
Beginner modification: Keep the range small — lower the leg only a few inches. You can also keep the arms still and move only the legs until that feels easy.
Common mistake: Letting the lower back arch away from the floor, which unloads the core and loads the spine. Shorter range fixes this instantly.
2. Bird Dog — 30–45 seconds per side
Purpose: Builds core stability and coordination while gently working the back and glutes.
Starting position: On hands and knees, hands under shoulders, knees under hips. Imagine balancing a tray of drinks on your lower back — your hips must stay level.
Technique: Extend your right arm forward and your left leg back until both are in line with your torso. Pause for a breath, feeling your midsection working to keep you from wobbling. Return with control and switch sides.
Breathing: Exhale as you extend; inhale on the return.
Beginner modification: Extend only the arm or only the leg at first. When both feel stable, combine them.
Common mistake: Hips rotating open to one side. If this happens, imagine your pelvis has headlights that must keep pointing at the floor.
3. Glute Bridge — 8–15 repetitions
Purpose: Strengthens the glutes and the back of the thighs while teaching the core to brace — the posterior chain that supports your lower back.
Starting position: Lie on your back, knees bent, feet flat on the floor hip-width apart, arms resting at your sides.
Technique: Push through your heels to lift your hips until your body forms a straight line from shoulders to knees. Squeeze your glutes firmly at the top for one breath, then lower slowly — take a full two to three seconds coming down.
Breathing: Exhale as you lift; inhale as you lower.
Beginner modification: Lift only halfway. Advanced option: pause at the top for three breaths before lowering.
Common mistake: Overarching the lower back at the top instead of squeezing the glutes. Think "hips up, ribs down."
4. Forearm Plank (Knee Version) — 20–40 seconds
Purpose: Trains the whole core to hold your spine stable in one line — the gold standard of anti-extension strength.
Starting position: On your forearms and knees, elbows under shoulders, knees a comfortable distance behind your hips. Your body should form a straight line from head to knees.
Technique: Tuck your pelvis slightly (imagine pulling your front ribs toward your pelvis), squeeze your glutes and thighs, and breathe normally. Hold the shape without letting your hips sag or pike up. If your form breaks, the set is over — that is a feature, not a failure.
Breathing: Keep breathing steadily; holding your breath spikes pressure and tension in the wrong way.
Beginner modification: Start with 15–20 second holds and build up. If forearms on the floor bother your shoulders, try it on your palms with straight arms (a high plank on knees).
Common mistake: Sagging hips, which dumps the load into the lower back. Shorter holds with perfect shape beat long sags every time.
5. Side-Lying Hip Abduction — 8–12 repetitions per side
Purpose: Strengthens the glute medius — the muscle on the outer hip that keeps your pelvis level when you walk and stand on one leg.
Starting position: Lie on your side, legs stacked, head resting on your lower arm, top hand on the floor in front of your chest for support.
Technique: Keeping your top leg straight and your toes pointing forward (not up), lift the leg about 45 degrees. Pause, then lower slowly. Your pelvis should stay still — no rocking backward.
Breathing: Exhale as you lift; inhale as you lower.
Beginner modification: Bend the knees slightly and lift a shorter distance. If the floor position bothers your hip bone, double up the mat under it.
Common mistake: Rolling the hips backward to recruit bigger muscles. Smaller, honest range wins.
Exercise Summary
| Exercise | Main purpose | Start with | | --- | --- | --- | | Dead bug | Deep core stability, spine control | 30–45 sec/side, small range | | Bird dog | Core coordination + back strength | 30–45 sec/side, one limb at a time | | Glute bridge | Glutes, lower-back support | 8–15 reps, squeeze at top | | Forearm plank (knees) | Whole-core anti-extension strength | 20–40 sec, perfect shape | | Side-lying hip abduction | Outer-hip stability for walking | 8–12 reps/side, no rocking |
Progression: When This Gets Easy
You will know it is time to progress when you can complete the full round with good form and feel you could do more. Progress in one way at a time:
- Add a second round for a 20-minute session, with a minute of rest between rounds.
- Extend the holds — planks to 45–60 seconds, dead bugs and bird dogs to a minute per side.
- Move to harder variations — full planks on toes, single-leg glute bridges, or slow mountain climbers.
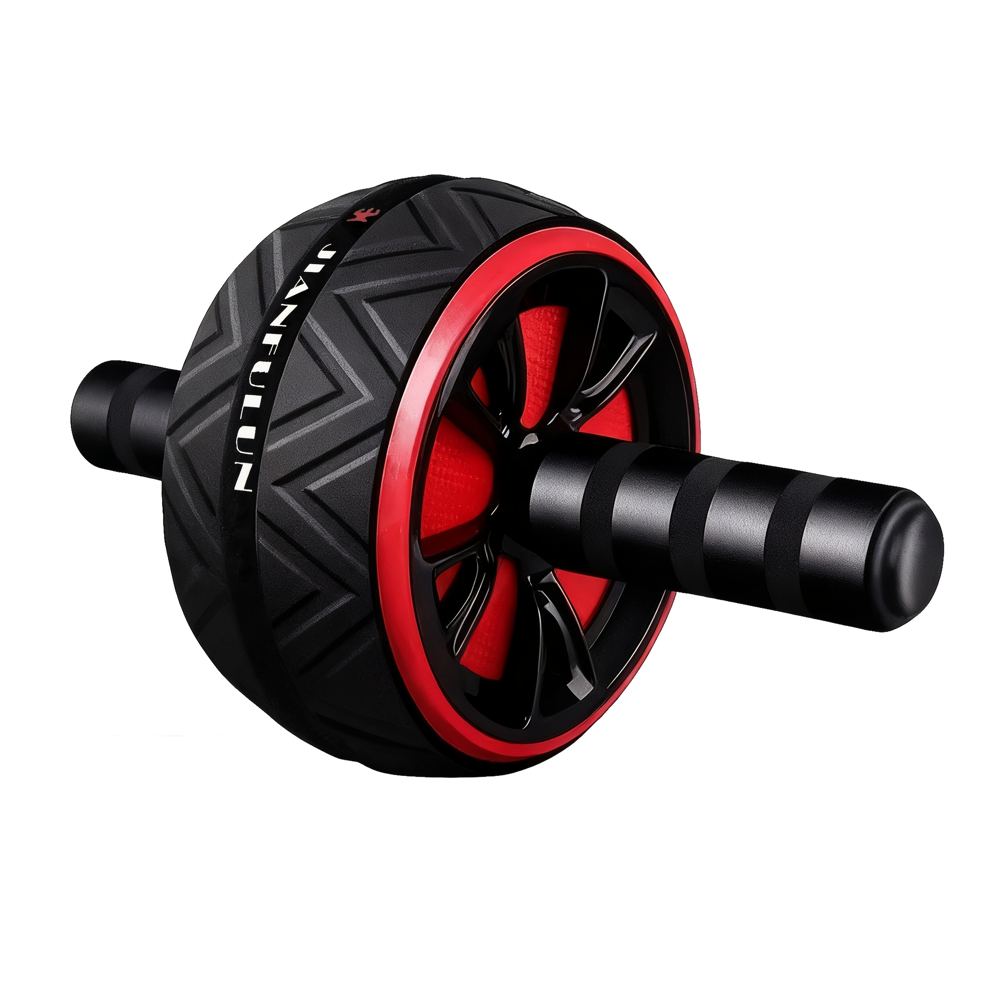
- Add a tool — the ab wheel is the classic next step for roll-out exercises that challenge the whole core (start on your knees, and keep the range short).
Safety Notes
- Stop for sharp pain. Muscle effort and mild next-day soreness are normal; sharp, stabbing, or joint pain is not. Stop the exercise and, if pain persists, seek medical advice.
- Breathe continuously. Never hold your breath through a core set — exhale on the effort.
- Pregnancy and postpartum. Core training during pregnancy and after birth needs specific guidance — get clearance from your healthcare provider first, and work with a qualified professional on diastasis recti or pelvic floor concerns rather than generic routines.
- Back conditions. If you have a herniated disc, spinal stenosis, or chronic back pain, check with your doctor or physiotherapist before starting, and favor the exercises they approve.
- Quality over quantity. Ten perfect minutes beat thirty sloppy ones. When your form degrades, the exercise is done.
FAQ
Q: Will this routine give me visible abs?
Visible abdominal definition depends mostly on overall body composition, which is shaped by genetics, total activity, eating patterns, sleep, and more — not by any single routine. This workout builds genuine core strength: better posture, a happier back, and more stable movement. Those benefits arrive regardless of what shows on the surface.
Q: Should I do this every day?
Three to four times a week is a good range for most beginners. Your muscles adapt during recovery, not during the workout itself. On off days, walking, gentle stretching, or a lower-body session keep you moving without overworking the same muscles.
Q: Are crunches better for the core?
Crunches train one muscle group through a small range and can strain the neck and lower back. The stability exercises in this routine train the core the way it actually works in daily life — holding your spine steady while you move. Most physiotherapists and trainers favor this approach, especially for beginners.
Q: My wrists hurt during planks. What should I do?
Use the forearm version given above instead of palms, or make fists to keep the wrists straighter. A mat with good cushioning, like the 8mm mat mentioned above, also reduces pressure. If wrist pain persists, skip planks for now and focus on the other four exercises.
Q: How long until I notice a difference?
People usually notice small changes first — getting up off the floor more easily, better posture by afternoon, less back grumbling after long days — within a few weeks of consistent practice. Strength gains follow with continued training. Everyone's timeline differs; consistency matters far more than speed.
The Bottom Line
A beginner core workout for women does not need to be long, painful, or equipment-heavy. Five stability exercises, ten minutes, three or four times a week — done with attention to form and breathing — build the kind of core strength that shows up in everyday life: lifting, carrying, walking, and standing tall. Start with the modifications that suit you, progress one small step at a time, and let consistency do what intensity never could.
