Master mountain climbers with safe, step-by-step form: starting position, technique, breathing, beginner modifications, common mistakes, and sample sets.
Mountain Climbers: A Form Guide With Beginner Modifications
Mountain climbers look simple — you hold a plank and run your knees toward your chest. But done carelessly they become a flailing, back-aching mess, and done well they are one of the most efficient exercises you can do: core stability, shoulder strength, hip mobility, and cardiovascular challenge in a single move that needs no equipment.
This guide teaches you the move from the ground up: the exact starting position, how to breathe, how fast to go, beginner-friendly modifications, the mistakes almost everyone makes, and how to program it into your week. Whether you want to add mountain climbers to a home workout or just do them without hurting your back, start here.
This guide contains affiliate links. If you buy through them, VÉLORA may earn a commission at no extra cost to you.
Why Mountain Climbers Deserve a Spot in Your Workout
Most core exercises train you to hold still. Mountain climbers train you to hold still while moving — your trunk stays braced and level while your hips and legs drive. That combination builds:
- Core stability: the deep abdominals and obliques work hard to keep your spine quiet while the legs alternate.
- Shoulder and upper-body endurance: holding a plank position loads the shoulders, arms, and upper back for the whole set.
- Hip flexor and leg strength: driving each knee forward works the hip flexors, quads, and glutes through a dynamic range.
- Conditioning: at a brisk pace, they raise your heart rate quickly — useful as a finisher or in a circuit.
One honest note: like any exercise, mountain climbers do not remove fat from any specific area. They strengthen and condition, which is plenty — just do not expect them to target your stomach.
Equipment and Setup
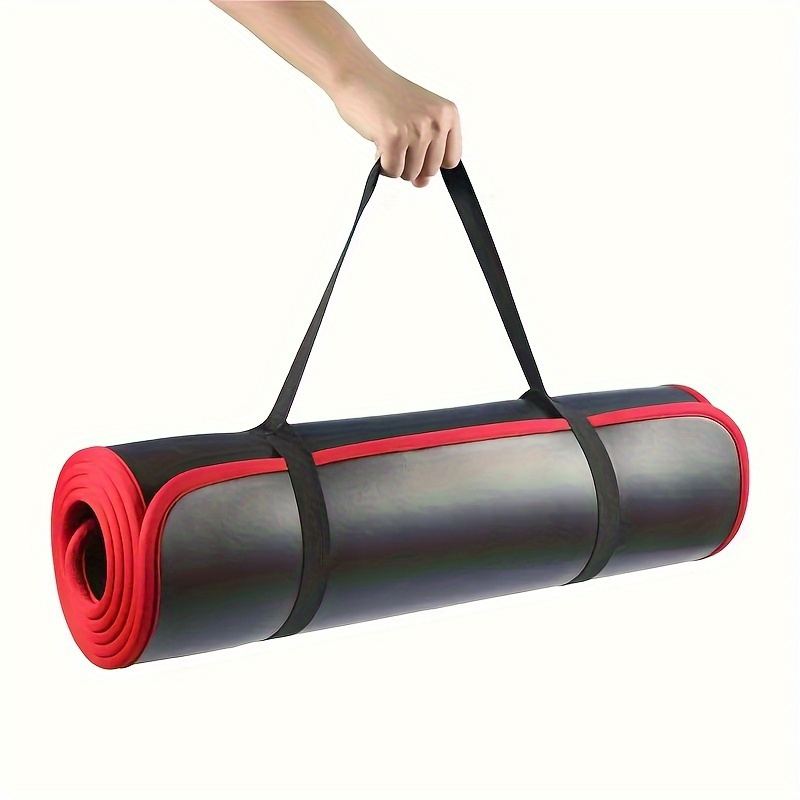
You need a non-slip surface. A thick mat makes a real difference — on bare floor, wrists take a beating. An extra-thick 10mm yoga mat cushions the wrists and keeps your hands planted during fast sets. Alternatively, do them with your hands on a sturdy bench or step for an easier, wrist-friendlier angle.
Warm-up (2–3 minutes): March in place for 30 seconds, do 10 slow bodyweight squats, 10 alternating lunges in place, and hold a 20-second plank. Cold hips make the first set feel much harder than it needs to.
Step-by-Step Form
Starting position: Begin in a high plank — hands directly under your shoulders, fingers spread, arms straight but elbows not locked. Extend your legs behind you, feet hip-width apart. Brace your stomach lightly, squeeze your glutes, and make one straight line from head to heels. Take a breath and settle: if you cannot hold this plank for 15–20 seconds, build that first, because everything else is built on it.
The movement:
- Brace your trunk and keep it still — this is the entire point.
- Drive your right knee toward your chest as far as you comfortably can. Your hips should stay level, not bouncing up with each rep.
- Lightly tap the floor with the ball of the foot (or hover, if you prefer) and return the leg as the left knee comes forward.
- Alternate smoothly, like slow running in place. Your torso barely moves — the motion happens below the waist.
Speed: Start slow. A controlled tempo of about one knee-switch per second builds the pattern correctly. Once your form is solid for full sets, you can pick up the pace for conditioning. Fast and sloppy teaches your body the wrong thing.
Breathing: Breathe steadily through the nose and mouth in a natural rhythm — do not hold your breath, and do not try to sync every breath to a rep. If you find yourself gasping or holding, slow down until breathing feels comfortable.
Sets and reps: Aim for 2–4 sets of 10–20 reps per leg (count each knee drive as one), resting 45–60 seconds between sets. For conditioning, use timed sets of 20–45 seconds instead of counting reps.
Beginner Modifications
Mountain climbers are harder than they look. These regressions keep the benefits while you build strength:
- Incline mountain climbers: Place your hands on a sturdy bench, chair, or countertop. The elevated angle reduces the load on your shoulders and core while you learn the leg pattern.
- Slow step-through: Instead of switching legs quickly, drive one knee in, pause for a full second, return, then switch. This removes momentum and teaches control.
- Hands on an elevated surface + slow tempo: Combine both for the easiest version — perfectly respectable, and the version to master first.
- Knee-friendly option: If the knee drive bothers your knees, shorten the range — bring the knee only partway toward the chest. The plank hold alone still trains the trunk.
Progress by gradually lowering the incline, speeding up the tempo slightly, and extending set length — change one variable at a time, and only when your form stays clean for the whole set.
For low-impact alternatives that build the same kind of stability, see our low-impact workouts for women and beginner home workout plan.
Common Mistakes
- Bouncing the hips up and down: The hips should stay almost still. If they are bobbing, slow down and shorten the sets.
- Sagging the lower back: A sagging back under dynamic load is how people get sore in the wrong way. Brace the stomach and squeeze the glutes; if you cannot stop the sag, regress to an incline version.
- Craning the neck: Looking up at the TV or mirror breaks the head-to-heels line. Look at the floor a few inches in front of your hands.
- Shrugging the shoulders: Push the floor away and keep the shoulders down, away from your ears.
- Going too fast too soon: Speed is earned by form. Rushing creates a sloppy, back-straining mess that looks busy but trains little.
- Holding the breath: If the set is so intense you cannot breathe, the set is too long.
Sample Workout Placement
Mountain climbers slot into a session in two ways:
As a core finisher: After your main strength work, do 3 sets of 30 seconds at a moderate pace, resting 45 seconds between. This is the most common and most useful placement.
In a conditioning circuit: Pair 30 seconds of mountain climbers with 30 seconds of squats and 30 seconds of rest, repeated 4–6 times. Simple, effective, and honest work.
Do them 2–3 times per week at most as a focused element; daily high-intensity rounds lead to tired shoulders and sloppy planks.
Progressions When You're Ready
Once full mountain climbers feel controlled for 45-second sets, these add challenge without equipment:
- Cross-body mountain climbers: Drive each knee toward the opposite elbow. This emphasizes the obliques.
- Core sliders: Place your feet on dual-sided core sliders on a smooth floor — the sliding motion forces even tighter trunk control and removes impact.
- Slow-motion mountain climbers: Take a full two seconds per knee switch. Deceptively brutal.

A Bosu trainer ball can add an unstable-surface variation later, but master the standard version first — wobble before strength is a recipe for bad patterns.
Safety Notes
- Stop if you feel sharp pain in the wrists, shoulders, or lower back. Muscle effort and a raised heart rate are normal; joint pain is a signal to stop and reassess.
- If you are pregnant, your center of gravity and core mechanics change — check our pregnancy exercise safety guide and get provider clearance before doing plank-based moves. The incline version may be more comfortable, but clearance comes first.
- Postpartum readers: wait for provider clearance and consider the postpartum exercise guide — early weeks are for gentle re-engagement, not dynamic planks.
- If you have a wrist injury or carpal-tunnel-type symptoms, the incline version or fist-supported planks reduce wrist bend.
FAQ
Q: Are mountain climbers good for abs?
They are good for the whole trunk — deep core stabilizers, obliques, and the front abdominals all work to keep your spine steady while the legs move. They will not, on their own, create visible abs, but they build the stability that supports everything else you do.
Q: How many mountain climbers should a beginner do?
Start with 2–3 sets of 8–10 reps per leg at a slow, controlled pace, or timed sets of 15–20 seconds. Rest 45–60 seconds between sets. Add a few reps or seconds per week as long as your form stays clean.
Q: Do mountain climbers burn belly fat?
No exercise burns fat from one spot. Mountain climbers raise your heart rate and strengthen your trunk, which contributes to overall activity and fitness — but fat loss comes from sustained activity, nutrition, and sleep, not from any single move.
Q: Why do my wrists hurt during mountain climbers?
Usually it is too much weight through bent wrists, too long a set, or a hard floor. A thick mat helps, the incline version reduces wrist load, and shorter sets with full rest let the wrists recover. If pain persists, see a professional.
Q: Mountain climbers or planks — which is better?
Different tools. Planks train pure stability with the lowest joint stress; mountain climbers add dynamic leg movement and conditioning. If you can only pick one as a beginner, a solid plank is the foundation. Add mountain climbers once the plank feels easy.
Q: Can I do mountain climbers every day?
Short, easy sets most days are fine, but hard, fast sets need recovery like any other training — 2–3 focused sessions per week is the sweet spot. Daily maximal rounds will stall your progress and tire your shoulders.
The Bottom Line
Mountain climbers earn their reputation when done well: a braced trunk, level hips, controlled knees, and steady breathing. Start on an incline, master the slow version, and add speed only when form holds. They will not reshape your waist by themselves, but as part of a consistent program — alongside strength work like our core workout for women — they build a stronger, more capable midsection that serves you in every workout and in daily life.
