A realistic 4-week beginner core program for home: week-by-week focus, simple exercises with form cues, sets and reps ranges, and safe progression.
A 4-Week Beginner Core Program You Can Do at Home
Starting core training feels confusing: which exercises, how many, how often, and how do you know when to make them harder? This program removes the guesswork. It is four weeks of simple, equipment-free core work you can do at home in 10–20 minutes, three times per week — built on a principle physiotherapists agree on: learn control first, add challenge slowly.
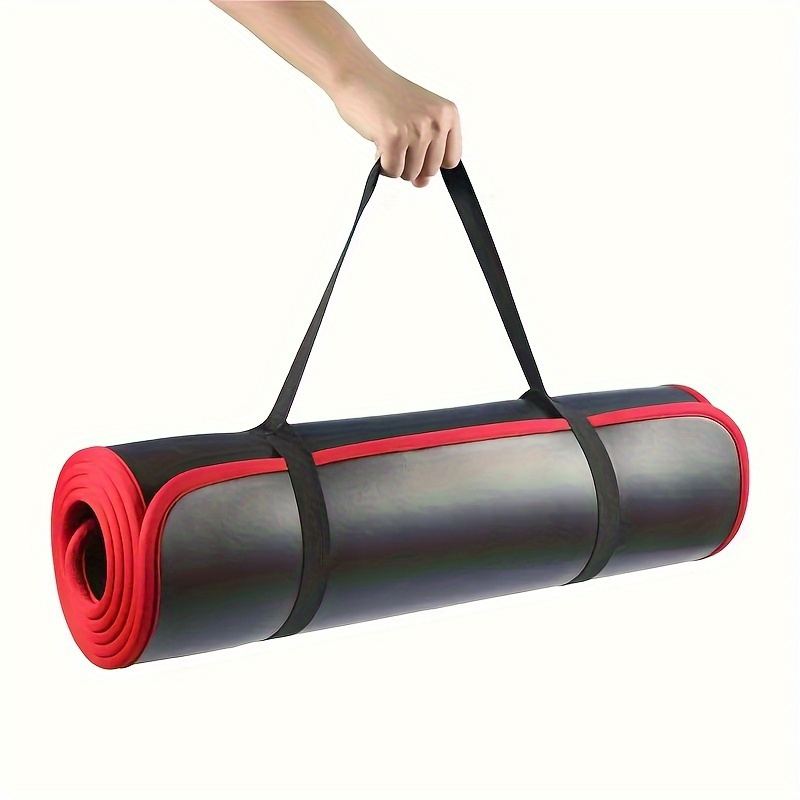
No gym, no prior fitness needed. All you need is a mat or carpet, like the Extra-Thick 10mm Yoga Mat, and a willingness to move slowly. Honest note: this program builds strength, control, and confidence in your midsection. It will not reshape your body in four weeks — real adaptation takes consistent work over months, and results vary from person to person.
This guide contains affiliate links. If you buy through them, VÉLORA may earn a commission at no extra cost to you.
How the Program Works
- Three sessions per week, with at least one rest day between them (for example, Monday–Wednesday–Friday).
- Each session: 10–20 minutes — a 2-minute warm-up, 3–4 exercises, and you're done.
- Each week has a focus. Weeks 1–2 build deep-core control and teach the brace; weeks 3–4 add movement, challenge, and a little more volume.
- Rep ranges, not prescriptions: every exercise below gives a range. Start at the low end; when the top of the range feels manageable with clean form for two sessions running, move up.
The Program at a Glance
| Week | Focus | Workout A | Workout B | Workout C | |---|---|---|---|---| | 1 | Learn the brace | Dead bug + Glute bridge | Bird dog + Knee plank | Dead bug + Glute bridge | | 2 | Build the habit | Dead bug + Glute bridge + Knee plank | Bird dog + Glute bridge | Dead bug + Knee plank + Bird dog | | 3 | Add movement | Modified sit-up + Dead bug + Plank | Bird dog + Glute bridge + Standing side bend | Modified sit-up + Plank + Glute bridge | | 4 | Put it together | Sit-up + Dead bug + Plank + Side bend | Bird dog + Bridge march + Plank | Sit-up + Side bend + Dead bug |
Repeat the week's three workouts in order (A, B, C), then rest. If a week feels too hard, repeat it before moving on — there is no penalty for taking five or six weeks.
The Exercises
Dead Bug
Purpose: Teaches your deep core to brace the spine while your limbs move — the foundation of everything else here.
Starting position: Lie on your back, arms reaching to the ceiling, knees bent at 90 degrees over your hips, lower back in light contact with the mat.
Technique: Draw your belly button gently inward. Slowly lower your right arm overhead while extending your left leg toward the floor — only as far as you can keep your lower back pinned down. Return and switch sides.
Breathing: Exhale gently as you extend, inhale returning. Never hold your breath.
Sets/reps: 2–3 sets of 6–10 per side. Beginner modification: move only the arms, feet planted.
Glute Bridge
Purpose: Strengthens the glutes and teaches hip extension without loading the spine — your back's best friend.
Starting position: Lie on your back, knees bent, feet flat and hip-width apart, heels close enough to graze with your fingertips.
Technique: Brace lightly, push through your heels, and lift until knees-to-shoulders form a straight line. Squeeze one to two seconds, lower slowly.
Breathing: Exhale on the lift, inhale on the way down.
Sets/reps: 2–3 sets of 10–18 reps. Beginner modification: lift only halfway if your back arches at the top.
Common mistakes: pushing through the toes, overarching at the top, dropping down fast.
Bird Dog
Purpose: Trains the spinal stabilizers to keep the pelvis level — the same pattern as walking.
Starting position: On all fours, wrists under shoulders, knees under hips, back flat.
Technique: Brace lightly, extend right arm forward and left leg back to roughly parallel with the floor. Hips stay level — imagine balancing a glass of water on your lower back. Hold one to two seconds, return, switch.
Breathing: Steady breathing, gentle exhale during the extension.
Sets/reps: 2–3 sets of 6–10 per side. Beginner modification: extend only the leg, hands stay down.
Knee Plank → Forearm Plank
Purpose: Teaches full-body bracing against gravity — pure core stability.
Starting position (knee plank): Forearms on the mat, elbows under shoulders, knees on the floor, body a straight line from knees to head. Squeeze the glutes, draw the belly in lightly.
Technique: Press the floor away and breathe normally. When you can hold a knee plank for 45–60 seconds with a straight line, try the forearm plank (same position, legs extended).
Breathing: Normal, continuous breathing — a brace is not a held breath.
Sets/reps: 2–3 sets of 20–45 seconds (knee) or 20–60 seconds (full). Rest 30–60 seconds between sets.
Common mistakes: hips sagging or piking up — end the set when the line breaks.
Modified Sit-Up
Purpose: Builds the front abdominal muscles' ability to produce force.
Starting position: Lie on your back, knees bent, feet flat, fingertips lightly at your temples or arms crossed over your chest.
Technique: Press your lower back gently toward the floor, curl your shoulder blades off the mat smoothly, pause, lower slowly. The lower back should not arch during the curl.
Breathing: Exhale curling up, inhale lowering.
Sets/reps: 2–3 sets of 8–15 reps. Beginner modification: lift just the shoulder blades — a small honest curl beats a big sloppy one.
Common mistakes: pulling the neck, using momentum.
Standing Side Bend
Purpose: Builds the obliques for carrying, twisting, and one-sided daily tasks.
Starting position: Stand tall, feet hip-width apart, a water bottle in one hand, other hand behind your head.
Technique: Hips facing forward and still, bend sideways toward the weight, then return upright using your side waist muscles.
Breathing: Exhale bending, inhale returning.
Sets/reps: 2–3 sets of 8–14 per side. Beginner modification: no weight at first.
Bridge March (Week 4)
Purpose: A bridge-plus-stability challenge: hold the bridge while alternating leg lifts.
Starting position: Top of a glute bridge — hips lifted, straight line from knees to shoulders.
Technique: Keeping hips level, lift one foot a few inches off the floor, set it down, and switch. If your hips wobble or drop, the range is too big.
Breathing: Steady, continuous breathing.
Sets/reps: 2 sets of 6–10 marches per side. Beginner modification: stick with regular bridges — marches are optional.
Week-by-Week Details
Week 1: Learn the Brace
Your only job this week is learning what a braced core feels like. Do Workout A (dead bug + glute bridge), Workout B (bird dog + knee plank), Workout C (dead bug + glute bridge). Two sets of everything, low end of the rep ranges. Move slowly. If you finish a session thinking "that was almost too easy," perfect — that's exactly where week one should land.
Week 2: Build the Habit
Same exercises, but sessions get a third exercise and you can try three sets of your favorite movement. This week is about consistency: three sessions, no skipped days if you can manage it. Notice whether everyday things — standing up from the sofa, carrying laundry — already feel slightly more supported. Many people report exactly that, though your experience is your own.
Week 3: Add Movement
The sit-up and side bend join the rotation — your first true core-strength exercises alongside the stability work. This is the week to respect the warm-up: 2 minutes of marching in place plus 10 easy bodyweight squats before each session. If any new exercise causes joint pain, drop it and repeat the week with the week-2 exercises.
Week 4: Put It Together
Four exercises per session, including the optional bridge march. By now you should feel the difference between a braced rep and a sloppy one — that awareness is the real graduation. Finish the week, then decide: repeat week 4 until it feels comfortable, or graduate to our Core Workout for Women Beginners for the next step.
Adding Challenge After Week 4
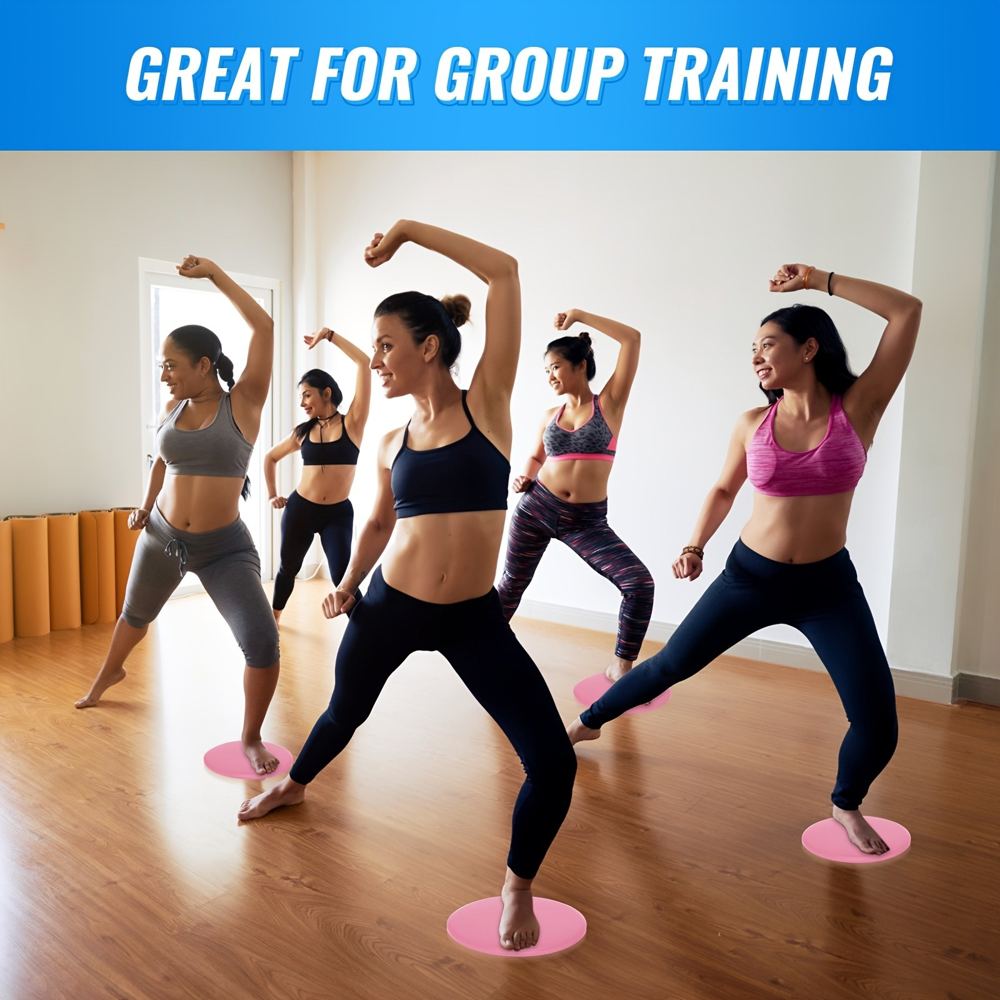
When bodyweight work feels easy, small changes keep progress coming: slower lowering on every rep, an extra set, a light dumbbell on your hips during bridges, or sliding discs like the Core Sliders under your feet for mountain-climber-style stability work. Change one variable at a time. For the equipment side of a home setup, see Women's Home Gym Essentials and How to Start Strength Training for Women.
Safety Notes
- Stop any exercise that causes sharp, shooting, or joint pain. Effort and mild muscle burn are normal; pain is a signal to stop and reassess.
- If you are pregnant, postpartum, recovering from injury, or managing a back, hip, or pelvic floor condition, get clearance from your doctor or physiotherapist before starting. See our Exercise During Pregnancy Safety and Postpartum Exercise Guide.
- Keep every rep slow and controlled; when form breaks down, the set is over.
FAQ
Q: I've never exercised before. Is this really for complete beginners?
Yes — that is exactly who it is for. Week 1 uses only floor exercises with beginner modifications, and every movement has a regress option. Start at the low end of every range and repeat weeks freely.
Q: What if I miss a session?
Just do the next one. The program is three sessions per week, but two in a week still moves you forward — consistency over months beats perfection over days. Don't try to "make up" sessions by doubling up.
Q: Will this give me visible abs in four weeks?
No honest program promises that. Four weeks builds the foundation: better control, better bracing, early strength gains. Visible changes depend on body composition, nutrition, activity, genetics, and time — and they vary widely. What most beginners do notice in four weeks is that daily movements feel easier and more stable.
Q: Can I do this alongside walking or other exercise?
Absolutely — and you should. Walking pairs beautifully with this program. Just avoid scheduling hard core sessions back-to-back with heavy lifting days; your trunk needs recovery like any other muscle group.
Q: My lower back gets tired during planks. Is that normal?
Some fatigue in the back muscles during planks is common at first, since they are part of the stabilizing team. But if you feel pinching, sharp pain, or your hips sag heavily, end the set — those are signs your core has stopped working and your back is compensating. Shorter, cleaner holds fix this.
Q: What comes after the four weeks?
Repeat week 4 until it feels solid, then progress: add a set, slow the tempo, add light resistance, or move to a fuller routine like our Core Workout for Women Beginners. The habit you built matters more than any single exercise.
The Bottom Line
Four weeks, three short sessions a week, seven simple exercises: brace first, move second, challenge third. Follow the ranges, repeat weeks without shame, and stop when form breaks. Do that, and you'll finish with a core that doesn't just look stronger on paper — it behaves stronger in real life.
