A safe 10-minute beginner ab workout for home: 6 gentle floor exercises with step-by-step form, breathing cues, rep ranges, modifications, and safety advice.
Beginner Ab Workout: A Safe 10-Minute Starter Routine
If your core feels weak, your lower back aches by evening, or you simply have never trained your abs before, this 10-minute beginner ab workout is your starting line. No crunches, no fancy equipment, no getting up and down from the floor — just six gentle, joint-friendly movements that teach your deep core muscles to switch on and support you.
One honest note before we start: ab workouts strengthen your core muscles and improve posture and back support. They do not selectively burn belly fat — no exercise can target fat loss from one area, whatever social media promises. Fat loss comes from overall calorie balance, full-body strength training, and consistent habits. This routine gives you the strength part of the equation.
This guide contains affiliate links. If you buy through them, VÉLORA may earn a commission at no extra cost to you.
What You Need
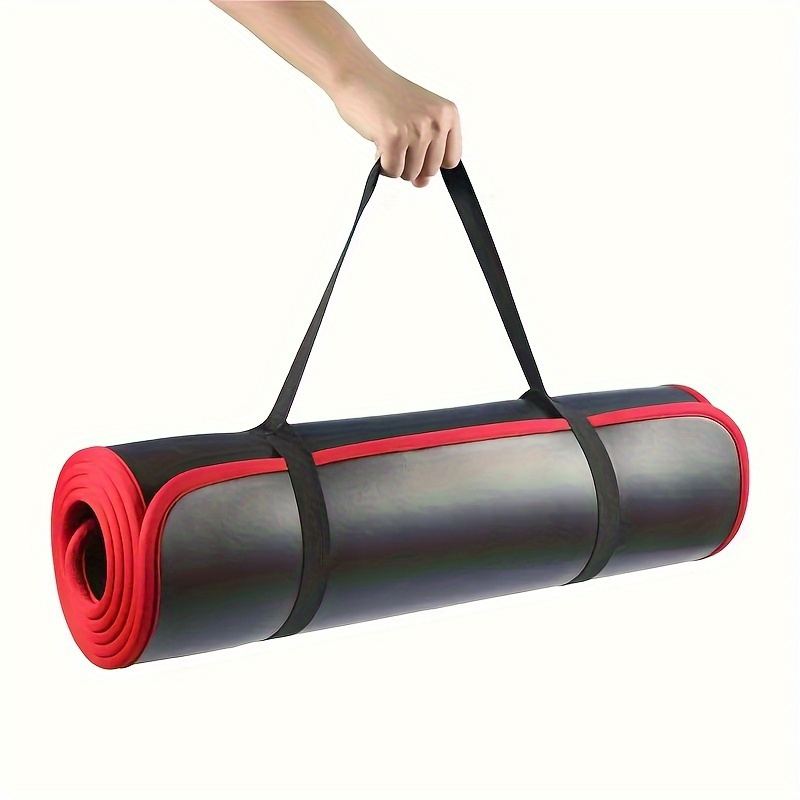
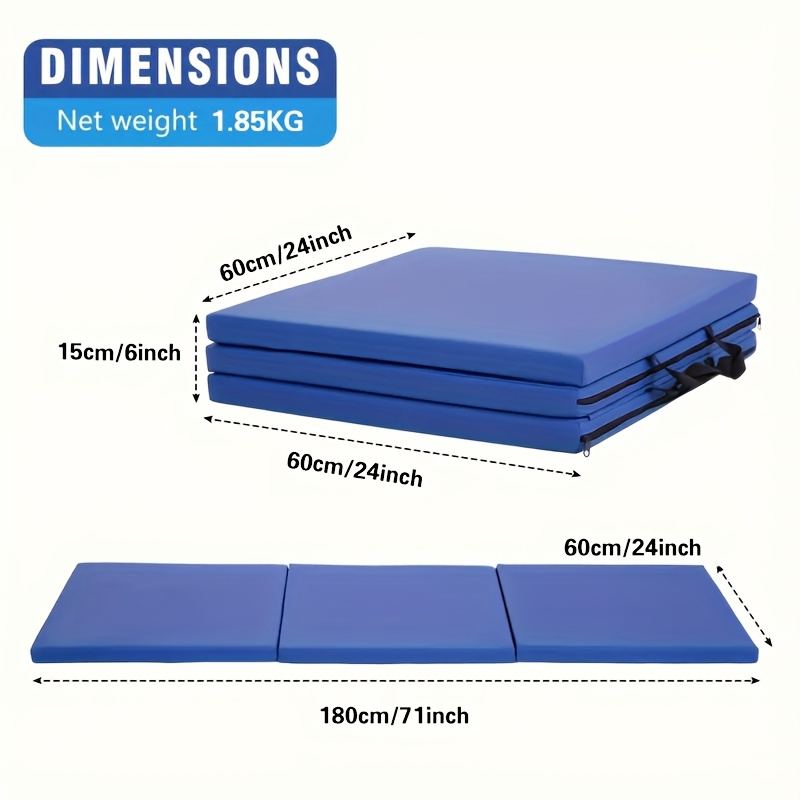
- A mat or soft surface. Your spine and elbows will thank you on a cushioned surface — an extra-thick yoga mat or a folding gym mat works well on hard floors. See our roundup of women's home gym essentials.
- Comfortable clothes and a small patch of floor, roughly the length of your body.
- Water nearby and a timer or phone stopwatch.
Warm-up (2 minutes): March in place for 30 seconds, do 10 slow bodyweight squats to a chair, then 10 gentle standing side bends. Your core works better warm than cold.
The 6 Exercises
Work through each exercise once — that is one round of about 10 minutes including short rests. Rest 20–40 seconds between exercises, or longer if you need it.
1. Dead Bug
Purpose: Teaches your deep core (the transverse abdominis) to brace while your limbs move — the foundation of nearly every safe ab movement. Excellent if your back is sensitive.
How to do it: Lie on your back, arms reaching toward the ceiling, knees bent at 90 degrees with shins parallel to the floor. Press your lower back gently into the mat — imagine squashing a grape under it. Slowly lower your right arm overhead and extend your left leg toward the floor, keeping your back pinned down. Return, then switch sides.
Breathing and reps: Exhale as you extend, inhale as you return. Aim for 2–3 sets of 6–10 slow reps per side.
Beginner modification: Move only the arms (legs stay bent) or only the legs (arms stay up) until the pattern feels stable.
Common mistakes: Letting the lower back arch off the floor as the limbs extend, and rushing. If your back lifts, shorten the range.
2. Lying Heel Taps
Purpose: Trains the obliques (side waist muscles) without sitting up or twisting your spine — a kinder alternative to crunches.
How to do it: Lie on your back, knees bent, feet flat and hip-width apart, arms resting by your sides. Brace your stomach lightly, then tilt your torso slightly to the right to reach your right heel with your right hand. Return to center and repeat on the left, alternating like a slow metronome.
Breathing and reps: Exhale as you tap, inhale as you return to center. Aim for 2–3 sets of 8–14 taps per side.
Beginner modification: Keep the reaches small — even a few inches of movement engages the obliques.
Common mistakes: Yanking the neck up off the floor (keep your head resting down), and holding your breath. The movement is small and controlled, not a lunge.
3. Bird Dog
Purpose: Builds core stability while strengthening your back and glutes — a full-torso exercise disguised as a simple one.
How to do it: Start on all fours — wrists under shoulders, knees under hips, back flat. Brace your stomach as if someone were about to gently poke it. Slowly extend your right arm forward and your left leg back until both are long and level with your body, hips staying square to the floor. Pause for one to two seconds, return slowly, then switch sides.
Breathing and reps: Exhale as you extend, inhale as you return. Aim for 2–3 sets of 6–10 reps per side.
Beginner modification: Extend only the arm or only the leg at first. Place a folded towel or water bottle on your lower back as a balance check.
Common mistakes: Hips rotating open (you are turning into a twist instead of staying square), and lifting the leg too high, which arches the back. Level, not high.
4. Bent-Knee Hollow Hold
Purpose: Builds endurance in the entire front of your core — the "plank position" you can do on your back, friendly for beginners.
How to do it: Lie on your back, knees bent, feet flat. Lift your head and shoulders a couple of inches off the mat and reach your fingertips toward your toes, keeping your lower back pressed down. Hold the position, breathing steadily.
Breathing and reps: Keep breathing — shallow, steady breaths; never hold your breath. Aim for 2–4 holds of 10–25 seconds each.
Beginner modification: Keep your head resting on the mat and just press your back down and lift your hips slightly — you are still building the same bracing skill.
Common mistakes: Holding your breath (a classic in any hold), and pulling the chin to the chest. Keep a fist-sized space under your chin.
5. Lying Knee Tucks
Purpose: Trains the lower abs and hip flexors through a controlled range, without the neck strain of sit-ups.
How to do it: Lie on your back, arms by your sides with palms down for support, legs extended along the floor. Press your lower back into the mat, then slowly draw both knees up toward your chest. Pause briefly, then lower your feet back toward the floor — stopping just before your back starts to arch.
Breathing and reps: Exhale as your knees tuck in, inhale as you lower. Aim for 2–3 sets of 8–15 reps.
Beginner modification: Bend one knee at a time (marching style) instead of moving both legs together.
Common mistakes: Lowering the legs so far that the back arches and the exercise becomes a back strain. Your range is only as big as your control.
6. Modified Side Plank
Purpose: Strengthens the obliques and the muscles that keep your spine from bending sideways — excellent for posture and lower-back support.
How to do it: Lie on your side, bottom knee bent at 90 degrees and elbow under your shoulder, top leg extended straight, feet stacked or staggered for balance. Brace your core and lift your hips until your body forms a straight line from head to bent knee. Hold, breathing steadily, then lower and switch sides.
Breathing and reps: Breathe steadily throughout. Aim for 2–3 holds of 10–30 seconds per side.
Beginner modification: Keep both knees bent and lift from the knees — the leverage is much kinder while you build strength.
Common mistakes: The top shoulder rolling forward (keep your chest open) and the hips sagging toward the floor. A shorter, straighter hold beats a long, saggy one.
Your 10-Minute Flow
| Exercise | Time or Reps | Rest After | |---|---|---| | Dead Bug | 6–10 reps per side | 30 seconds | | Lying Heel Taps | 8–14 taps per side | 30 seconds | | Bird Dog | 6–10 reps per side | 30 seconds | | Bent-Knee Hollow Hold | 10–25 seconds × 2–4 | 30 seconds | | Lying Knee Tucks | 8–15 reps | 30 seconds | | Modified Side Plank | 10–30 seconds per side | Done |
Run through once for a 10-minute session. As it gets easier, repeat the whole circuit a second time — that progression can carry you for months before you need harder movements. When single-leg extensions, straight-leg hollow holds, and full side planks feel doable, you are ready for intermediate core work. An ab wheel from the knees is a natural next step later — see the progression ideas in our core workout guide for women.
Safety Notes
- Stop any exercise that causes sharp pain, especially in your lower back or neck. Muscle effort and a deep burn are normal; pain is not.
- If you have diastasis recti (abdominal separation, common after pregnancy), avoid movements that make your belly dome or cone upward — stick with the dead bug and bird dog, and ask your doctor or a women's-health physiotherapist which movements suit you. Our postpartum exercise guide has more detail.
- If you are pregnant, skip this routine and follow pregnancy-specific guidance instead — see our exercise during pregnancy safety guide.
- Never hold your breath during core holds; it spikes blood pressure and shortens the hold anyway.
FAQ
Q: How often should a beginner do this ab workout?
Two to three times per week, with a rest day between sessions, is plenty. Your core muscles recover like any other muscle — daily training is not required and can leave you too sore to move well.
Q: Will this beginner ab workout give me visible abs?
No workout can promise visible abs, because visibility depends mostly on overall body-fat levels, which are shaped by diet, total activity, and genetics — not by which ab exercises you choose. This routine builds a stronger, more functional core; visible definition, if it comes, comes from the whole picture. Results vary for everyone.
Q: My neck hurts during ab exercises — what am I doing wrong?
You are probably pulling your head forward with your hands or lifting your chin toward your chest. In this routine, most exercises keep your head on the mat — let the floor support it. For the hollow hold, keep a fist-sized gap between chin and chest and think of lifting from your ribs, not your head.
Q: Can I do this workout if I have lower back pain?
Often yes, since these exercises are chosen to be back-friendly — but it depends on the cause of your pain. Start with just the dead bug and bird dog, keep everything slow, and stop if anything worsens the pain. If your back pain is persistent or severe, see a doctor or physiotherapist before training.
Q: How do I know when to move past beginner exercises?
When you can complete the full circuit with good form, breathe normally throughout, and the top of each rep range feels easy for two or three sessions in a row, progress one exercise at a time — straighten a leg in the hollow hold, extend both limbs in the dead bug, or add a second circuit. Slow progression beats jumping ahead.
Q: Do I need equipment for a beginner ab workout?
No. A mat makes floor work comfortable, and that is genuinely all you need to start. Bands, sliders, and wheels become useful later as progressions — not prerequisites. If you are building a home setup, our guide to starting strength training for women covers the smart first purchases.
The Bottom Line
A stronger core does not require punishment — it requires consistency with movements your body can actually do well. Six exercises, ten minutes, two or three times a week: that is the whole formula. Keep your back pinned down, breathe through every rep, progress one small step at a time, and let the strength build quietly in the background of your life.
