New to the hexagonal trap bar? Learn how trap bar deadlifts work, why beginners find them friendlier, and whether your home gym really needs one.
Trap Bar Guide: What It Is and Whether Beginners Need One
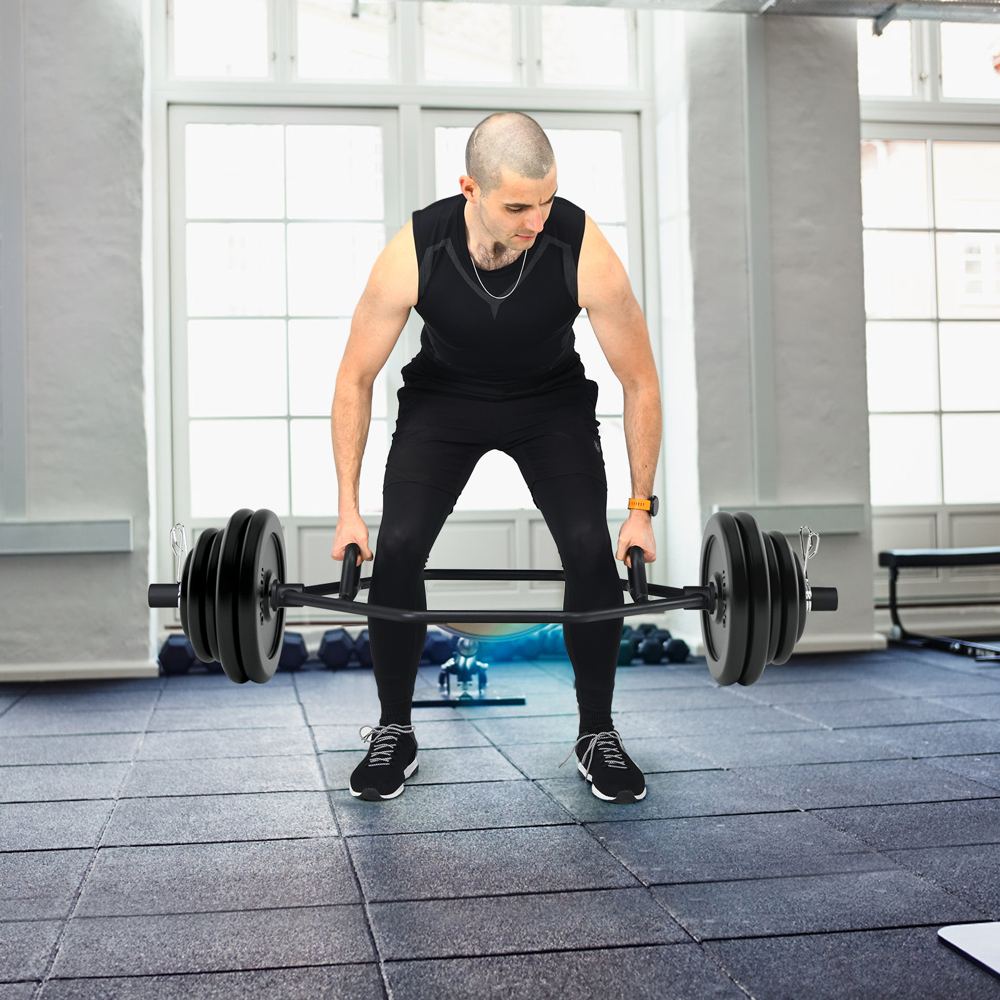
You've probably seen it leaning in the corner of the gym: a hexagonal frame of steel, like a picture frame you step inside. That's the trap bar — also called a hex bar — and it's become one of the most beginner-friendly ways to learn a deadlift. Instead of a straight bar in front of your shins, you stand inside the hexagon and grip handles at your sides. The weight sits beside you rather than in front of you, which changes how the whole lift feels.
This guide explains what the trap bar does, why coaches call it the friendliest deadlift variation for beginners, how to set it up and lift safely, and — honestly — who doesn't need one at all.
This guide contains affiliate links. If you buy through them, VÉLORA may earn a commission at no extra cost to you.
What Is a Trap Bar?
The trap bar is a hexagonal steel frame with two handles and weight sleeves on the sides. You stand inside it, grab the handles with a neutral grip — palms facing each other, like holding suitcases — and stand up with the weight. (The name comes from its original purpose, training the trapezius, but today it's used almost entirely for deadlifts and loaded carries.)
The key difference from a straight barbell is load position. With a straight-bar deadlift, the weight hangs in front of your body, pulling you forward. With a trap bar, the weight is centered on your body, split evenly left and right. There's no bar drifting away from your shins because you are the center of the load.
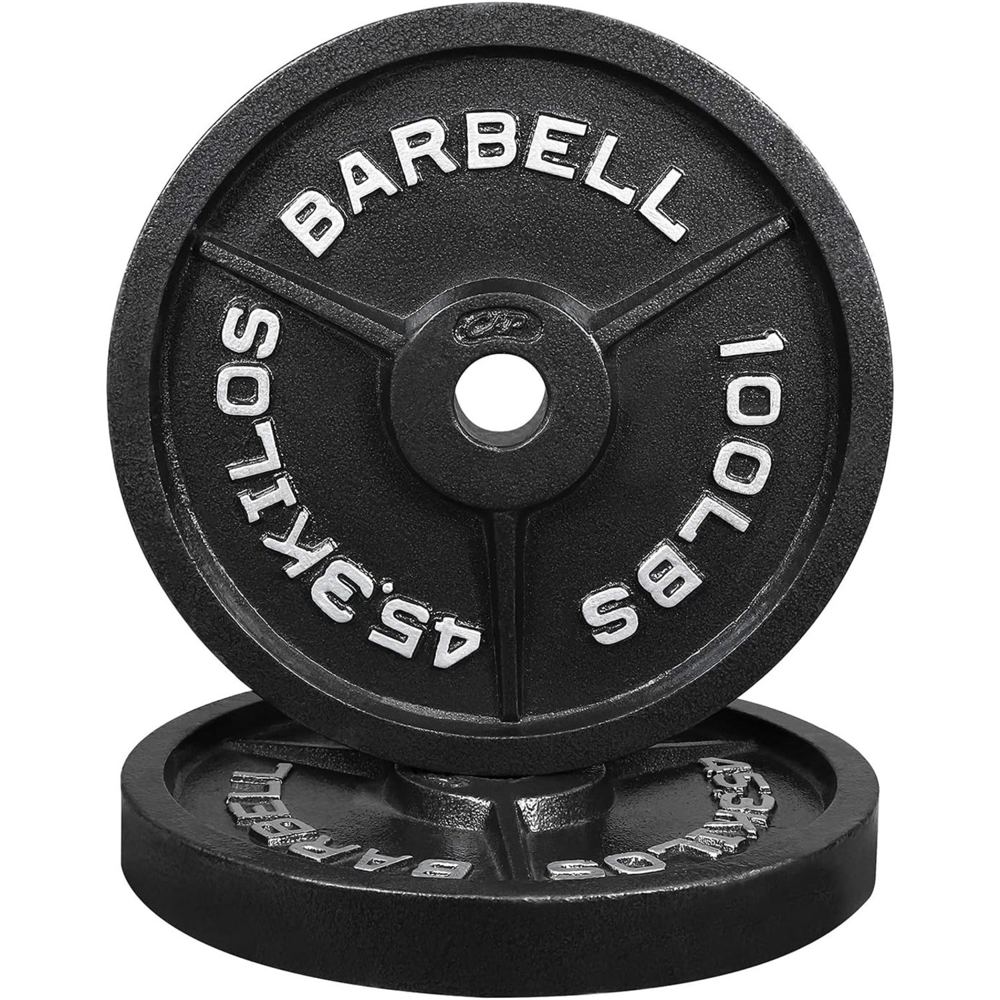
Most trap bars offer two handle heights: high handles (easier start, less bending) and low handles (deeper start, more range). Beginners should start with the high handles. If you're shopping, the MULTIGOT 2-Inch Hex/Trap Bar (800 lbs capacity) uses standard 2-inch sleeves that accept Olympic plates — such as classic cast iron barbell weight plates — and doubles beautifully for farmer's carries, one of the best grip-and-trunk builders there is.
Why Beginners Find the Trap Bar Friendlier
A heavy deadlift is still a heavy deadlift — but the trap bar removes several of the trickiest parts of learning one:
The neutral grip feels natural. Overhand and mixed grips on a straight bar feel awkward at first and often limit beginners before their legs do. Holding handles at your sides is intuitive from rep one.
The centered load is forgiving. A straight bar pulls you forward, and beginners often round their backs or let their hips shoot up fighting it. The trap bar keeps the load under your center of mass, naturally encouraging a more upright torso and a stable squat-hinge blend.
No bar-to-shin contact. Scraped shins are a straight-bar rite of passage. The trap bar never touches your legs, so you can focus on the muscles working instead of the bar path.
It's harder to mess up badly. Stand tall between the handles, push the floor away, lock out. Our deadlift alternatives at home guide covers other ways to train the same pattern, but the trap bar remains the closest thing to a deadlift with training wheels — and plenty of advanced lifters keep it permanently.
Who Doesn't Actually Need One
A trap bar is a bulky, fairly expensive piece of steel, so let's be honest about who can skip it:
- You already deadlift a straight bar comfortably. Solid, pain-free conventional or sumo technique? A trap bar is a nice-to-have, not a need.
- You're a competitive powerlifter. Powerlifting is judged on straight-bar deadlifts — train the lift you'll compete in.
- Space or budget is tight. It takes up roughly a coffee table's footprint and costs as much as a decent dumbbell pair. For compact home gyms, adjustable dumbbells plus Romanian deadlifts cover the same muscles — see adjustable vs fixed dumbbells.
- You train twice a week for general fitness. At that frequency, a full-body dumbbell routine takes you very far before a specialty bar becomes the limiting factor.
The trap bar earns its place for people who want to deadlift heavy and often, beginners intimidated by the straight bar, and anyone whose back prefers centered loading. Everyone else can skip it without guilt.
Setup and Technique: The Trap Bar Deadlift
Setup
- Stand inside the frame, feet hip-width apart, centered between the sleeves, toes slightly out.
- Use the high handles first. The shorter range of motion is kinder while you learn the pattern.
- Hinge and grip. Push hips back, bend knees, grab the handles palms-facing-thighs. Chest proud, back flat, arms hanging straight down from the shoulders.
- Brace. Breathe into your belly, tighten your trunk like you're about to be gently pushed, and pull the slack out of the bar — everything should feel "on" before the weight moves.
The Lift
Push the floor away and stand up, driving your hips forward to lockout. Think "press the ground down," not "pull the weight up." Torso stays tall, shoulders back and down. At the top, stand fully tall with glutes squeezed — but don't lean back; that's your lower back doing a trick nobody asked for.
Lower by pushing your hips back first, then bending the knees once the bar passes them. Touch the plates down lightly, reset your brace, and go again — no bouncing. Each rep starts from a dead stop, which is literally what "deadlift" means.
Breathing: inhale and brace at the bottom, hold the brace through the lift, exhale at the top or as you lower. Never hold your breath until you're dizzy.
Sets, Reps, and Progression
There's no single prescription for everyone — match the scheme to your goal:
- Learning (weeks 1–4): 2–3 sets of 5–8 reps, light load, 1–2 times per week. Technique first.
- Building strength: 3–4 sets of 3–6 reps, resting 2–3 minutes. Add 2.5–5 lbs per side when all sets feel solid.
- General fitness: 2–3 sets of 8–10 reps, resting 60–90 seconds.
New to programming? Reps and sets for beginners and progressive overload explained walk you through progressing without guessing.
Trap Bar vs Straight Bar: A Fair Comparison
| Feature | Trap Bar Deadlift | Straight-Bar Deadlift | |---|---|---| | Load position | Centered at your sides | In front of your shins | | Grip | Neutral (palms facing in) | Overhand or mixed | | Torso angle | More upright, squat-hinge blend | More horizontal hinge | | Learning curve | Shorter — technique clicks faster | Longer — hinge takes practice | | Lower-back demand | Typically less, centered load | Higher, especially with poor form | | Competition relevance | None (not a powerlift) | The competition lift | | Cost & footprint | Bulkier specialty bar | A basic barbell is cheaper |
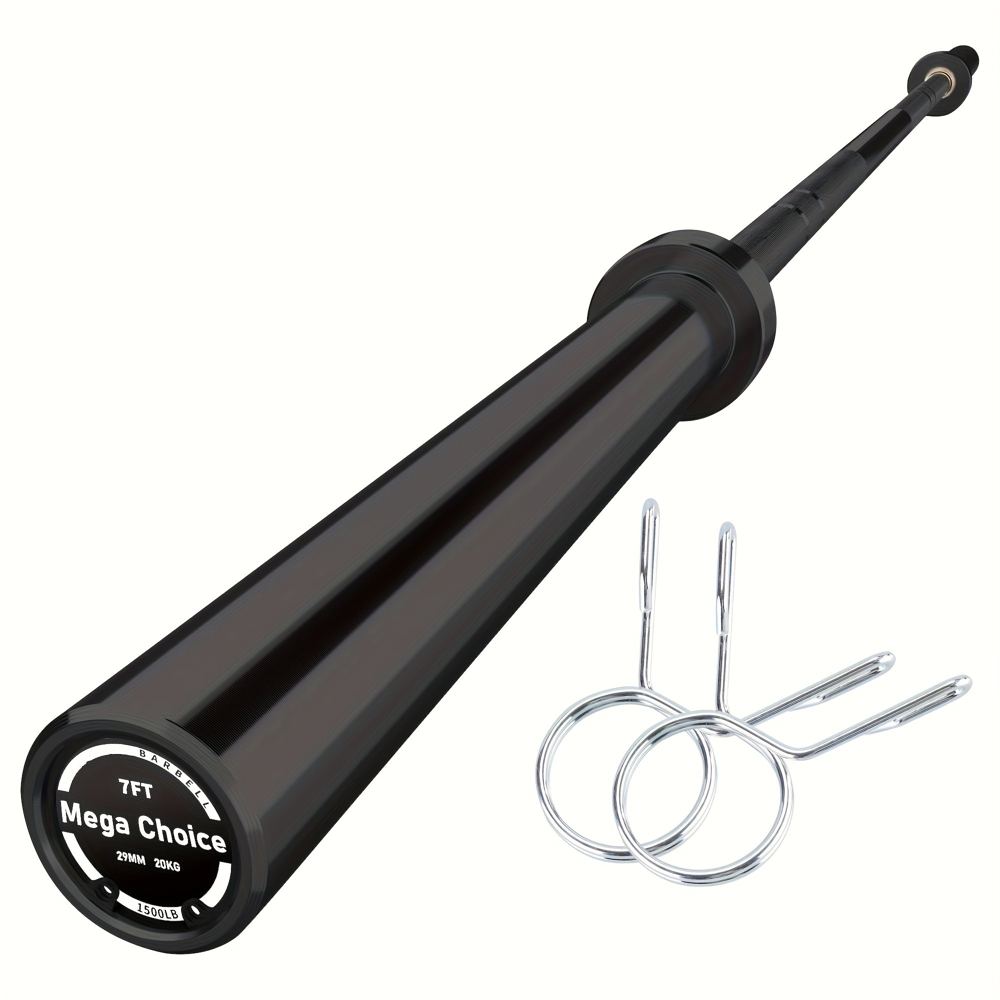
Neither is "better" outright. The trap bar is the gentler teacher; the straight bar is the competition standard. Many lifters use both — and a standard 7-foot Olympic barbell still earns its keep for curls, presses, and rows on other training days.
Common Mistakes
- Starting with the low handles. The deeper start demands hip and ankle mobility most beginners don't have yet. Earn the low handles over a few weeks.
- Squatting the weight up. The trap bar allows more knee bend, but it's still hip-dominant. If your hips are at the floor and torso vertical, push your hips back and load the glutes and hamstrings.
- Rounding the back at the bottom. Flat back and proud chest before every rep. If you can't keep it flat, the weight is too heavy or your setup too deep.
- Jerking the bar off the floor. Take the slack out first, then push. Yanking loads the biceps and back badly.
- Skipping collars. Trap bar sleeves angle slightly and plates can walk outward mid-set. Always use clips.
Safety Notes
- Load plates evenly on both sleeves and always use collars.
- Keep the floor clear — the hexagon is wider than it looks when you step back.
- Warm up with the empty bar for a set or two before adding plates.
- Stop for sharp or radiating back pain, or pain that worsens as you continue. Glute and leg fatigue is normal; back pain is not.
- With a current back condition, disc issues, or uncontrolled high blood pressure, get medical guidance before deadlifting.
- Don't test a one-rep max in your first few months. Patient strength lasts; rushed strength usually comes with an injury story.
FAQ
Q: Is a trap bar deadlift easier than a regular deadlift?
For most beginners, yes — the neutral grip and centered load make technique click faster and typically place less demand on the lower back. "Easier to learn" isn't "easy," though: a heavy trap bar pull is still serious strength work.
Q: Do I need a trap bar as a beginner?
Need? No. Dumbbells, kettlebells, and bodyweight work build excellent strength first. But if you want to learn deadlifting and the straight bar feels intimidating, the trap bar is one of the best on-ramps available.
Q: High handles or low handles?
Start high. The reduced range of motion is kinder to hips and back while you learn. Move to the low handles after a few weeks of consistent, pain-free lifting if you want a deeper pull.
Q: Can the trap bar replace squats?
Not really. It's hip-dominant — glutes, hamstrings, back. Squats are knee-dominant and load the quads more. They complement each other; one doesn't replace the other.
Q: Is a trap bar good for women?
Absolutely. The neutral grip and centered load suit many women's proportions well, and the learning curve is encouraging rather than punishing. Strength is strength — the bar doesn't care who's lifting it.
Conclusion
The trap bar lives up to its reputation: a genuinely friendlier way to learn the deadlift, thanks to the neutral grip and the weight sitting centered on your body instead of dragging you forward. You don't need one to get strong — but if deadlifting appeals to you and the straight bar feels like a puzzle you don't want to solve, the hexagon in the corner is your answer. Start light, use the high handles, brace like you mean it, and let the progression do the work.