Learn how to use a foam roller with this beginner full-body routine: the right technique, timing, beginner modifications, common mistakes and safety notes.
How to Use a Foam Roller: A Beginner's Full-Body Routine
A foam roller only works if you know how to use it. Most beginners make the same two mistakes: they roll far too fast, like ironing a shirt in a hurry, and they press on places that should never be rolled. The result is a sore, unconvincing first session — and a roller that migrates to the back of a closet.
This routine fixes that: the right pace, the right pressure, how to breathe, how long to spend on each area (in sensible ranges, never a rigid prescription), and what to modify when something feels wrong. About 15 minutes, head to toe.
This guide contains affiliate links. If you buy through them, VÉLORA may earn a commission at no extra cost to you.
Before You Begin: What Rolling Does
Rolling is a form of self-massage. By resting part of your body weight on the roller and moving slowly, you apply sustained pressure to muscles and the connective tissue around them. People use it to ease post-exercise soreness, loosen stiffness from sitting, and feel more mobile before or after a workout.
A few honest caveats, because no good guide skips them: rolling will not reduce fat in a specific area (spot reduction is a myth — no tool or exercise can do it), it is not a treatment for injuries, and results vary widely. Some people feel noticeably looser after one session; others feel only a mild difference. Both are normal. If you are choosing a roller first, our best foam rollers shortlist is the beginner-friendly place to start — medium density, standard 18-inch, smooth.
The Golden Rules of Technique
Every area below follows the same principles:
- Roll slowly — about one inch per second. Fast rolling is just vibration; slow rolling lets the pressure work on the tissue.
- Pressure is adjustable with your body weight. Too intense? Put a hand or foot on the floor to take weight off. Too gentle? Cross an ankle or lean in more.
- Breathe steadily. Slow nasal inhales, long exhales. Never hold your breath — bracing makes muscles tighter.
- Never roll directly on bones, joints, or the spine. Roll the muscles around them. Avoid the lower back directly, the kneecaps, elbows, and neck.
- Discomfort is fine; pain is not. A "good hurt" you can breathe through is the target. Sharp, shooting, or joint pain means stop.
- Time ranges, not prescriptions. 30–60 seconds per muscle group, or 6–10 slow passes.
The 15-Minute Beginner Full-Body Routine
Do the areas in this order — lower body first, then upper body. Wear comfortable clothing, keep water nearby, and give yourself permission to be clumsy the first time.
1. Calves
Purpose: Calves tighten from walking, running, stairs, and standing all day. Releasing them improves ankle comfort and eases that heavy-leg feeling.
Starting position: Sit with legs extended, roller under one calf. Hands on the floor behind you for support. Cross the other ankle over the working leg for more pressure, or leave it on the floor for less.
Technique: Lift your hips slightly and slowly roll from just above the ankle to just below the knee — 6–10 slow passes over 30–60 seconds. Rotate the leg slightly inward or outward to catch the inner and outer calf.
Breathing: Long exhales on each pass. Relax your shoulders — beginners tend to shrug while rolling.
Beginner modification: Keep both feet uncrossed and one foot flat on the floor to offload weight — a perfectly good place to start.
2. Hamstrings (Back of Thighs)
Purpose: The hamstrings get short and stiff from prolonged sitting. Rolling them eases that behind-the-knee tightness — see our hamstring stretches for beginners for the stretching half of the job.
Starting position: Sit with the roller under the back of your thighs, hands behind you. For less pressure, keep one foot on the floor.
Technique: Roll from just above the knee to just below the glutes, 6–10 passes over 30–60 seconds. Shift your weight slightly side to side to catch the inner and outer hamstrings.
Breathing: Steady rhythm; exhale as you roll toward the knee, inhale back up.
Beginner modification: Bend the non-working knee with the foot flat on the floor and push through that foot to control how much weight sits on the roller.
3. Outer Thighs
Purpose: The outer thigh carries tension from walking, running, and side-to-side movement. This area is famously sensitive — go gently.
Starting position: Lie on your side with the roller under the outer thigh, propped on your forearm and the top foot on the floor in front of you.
Technique: Roll from just above the knee to just below the hip, 6–10 short passes over 30–60 seconds. Keep passes short at first; the full length can wait until you adapt.
Breathing: Slow exhales, and consciously unclench your jaw — this area makes everyone tense their face.
Beginner modification: Roll only the middle third of the thigh and keep the top foot firmly on the floor to offload most of your weight. If it is sharply painful even then, skip this area for now and return in a few weeks.
4. Glutes
Purpose: Sitting compresses the glutes all day, and weak, tight glutes contribute to lower-back complaints. Gentle glute rolling is one of the highest-value parts of this routine.
Starting position: Sit on the roller with knees bent, feet flat. Lean slightly toward one side and cross that ankle over the opposite knee (figure-four position).
Technique: Roll slowly over the glute on the crossed side, 6–10 passes over 30–60 seconds, then switch sides. If you find a tender spot, pause on it for 2–3 slow breaths rather than rolling over it aggressively.
Beginner modification: Skip the ankle cross and sit squarely on the roller, rolling both glutes at once with feet flat — much gentler and easier to balance.
5. Upper Back
Purpose: Desk posture rounds the upper back forward for hours. Rolling the thoracic area opens the chest and eases that between-the-shoulder-blades stiffness.
Starting position: Sit with the roller behind your upper back (below the shoulder blades, never on the lower back), knees bent, feet flat. Cross your arms over your chest or support your head with your hands.
Technique: Lift your hips slightly and roll from the bottom of the shoulder blades to the top, 6–10 passes over 30–60 seconds. Let your head and shoulders drape back over the roller.
Breathing: Big, slow exhales; let the ribcage expand over the roller on each exhale. This is the single most relaxing part of the routine.
Beginner modification: Keep your hips on the floor and just lean back over the roller — far less pressure, still very effective.
6. Lats (Side of Upper Back)
Purpose: The lats tighten from pulling movements, carrying bags on one shoulder, and desk hunching.
Starting position: Lie on your side with the roller under your armpit area, bottom arm extended overhead, top hand on the floor for balance.
Technique: Roll from the armpit down toward the mid-ribcage, 6–10 short passes over 30–60 seconds per side.
Breathing: Deep side-rib breathing — imagine filling the ribs on the working side with each inhale.
Beginner modification: Bend the knees and keep the top foot on the floor to reduce pressure, and shorten the range to just a few inches until you know the feeling.
7. Chest (Against a Wall)
Purpose: A tight chest pulls the shoulders forward. Rolling the chest against a wall (not on the floor) is gentler and easier to control.
Starting position: Stand facing a wall with the roller held between the wall and your upper chest, just inside the shoulder. One hand on the wall for balance.
Technique: Lean in and roll small circles or short passes over 30–45 seconds per side. Keep the pressure light, and stay on the upper chest muscle only.
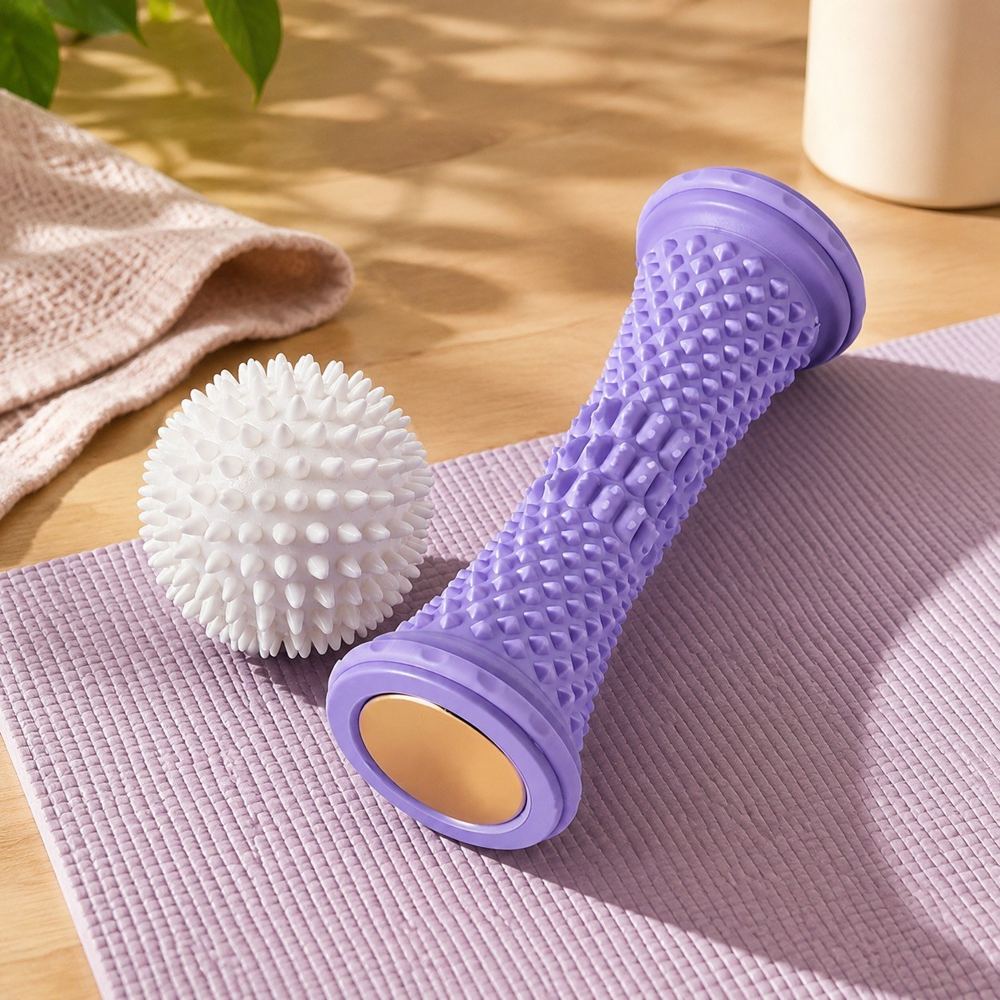
Beginner modification: Skip the roller entirely for this one and use a tennis or massage ball against the wall — even more control. A foot roller and fascia ball set covers this kind of targeted work nicely.
8. Feet (Optional Finisher)
Purpose: After all that standing, walking, and training, the soles of the feet deserve attention. The plantar fascia responds well to gentle rolling.
Starting position: Standing or seated, roller (or a small roller/ball) under the arch of one foot.
Technique: Roll from heel to ball of the foot with moderate pressure for 30–60 seconds per foot.
Breathing: Normal, relaxed breathing.
Beginner modification: Do it seated with light pressure — standing puts your full weight on a small area.
Common Mistakes
- Rolling too fast. One inch per second. If you finish a muscle group in ten seconds, you did cardio, not recovery.
- Rolling the lower back directly. Roll the glutes and upper back instead, and stretch the lower back gently — our lower back stretches are the safer route.
- Rolling over joints. Knees, elbows, ankles, the front of the neck — none of these get rolled. Muscles only.
- Holding your breath and bracing. If you cannot breathe calmly, the pressure is too high — reduce it.
- Attacking the most painful spot aggressively. Tenderness means the tissue needs gentleness, not punishment.
Safety Notes
- Stop for sharp pain, numbness, tingling, or anything that radiates down a limb. Soreness is normal; nerve symptoms are a stop signal.
- Avoid rolling over varicose veins, bruises, rashes, broken skin, or recently injured or swollen areas.
- If you are pregnant, use wall or seated positions only, avoid lying on your back after the first trimester, and check with your provider first — our exercise during pregnancy safety guide covers the ground rules.
- If you take blood thinners or have a diagnosed musculoskeletal condition, get your clinician's go-ahead first.
- Persistent pain that does not improve with rest and gentle care deserves professional evaluation, not more rolling.
FAQ
Q: How often should a beginner foam roll?
Start with 2–3 times per week, 30–60 seconds per muscle group, and build toward daily use if it feels good. Consistency at gentle pressure beats occasional aggressive sessions every time.
Q: Is it normal for foam rolling to hurt?
Mild discomfort — a "good hurt" you can breathe through — is normal, especially in the first couple of weeks. Sharp, shooting, or joint pain is not normal. Reduce pressure (offload weight with hands or feet on the floor) until the sensation is tolerable.
Q: Should I roll before or after a workout?
Either works, with different intent. Before a workout, roll briefly (30 seconds per area) as part of your warm-up to feel looser. After a workout, take a little longer (45–60 seconds per area) for recovery. Both are valid — match the session to the goal.
Q: How long before I notice a difference?
Many people feel looser immediately after their first session. Lasting changes typically come from weeks of consistent practice — and results vary. Think of rolling as maintenance, like brushing your teeth, not a one-time fix.
Q: What if I cannot get on and off the floor easily?
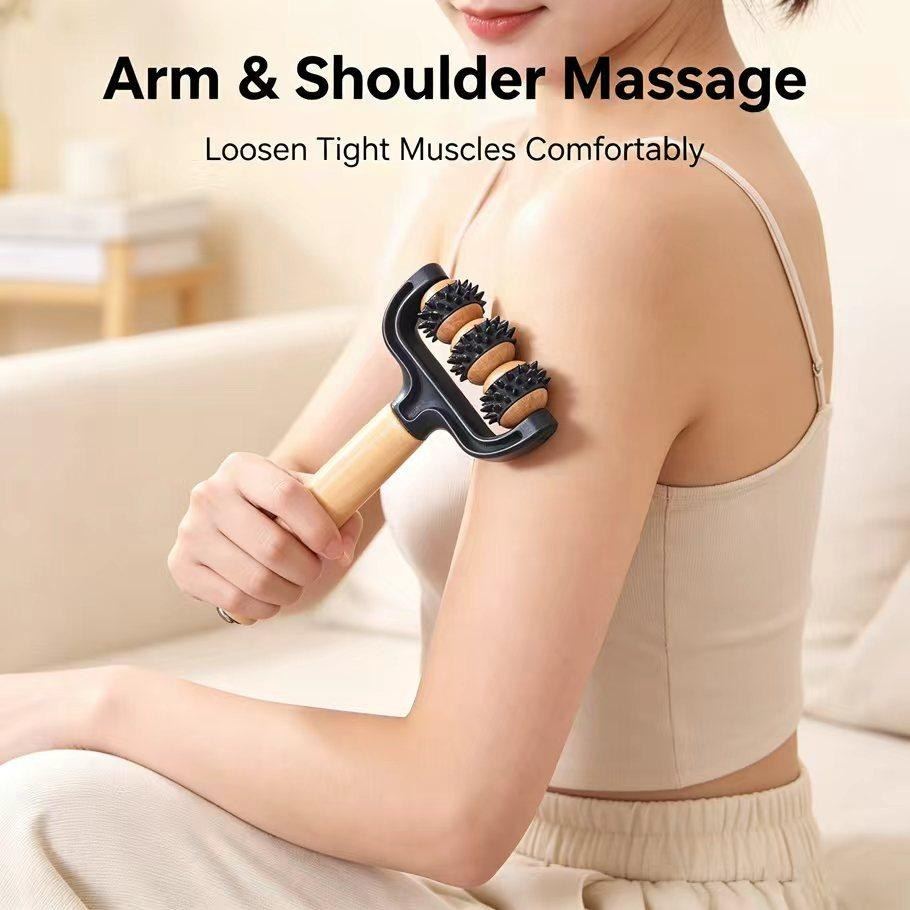
Use wall-based and seated versions, or a handheld roller massager you control with your hands instead of your body weight — like the Wooden Roller Massager for Feet, Arms and Back, which lets you roll your arms, calves, and back while seated. The benefits come from slow, deliberate pressure, not from the position.
Conclusion
Slow rolling, sensible pressure, steady breathing, and muscles only — that is the whole technique. Run this sequence two or three times a week for a month and rolling will stop feeling like a chore and start feeling like the best fifteen minutes of your training day.
