Planning a garage home gym setup? Follow this step-by-step plan — measure, floor, zone, equip, and ventilate — to build a safe, complete gym in your garage.
Garage Home Gym Setup: Plan Your Space Step by Step
A garage is the ideal home gym: concrete floors, high ceilings, and room for real equipment. But a great garage home gym setup does not happen by dragging equipment in at random — it happens by planning. This step-by-step guide takes you from an empty garage to a safe, complete training space: measuring, flooring, zoning, equipment, power, and the small details that separate a gym you love from a storage room with a barbell in it.
This guide contains affiliate links. If you buy through them, VÉLORA may earn a commission at no extra cost to you.
Step 1: Measure Everything (30 Minutes That Save You $500)
Before buying anything, measure your garage and draw a simple floor plan — paper and a tape measure are enough. Record:
- Floor dimensions and ceiling height (a pull-up bar needs about 8 feet of clearance; overhead presses need your height plus arm's length)
- Garage door track and opener position — equipment cannot live where the door travels
- Wall studs — a wall-mounted rack needs solid stud or masonry anchoring
- Electrical outlets — for lighting, a fan, and any cardio machine
- The car's footprint, if the car still parks inside — mark a "car zone" that stays clear
Most two-car garages have 400–500 square feet. A complete strength setup needs only about 8×8 feet of open floor plus wall storage. Knowing your numbers first stops you from buying a rack that will not fit through the door — literally.
Step 2: Floor It Right
Garage concrete is hard, cold, and dusty — fine for cars, poor for training. Your flooring choice depends on your training style:
- Interlocking foam tiles: cheapest and easiest; good for bodyweight, dumbbells, and general training. Not ideal under heavy barbells.
- Horse stall mats (rubber, 3/4 inch): the gold standard for garage gyms. Dense, tough, and forgiving under dropped weights. Heavy to move, but they stay put for years.
- A lifting platform: if you plan to deadlift with a barbell, build or buy a plywood-and-rubber platform in your lifting zone. It protects the concrete and deadens noise.
Cover at least your main lifting zone (8×8 feet) wall to wall. Sweep or vacuum before laying anything — grit under mats grinds into the concrete and eventually into the mats.
Step 3: Zone Your Space
A planned garage gym has zones, just like a commercial gym. Sketch these onto your floor plan:
- The lifting zone (8×8 ft): rack, bench, barbell, plates. This is the heart of the gym — give it the best floor and the most headroom.
- The open-floor zone (6×6 ft): bodyweight work, stretching, kettlebell swings. Keep this clear of everything.
- The conditioning corner: bike, rower, or jump-rope space near the garage door (open it for airflow).
- The storage wall: dumbbells, bands, and accessories on racks or pegboard so the floor stays clear.
Zones keep a small garage feeling spacious and stop equipment from migrating into a pile. For a broader equipment strategy, our home gym setup for men covers the same principles from a programming angle.
Step 4: Choose Your Equipment in Order
Buy in this order — each tier builds on the last:
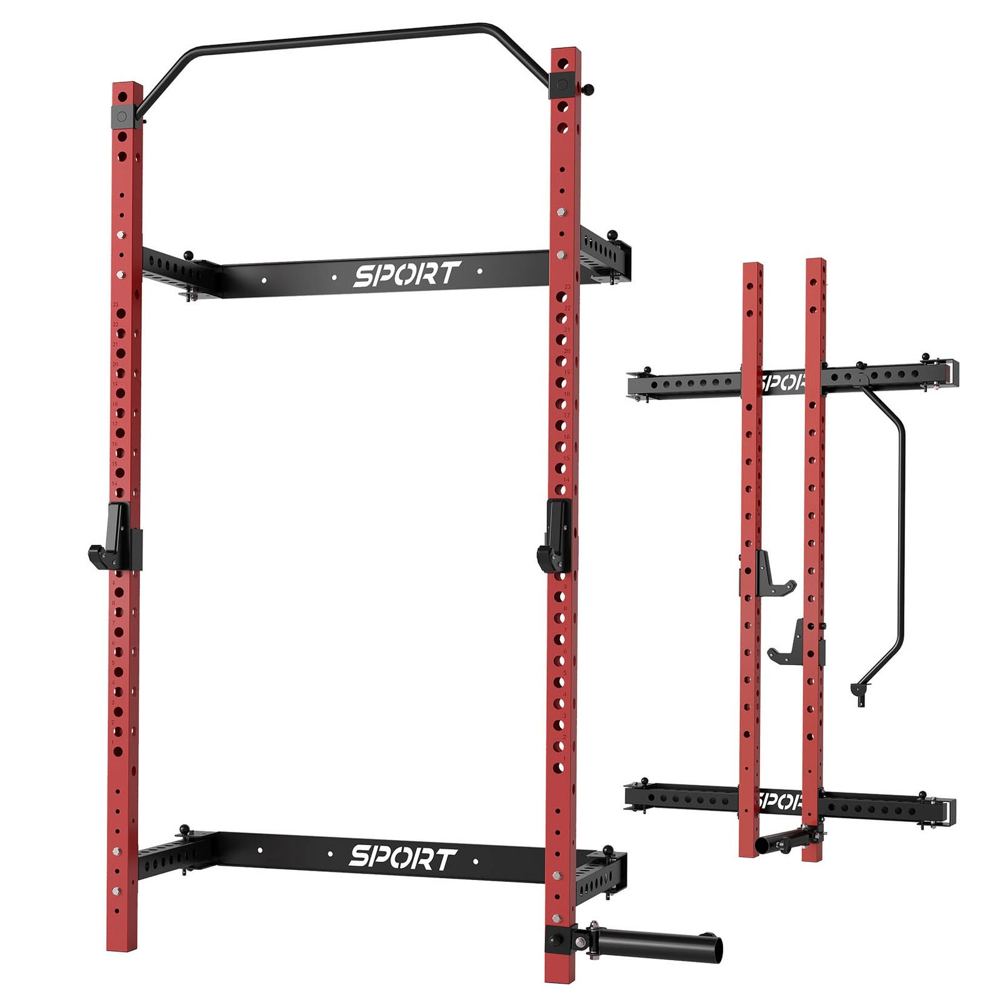
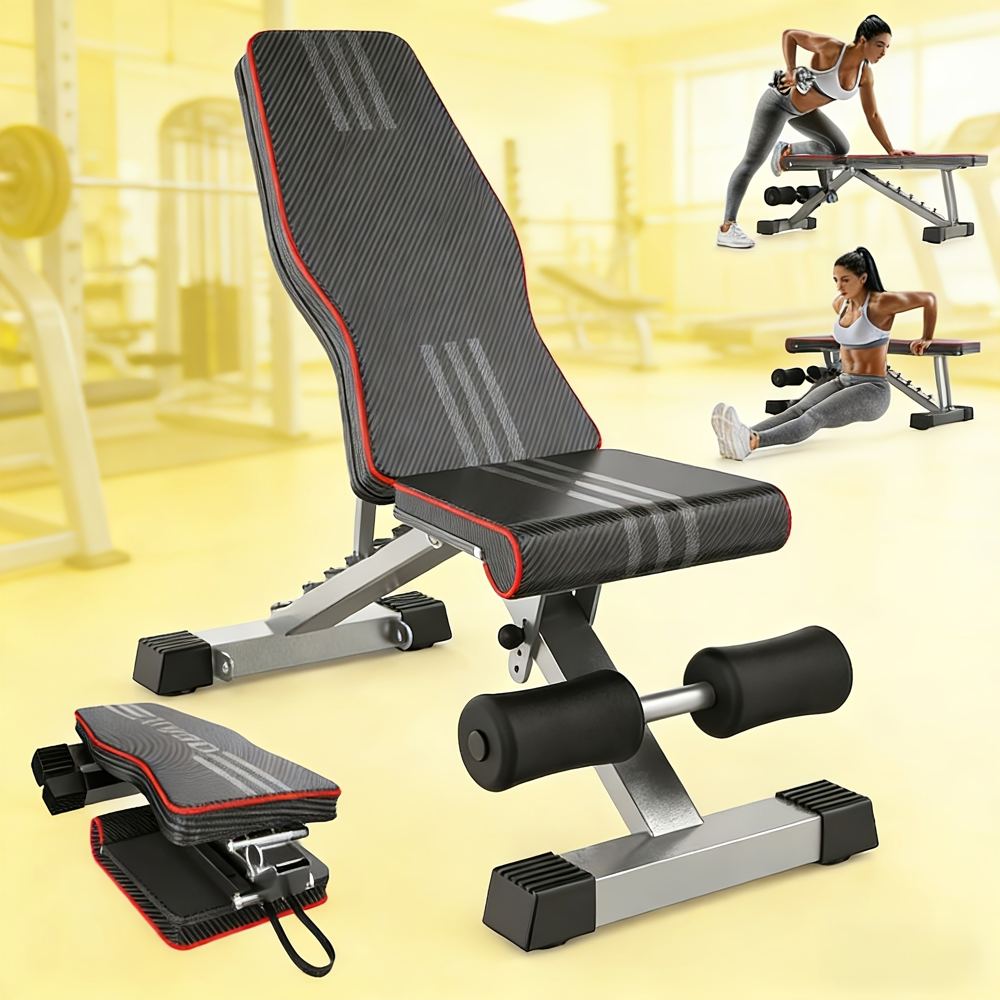
Tier 1 — the essentials: a rack, a bench, a barbell, and weight plates. A wall-mount foldable squat rack with pull-up bar is ideal for garages that still park a car — fold it flat against the wall when you are done. Pair it with an adjustable weight bench for pressing and accessory work.
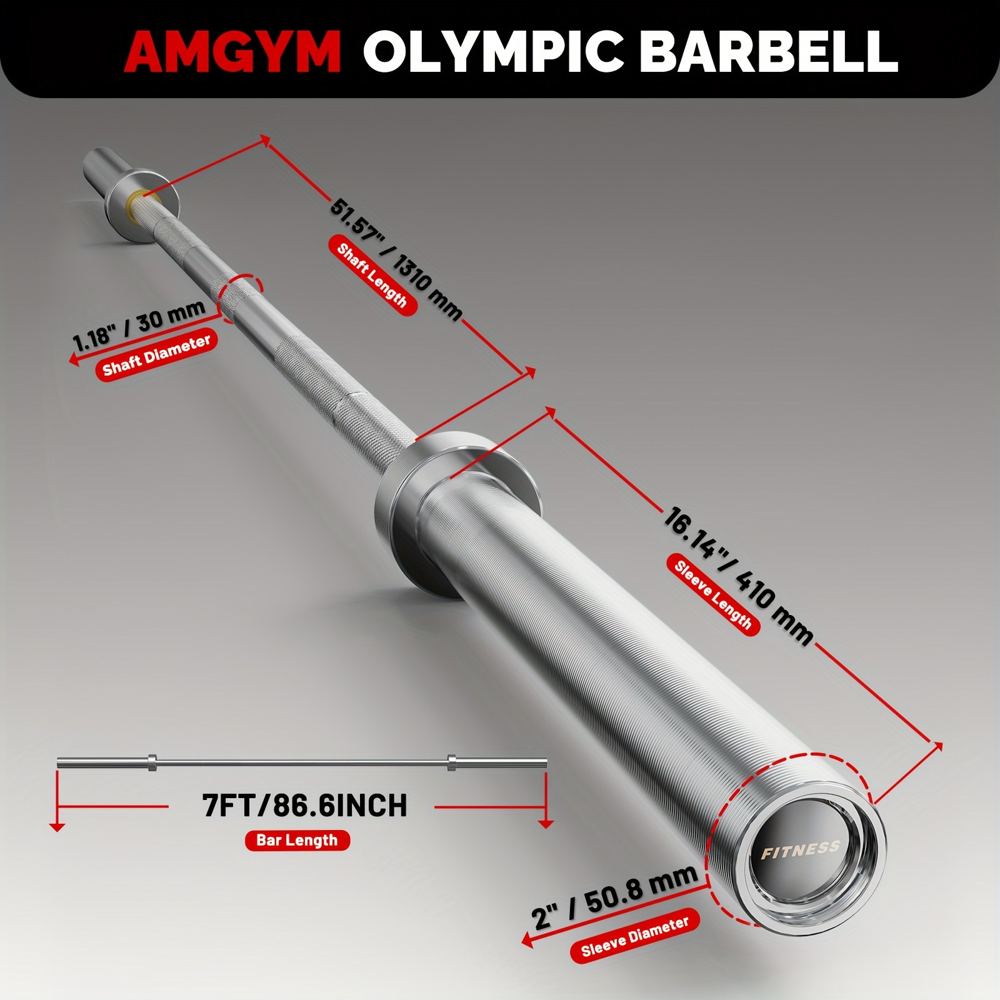
Tier 2 — the barbell kit: a 7-foot Olympic barbell and a starter set of plates (bumper plates if you will do any Olympic-style lifting; iron or coated plates are fine for powerlifting-style training). Add collars — non-negotiable for safety.
Tier 3 — dumbbells and accessories: adjustable dumbbells, a kettlebell or two, resistance bands, and a mat. These fill the gaps between barbell sessions and make the gym genuinely fun to train in.
Tier 4 — conditioning: a fan bike, rower, or foldable treadmill near the door. See best rowing machines for home if you go the rower route.
Budget Tiers: What Each Level Gets You
| Tier | Typical budget | What it buys | Best for | |---|---|---|---| | Starter | $300–$600 | Foldable rack, bench, dumbbells, bands, mats | Beginners and general fitness | | Solid | $800–$1,500 | Above + Olympic barbell, plate set, platform | Serious strength training | | Complete | $2,000–$3,500 | Above + cardio machine, full dumbbell range, storage | A gym that replaces any membership |
Prices vary by brand, sales, and whether you buy used — plates and dumbbells are excellent used purchases; inspect racks for bent uprights and stripped holes. Compared with years of membership fees, even the complete tier pays for itself; see home gym vs. gym membership cost for the math.
Step 5: Light, Air, and Power
Garages are usually dark and stuffy, and both kill motivation:
- Lighting: replace the single bare bulb with bright LED shop lights. Good light makes the space feel like a gym instead of a storage unit — and you need to see your form.
- Ventilation: a wall-mounted or high-velocity fan is the single best comfort upgrade. In summer, train with the door open early morning or evening.
- Power: a heavy-duty extension lead on a wall hook handles fans and cardio machines; keep cables off the floor in your lifting zone.
- Mirrors (optional): one large mirror on the lifting-zone wall helps you check form on squats and presses.
Step 6: Safety Rules for the Garage
Garages have specific hazards — treat them seriously:
- Anchor the rack. A wall-mount or bolted rack cannot tip. Freestanding racks need plate storage on the rear posts or floor anchors.
- Use safeties. Set spotter arms or safety straps on every heavy lift — squats, bench press, overhead press. Training alone in a garage with no safeties is the one genuinely dangerous mistake.
- Check the floor. Wet concrete is slippery. Wipe up oil spots, and keep a dry path from the door to the lifting zone in winter.
- Secure the plates. Store plates on the rack or a tree, never leaning against walls where they can fall on feet.
- Lock chemicals away. Garages store paint, pesticides, and fuel — keep them sealed and separated from your training air.
Stop any exercise that causes sharp or joint pain, and keep a phone within reach when training alone. These sound obvious until the day they matter.
Step 7: Make It a Place You Want to Train
The final step is psychological. A garage gym you avoid is just expensive storage. Small touches that work:
- Keep it tidy — a five-minute reset after each session preserves the zones.
- Put up one piece of visual motivation: a whiteboard for tracking lifts works better than posters.
- Build the habit loop: same time, same warm-up, every session. Our home workout motivation guide covers the psychology in depth.
- Invite a training partner occasionally — accountability is free equipment.
Frequently Asked Questions
How much space do I really need for a garage gym? An 8×8-foot lifting zone plus a storage wall is a complete gym. If the car stays inside, a wall-mount folding rack lets you reclaim the space between sessions — measure first, buy second.
Will lifting damage my garage floor? Bare concrete can chip and crack under dropped iron. Rubber stall mats or a lifting platform prevent virtually all damage. Bumper plates are kinder to floors than iron when Olympic lifts are involved.
Is it safe to train alone in a garage? Yes, with safeties set correctly, a racked or wall-mounted setup, collars on every barbell, and a phone nearby. Never bench or squat heavy alone without spotter arms or safety straps — that rule has no exceptions.
How do I deal with extreme heat or cold? Train early or late in summer with the door open and a fan running; in winter, a space heater started 20 minutes before the session plus layered warm-ups works for most climates. Dress for the temperature and extend your warm-up when it is cold — cold muscles are less forgiving.
Should the car still park in the gym garage? It can, if you plan for it. Mark the car's zone with floor tape, use a folding rack, and store everything else on the walls. Many excellent garage gyms share space with a car — the folding rack exists precisely for this.
Conclusion
A garage home gym setup is a weekend project with a decade of payoff. Measure, floor, zone, equip in order, light it well, and respect the safety rules — then train. The best gym in the world is the one ten steps from your kitchen, and now you know exactly how to build it.
