Wondering how to use an ab roller safely? This guide teaches the wall-to-knee rollout progression, anti-extension technique, and the back-safety mistakes to avoid.
Ab Roller Guide: Use an Ab Wheel Without Hurting Your Back
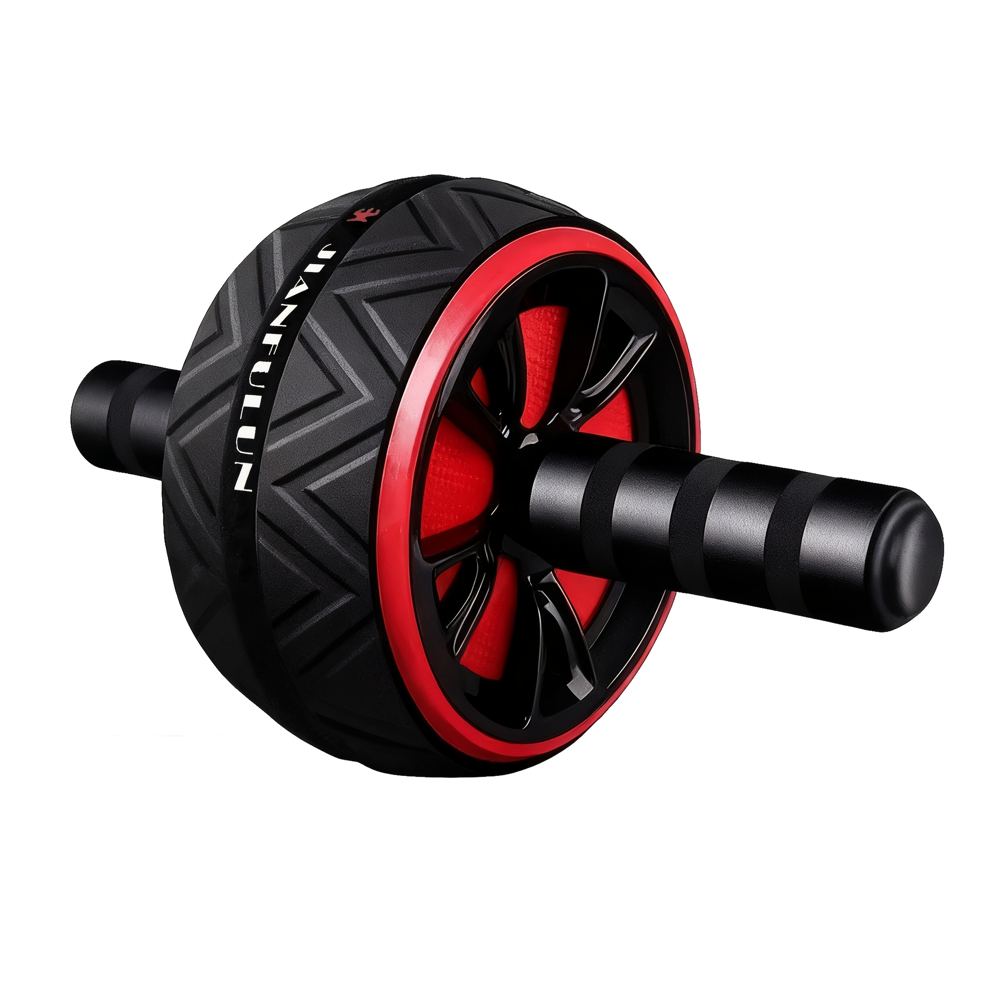
The ab wheel looks innocent — a small wheel with two handles, about the size of a dinner plate. Then you try your first rollout and discover it's one of the most demanding trunk exercises that exists. The ab roller trains what coaches call "anti-extension": your trunk muscles working hard to stop your lower back from arching as the wheel rolls away from you. Done right, it builds genuine, usable core strength. Done wrong, it dumps all that force into your lower back.
This guide is technique-first. You'll learn the safe progression from wall rollouts to full kneeling rollouts, the cues that protect your back, the mistakes that cause pain, and who should skip the ab wheel for now.
This guide contains affiliate links. If you buy through them, VÉLORA may earn a commission at no extra cost to you.
How the Ab Wheel Works (and Why It Bites Beginners)
When you roll the wheel forward, the distance between your hands and knees grows. Your trunk must bridge that growing gap without letting your hips sag or your lower back arch. Your abs, obliques, and deep trunk muscles work isometrically — holding position against a lengthening lever — while your lats, shoulders, and hip flexors assist.
The catch: the moment your trunk muscles can't hold the position, your lower back takes over by arching. That's the pain-causing failure mode. Every safety cue in this guide exists to keep you from reaching that point. The golden rule of ab wheel training is simple: never roll out further than you can pull back from with perfect form.
Who Should Skip the Ab Wheel (For Now)
Be honest with yourself here. Skip the ab wheel or postpone it if:
- You have current lower back pain or a diagnosed back condition (disc issues, spondylolisthesis, recent strain). See a professional for guidance first — the wheel loads the lumbar spine aggressively.
- You can't hold a forearm plank for 30 seconds with a flat back. The rollout is a moving plank; if the static version fails, the dynamic one will fail worse.
- You are pregnant or recently postpartum (especially with diastasis recti). The intense abdominal pressure of rollouts is inappropriate — get your provider's clearance and consider our postpartum exercise guide instead.
- You have shoulder instability or wrist problems. Rollouts load both heavily.
None of these are permanent verdicts. Build a base with planks and dead bugs first — our dead bug exercise guide is the ideal starting point.
Setup and Equipment
You need the wheel, a soft surface for your knees, and a clear floor path of about 6 feet. Kneel on a folded towel, a yoga mat, or the knee pads that come with most ab wheel sets (like the Ab Wheel Roller with Knee Pads, which includes them). Bare knees on hard flooring will hurt enough to ruin your focus — and your form.
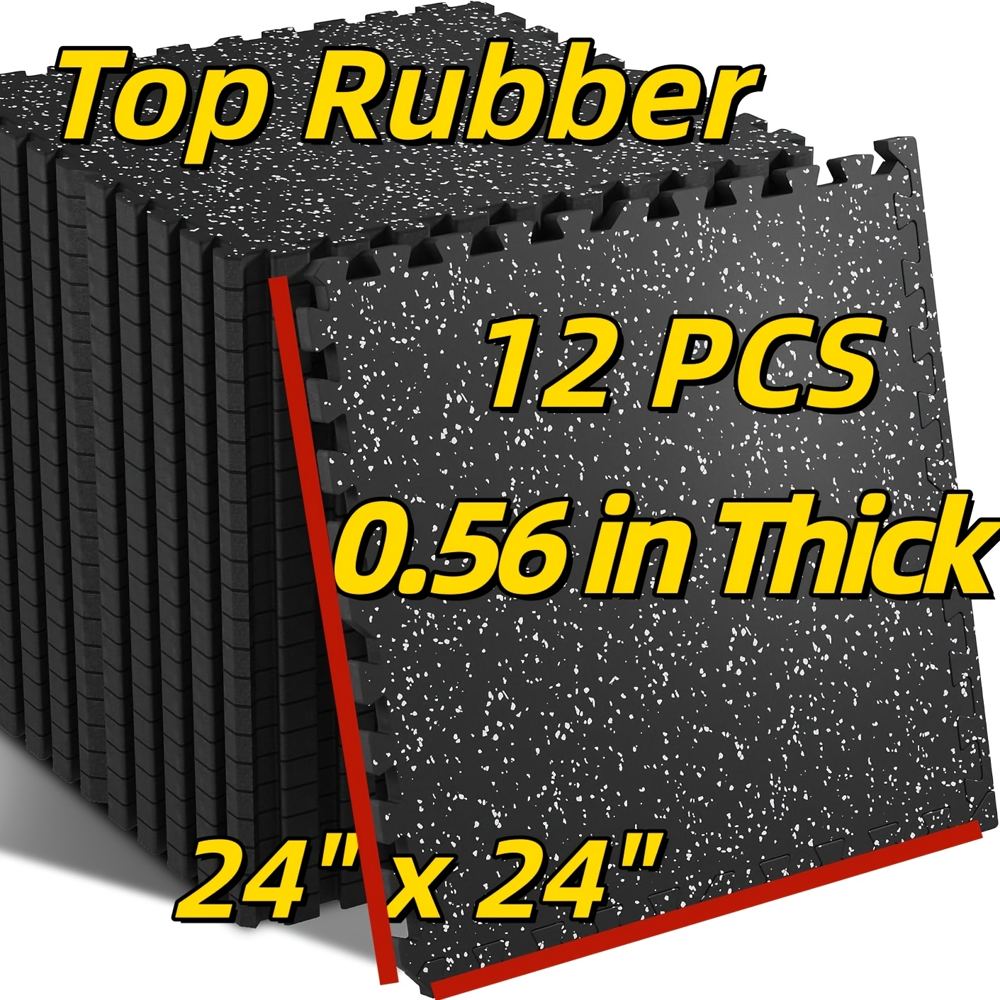
For extra floor protection and a dedicated training zone, interlocking rubber exercise mats work well. A set of rubber-top exercise mats gives you a cushioned, non-slip surface that also protects your floors.
Grip the handles firmly, hands directly under your shoulders. Before you move, set your position: tuck your pelvis slightly (think of pulling your belt buckle toward your ribs), brace your trunk like you're about to be lightly punched in the stomach, and keep breathing.
The Safe Progression: Wall to Knees to Standing
Never start with full rollouts. This four-stage progression builds the anti-extension strength you need, in order.
Stage 1: Wall Rollouts (Weeks 1–2)
Face a wall, kneeling about 2–3 feet away. Roll the wheel toward the wall until it touches, then pull back. The wall caps your range — you literally cannot roll too far.
Technique: tuck the pelvis, brace, and roll out slowly until the wheel taps the wall. Pause, then pull the wheel back by contracting your abs — think of dragging your ribs toward your hips. Your hips should stay over your knees the whole time.
Breathing: inhale as you roll out, exhale as you pull back.
How much: 2–3 sets of 8–12 reps, 2–3 times per week. When 3×12 feels easy, move 6 inches farther from the wall.
Stage 2: Short Kneeling Rollouts (Weeks 2–4)
Without the wall, but with a self-imposed range limit: roll out only as far as you can while keeping your back perfectly flat. For most beginners, that's just 6–12 inches in front of the knees.
Technique: same setup and cues. Roll forward slowly, watching for the first sign of your back arching or hips sagging — that's your current limit. Pull back immediately.
Breathing: inhale rolling out, strong exhale pulling back.
How much: 2–3 sets of 6–10 reps. Stop the set the moment your form breaks — one ugly rep teaches your back the wrong lesson.
Stage 3: Full Kneeling Rollouts (Weeks 4–8+)
Rolling out until your body is nearly parallel to the floor, arms extended overhead, then pulling all the way back. This is the classic ab wheel exercise and a serious strength feat.
Technique: from kneeling, tuck the pelvis hard and roll forward in one smooth motion. At full extension, your body should form a straight line from knees to hands — hips not sagging, back not arched, glutes squeezed.
Breathing: inhale on the way out, forceful exhale on the return.
How much: 3 sets of 5–8 quality reps. Fewer perfect reps beat more sloppy ones, every time.
Stage 4: Standing Rollouts (Advanced — Months Away)
Only attempt when you can do 3×10 full kneeling rollouts with perfect form. Start from standing, hinge forward, roll out, and pull back to standing. This is elite-level trunk strength. There's no rush — most people train happily at Stage 3 for a very long time.
The Anti-Extension Cues That Protect Your Back
These five cues are the difference between a safe rollout and a backache. Rehearse them on every rep:
- Tuck the pelvis. Before rolling, rotate your pelvis slightly so your lower back flattens. If you start arched, you'll end arched — and loaded.
- Ribs down. Think of knitting your front ribs toward your pelvis. Flaring ribs are a sign your back is taking over.
- Squeeze the glutes. Active glutes lock the pelvis in place and share the anti-extension work with your abs.
- Breathe behind the brace. Don't hold your breath. Take short, controlled breaths while maintaining trunk tension — exhale on the return.
- Range is earned, not taken. The wheel rolls as far as your strength allows and not an inch further. Ego range is how backs get hurt.
Common Back-Safety Mistakes
- Rolling too far, too soon. The #1 cause of ab wheel back pain. Your range should grow by inches per week, not feet per session.
- Starting with an arched back. If your lower back is arched before you even move, the exercise is loading your spine from rep one. Reset: tuck, brace, then roll.
- Letting the hips sag at full extension. Sagging hips mean your trunk muscles have quit and your lower back is hanging on the ligaments. Shorten the range immediately.
- Holding your breath. Breath-holding spikes abdominal pressure and makes it harder to feel your form breaking down. Keep breathing.
- Speeding through reps. Fast rollouts use momentum, not muscle. Slow, controlled reps build the strength; fast reps build the injury risk.
- Training through back pain. Muscle fatigue in your abs is expected. Sharp, aching, or pinching sensations in your lower back are a full stop — end the session.
Programming the Ab Wheel
The ab wheel is a strength exercise, not cardio. Treat it like one:
- Frequency: 2–3 times per week, never on consecutive days. Your trunk needs recovery like any other muscle.
- Placement: do rollouts early in your workout, after warming up but before you're fatigued. Tired trunk muscles mean sloppy form.
- Warm-up: 3–5 minutes of easy movement (marching, arm circles, cat-cow) plus one set of dead bugs or a 20-second plank to "wake up" your trunk.
- Pairing: rollouts pair naturally with planks and carries. Our plank variations for beginners and how to engage your core guides complement this work well.
A sample core session: dead bugs (2×10/side), wall or short kneeling rollouts (3×8), forearm plank (2×30 seconds), glute bridge (2×12). About 20 minutes, twice a week.
Safety Notes
- Stop immediately for sharp or radiating back pain, numbness, or any pain that worsens as you continue. Muscle burn in the abs is normal; back pain is not.
- Never use the wheel on a slippery surface — the wheel can shoot out from under you.
- Keep the path clear of furniture and walls (except when intentionally using a wall for Stage 1).
- If you have a hernia, recent abdominal surgery, or uncontrolled high blood pressure, get medical clearance before doing rollouts — the abdominal pressure involved is significant.
- Pregnant or postpartum? Get your provider's clearance first, and watch for warning signs to stop: pelvic pressure, leaking, doming along the midline of your abdomen, or dizziness.
FAQ
Q: How do I use an ab roller without hurting my back?
Tuck your pelvis, brace your trunk, and — most importantly — limit your range. Start with wall rollouts so you can't roll too far, and only extend your range as your strength grows. Never roll out further than you can pull back from with a flat back.
Q: Are ab wheel rollouts good for beginners?
They can be, if you start at Stage 1 (wall rollouts) and progress slowly. But the full kneeling rollout is an intermediate-to-advanced exercise. If you can't hold a 30-second plank, build that base first — the wheel will still be there.
Q: How many ab wheel reps should I do?
For strength: 3 sets of 5–10 quality reps, 2–3 times per week. For learning the movement (wall or short rollouts): 2–3 sets of 8–12. Reps beyond what your form can support don't help — they just load your back.
Q: Do ab rollouts burn belly fat?
No — and no exercise does. Rollouts build trunk strength and muscular endurance, which is genuinely valuable. But visible midsection changes come from overall activity, nutrition, and time, and results vary. Anyone promising otherwise is selling something.
Q: Why does my lower back hurt after using the ab wheel?
Almost always one of three things: you rolled out too far for your current strength, you started the rep with an arched back, or your hips sagged at full extension. Drop back a stage, shorten your range, and drill the anti-extension cues. If the pain persists beyond a few days or is sharp, see a professional.
Q: Is the ab wheel better than crunches?
They train different things. Crunches flex the spine; the wheel trains anti-extension — resisting spinal movement under load. For functional trunk strength that protects your back in daily life, anti-extension work is arguably more useful. Both have a place, but the wheel demands more respect.
Conclusion
The ab wheel is a superb trunk builder wrapped in a deceptively simple package — and it punishes impatience. Start at the wall, earn your range inch by inch, tuck that pelvis, and never let your back arch under load. Respect the progression and the wheel will reward you with a trunk that's genuinely strong; rush it and your lower back will file the complaint. The choice is yours on every single rep.
