Most ab exercises fail because the core never switches on. Learn bracing for planks and crunches — with simple drills, breathing cues, and form fixes.
How to Engage Your Core: The Skill Behind Every Ab Exercise
If your lower back aches during planks, your neck takes over during crunches, or you never quite "feel" your abs working, the problem is probably not the exercise — it is that your core was never switched on. Engaging your core means deliberately creating firm, 360-degree tension through the muscles of your trunk — the deep abdominals, obliques, pelvic floor, and lower back — before you move, so those muscles stabilize your spine while you work.
Think of it as a snug internal corset: firm enough to protect, loose enough to breathe. Once you learn the feeling, every ab exercise you already do gets harder, safer, and more effective — no new routine required.
This guide contains affiliate links. If you buy through them, VÉLORA may earn a commission at no extra cost to you.
Why Engaging Your Core Changes Everything
Your "core" is not just the visible six-pack muscle (rectus abdominis). It is a full cylinder: the deep transverse abdominis wrapping your waist, the obliques, the pelvic floor, and the small muscles along your spine — all built to brace and stabilize.
When you brace correctly, three things improve immediately:
- Your spine stays supported. Less load dumps into your lower back during planks, lifts, and even carrying groceries.
- The right muscles do the work. Crunches hit your abs instead of your neck and hip flexors.
- Exercises get harder without extra weight. A well-braced 20-second plank can challenge you more than a sloppy 60-second one.
An honest note: core engagement builds a stronger, more stable midsection — it does not selectively remove fat from your waist. No exercise can spot-reduce. Results vary with consistency, overall activity, nutrition, sleep, and genetics.
How to Find the Bracing Feeling (Three Drills)
Drill 1: The Cough Test
Stand tall or sit upright. Place your fingertips on the sides of your waist, just above your hip bones. Give a gentle cough — just enough to feel it. Feel the firm tightening under your fingers? That is your deep core switching on. Recreate that firm, outward-pressing tension at about 20 to 30 percent of your maximum squeeze.
Drill 2: The 360-Degree Breath
Lie on your back, knees bent, feet flat. Place one hand on your belly and one on the side of your ribcage. Inhale through your nose and feel your belly, sides, and lower ribs expand in all directions — not just up. Exhale slowly through your mouth and feel your waist gently narrow, as if a belt tightened one notch.
Drill 3: The Brace-and-Tap
Brace lightly using the cough feeling, then tap each side of your waist with your fingertips. The sides should feel firm, not soft. Now try to hold a conversation while keeping that gentle firmness — if you can talk normally, the tension is right. If you are grunting or holding your breath, you are squeezing too hard.
Beginner tip: Practice these drills for two to three minutes daily for a week. The neural connection — your brain learning to recruit these muscles on demand — comes first; strength follows.
Bracing vs. Drawing-In: Which One Should You Use?
You may have heard two conflicting cues: "brace your core" and "draw your belly button to your spine." Both are legitimate — they just serve different purposes:
| | Bracing | Drawing-In | |---|---|---| | What you do | Create firm, outward pressure in all directions — like preparing for a light punch to the stomach | Gently pull your navel inward toward your spine, keeping the motion small | | Feels like | A sturdy, solid trunk | A light lift and narrowing of the waist | | Best for | Planks, lifts, carries, sports — anything with load or movement | Rehab, pelvic floor recovery, gentle activation drills, learning body awareness | | Breathing | Continuous breathing; never hold your breath | Gentle breathing; never bear down hard | | Beginner-friendliness | Slightly harder to learn at first | Easier to feel for most beginners | | Common mistake | Squeezing at 100 percent and holding the breath | Sucking in hard while barely moving the deep muscles |
For general ab exercises and daily life, bracing is the more versatile skill. If you are postpartum or working around a pelvic floor or abdominal issue, drawing-in drills may be the gentler starting point — ideally with guidance from a physiotherapist. Our Core Workout for Women Beginners uses both approaches progressively.
Applying Engagement to Real Exercises
Knowing the brace is one thing; holding it while moving is the skill. Here is how to carry it into the movements most women already do:
The Plank
Purpose: Teaches full-trunk bracing under a sustained hold — the gold standard for engagement practice.
How: From your knees or toes, forearms on the floor, elbows under shoulders. Before you lift your hips, brace: firm waist, ribs slightly down (not flared), glutes squeezed, lower back long. Breathe behind the brace — short, steady breaths that do not release the tension.
Sets and hold times: 2–4 sets of 10–45 seconds, resting 30–60 seconds between. Shorter, well-braced holds beat long, saggy ones.
Beginner modification: Plank from the knees, or a wall plank standing at a counter — the bracing mechanics are identical.
Common mistakes: Holding your breath, hips sagging or piking up, and shoulders creeping toward your ears. If your back aches, the set is over.
The Dead Bug
Purpose: Trains you to keep the core braced while your arms and legs move — the skill that protects your back in real life.
How: Lie on your back, arms reaching to the ceiling, knees stacked over hips at 90 degrees. Press your lower back gently into the floor and brace. Exhale as you slowly lower one arm overhead and the opposite leg toward the floor — only as far as your back stays down. Inhale back to the start, then switch sides.
Breathing and reps: Exhale on each extension, inhale on return. Aim for 2–3 sets of 6–10 slow reps per side.
Beginner modification: Move only the arms first; add the legs when that feels controlled.
Common mistakes: Letting the back arch off the floor (the one non-negotiable), rushing, and straightening the leg so far that the brace collapses.
The Bird Dog
Purpose: Back-side core engagement — teaches the muscles along your spine to work with your abs rather than against them.
How: On all fours, wrists under shoulders, knees under hips. Brace as if for a plank, then slowly extend one arm forward and the opposite leg back, keeping your hips level and your trunk long. Pause one to two seconds, then return with control and switch sides.
Breathing and reps: Exhale as you extend, inhale on return. Aim for 2–3 sets of 6–10 reps per side.
Beginner modification: Extend only the arm or only the leg until balance is steady.
Common mistakes: Rotating the hips open, lifting the leg too high (hip height is plenty), and looking up, which cranks the neck.
The Crunch (Done Right)
Purpose: A direct rectus abdominis exercise that only works when bracing keeps the neck and hip flexors quiet.
How: Lie back, knees bent, feet flat, fingertips lightly touching the sides of your head. Brace first. Exhale and curl just your shoulder blades off the floor — ribs moving toward hips, eyes on the ceiling the whole way. Lower slowly.
Breathing and reps: Exhale on the curl, inhale on the way down. Aim for 2–3 sets of 10–20 controlled reps.
Common mistakes: Yanking the head forward (your hands are just resting there — they do no work), sitting all the way up (that hands the work to the hip flexors), and holding your breath.
A 5-Minute Daily Engagement Practice
Three to five times a week, as a warm-up or standalone: 1 minute of 360-degree breathing, 6 slow dead bugs per side, 6 bird dogs per side, 2 knee-plank holds of 15–30 seconds with continuous breathing, and a 30-second standing brace check (brace at 20 percent while breathing normally).
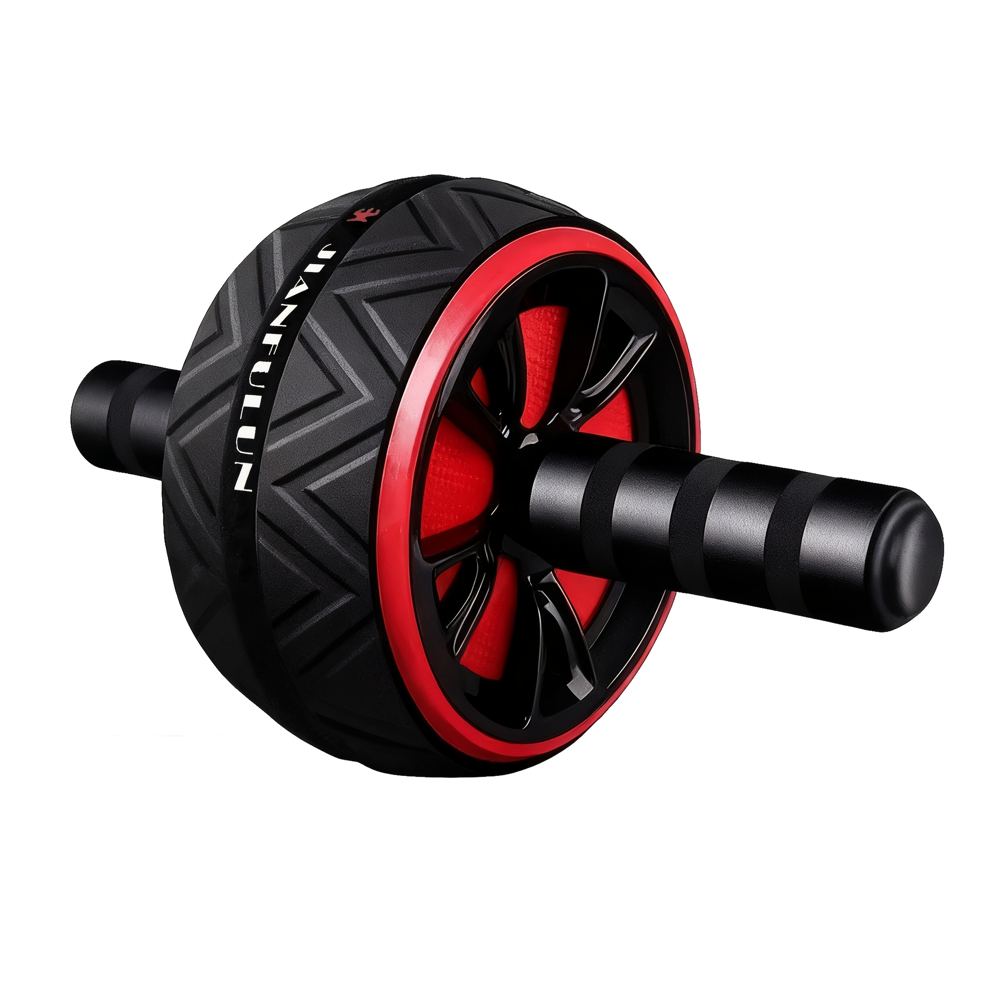
A soft surface helps for the floor work — a non-slip mat like the Extra-Thick 10mm Yoga Mat cushions your knees and spine. As your bracing becomes automatic, tools that demand more control — the Ab Wheel Roller with Knee Pads or Dual-Sided Core Sliders — are natural next steps; see our Women's Home Gym Essentials for setup ideas.
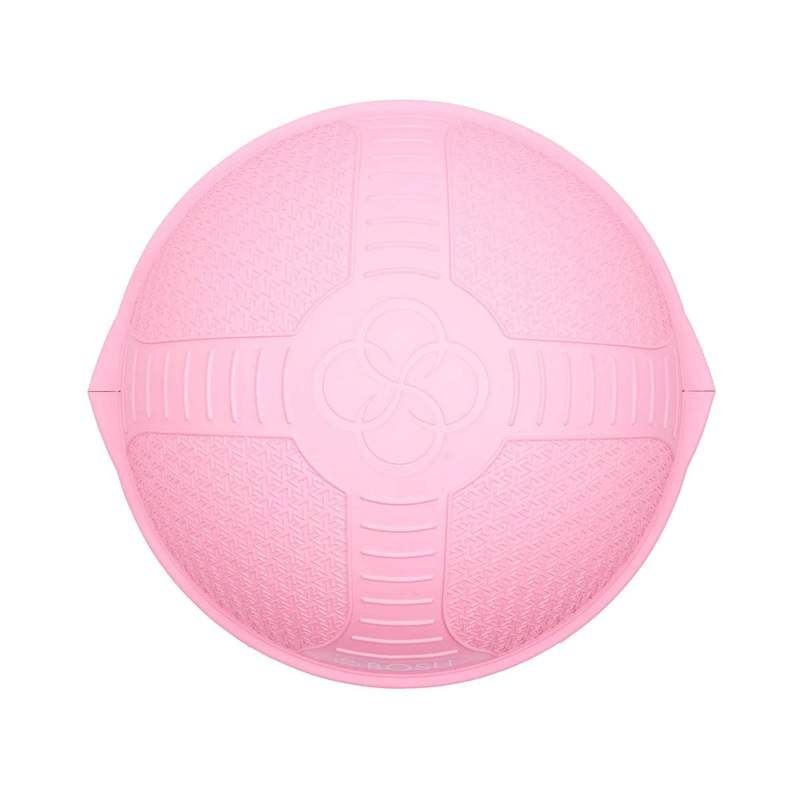
For an extra challenge later, an unstable surface such as the Bosu Pro Strength Trainer Ball keeps your stabilizers switched on through every rep — use it once your basic bracing is reliable.
Common Engagement Mistakes
- Holding your breath. If you cannot breathe, you are bracing too hard. Drop to about 20–30 percent tension and breathe behind it.
- Sucking in hard. Aggressive drawing-in with shallow chest breathing is tension without support. Think firm cylinder, not vacuum.
- Arching the lower back to "feel it more." Back extension is not ab work. Ribs down, pelvis neutral.
- Bracing only at the start. The brace should survive the whole set. If it collapses mid-rep, slow down or regress.
- Skipping engagement in compound moves. Brace lightly for squats, rows, and overhead presses too — that is where the habit pays off most.
Safety Notes
- Stop any exercise that causes sharp pain, dizziness, or pelvic pressure. Muscle effort is normal; pain is a stop sign.
- If you are pregnant or recently postpartum, managing diastasis recti, or recovering from abdominal or back surgery, get clearance from your doctor or a pelvic health physiotherapist before bracing hard or adding load. See our Postpartum Exercise Guide and a pregnancy-specific exercise safety guide for more.
- Avoid aggressive bearing-down (like a hard Valsalva) with heavy loads if you have pelvic floor concerns, high blood pressure, or are unsure — exhale through the effort instead.
FAQ
Q: How long does it take to learn core engagement?
Most people feel the basic brace within a single practice session using the cough test. Making it automatic during exercise typically takes two to four weeks of short, frequent practice — you are training a neural connection as much as a muscle.
Q: Should my stomach be sucked in during ab exercises?
Not aggressively. A gentle brace — firm in all directions at about 20–30 percent effort — protects your spine better than a hard vacuum suck-in. If you are holding your breath or turning red, ease off.
Q: Why does my lower back hurt during ab exercises?
Almost always because the core was not engaged and the back took over. Check: is your lower back neutral, are you breathing, and is the exercise too advanced? Regress to dead bugs and knee planks until bracing is reliable.
Q: Do I need to engage my core all day?
No — that would be exhausting and unnecessary. Engage deliberately during exercise, lifting, and carrying; at rest, let your trunk relax.
Q: Is bracing safe during pregnancy?
Light engagement is generally included in prenatal programs, but pregnancy changes abdominal mechanics significantly — get your provider's clearance and follow a pregnancy-specific program such as our a pregnancy-specific exercise safety guide guide. Stop and seek care for pain, leaking, bleeding, or coning along the midline.
The Bottom Line
Core engagement is the difference between exercising your abs and merely moving while your abs watch. Learn the brace with the cough test, practice it with dead bugs and planks, keep the tension at a breathable 20–30 percent, and carry it into every exercise you do. Strength follows the skill, not the other way around.
