Stretches for tight hips that actually help: 8 targeted moves for hip flexors, glutes, and inner thighs, with form cues, breathing, and beginner modifications.
Stretches for Tight Hips: 8 Moves That Help
Tight hips are the modern epidemic nobody talks about. Hours in a chair shorten the hip flexors, weaken the glutes, and leave the inner thighs and outer hips stiff — and the bill comes due as achy backs, creaky knees, and that familiar groan when you stand up after a long meeting. The good news: hips respond beautifully to consistent, gentle stretching. These eight moves target every side of the hip joint — front, back, inner, and outer — and the whole sequence takes about 15 minutes.
One honest caveat before we begin: stretching improves comfort and mobility gradually, over weeks of regular practice. No set of stretches will "unlock" or permanently fix your hips in a single session, and hip pain that is sharp, one-sided, or persistent deserves a physiotherapist's assessment rather than a YouTube stretch routine. What follows is safe, standard practice for general hip stiffness — the kind that builds from sitting, training, or everyday life.
This guide contains affiliate links. If you buy through them, VÉLORA may earn a commission at no extra cost to you.
A Quick Word on Why Hips Get Tight
The hip is a ball-and-socket joint built for a wide range of motion — but sitting folds it into one position for hours. Over time, the hip flexors (front) adapt short, the glutes (back) get lazy, and the inner and outer hip muscles stiffen from disuse. Stretching works best when it addresses all four sides of the joint rather than hammering one favorite stretch — which is exactly how the eight moves below are organized.
What You Need
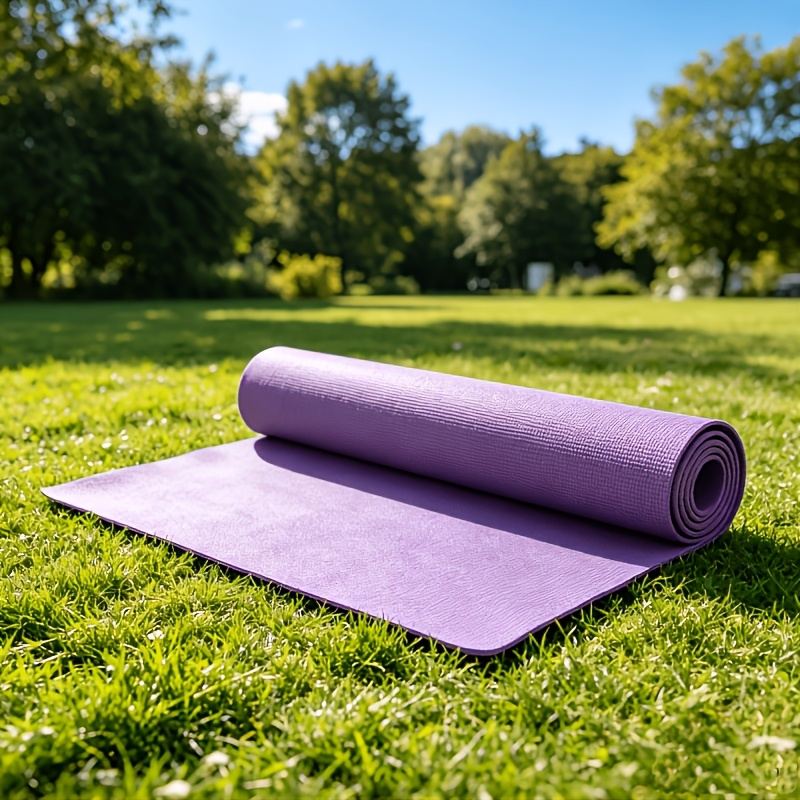
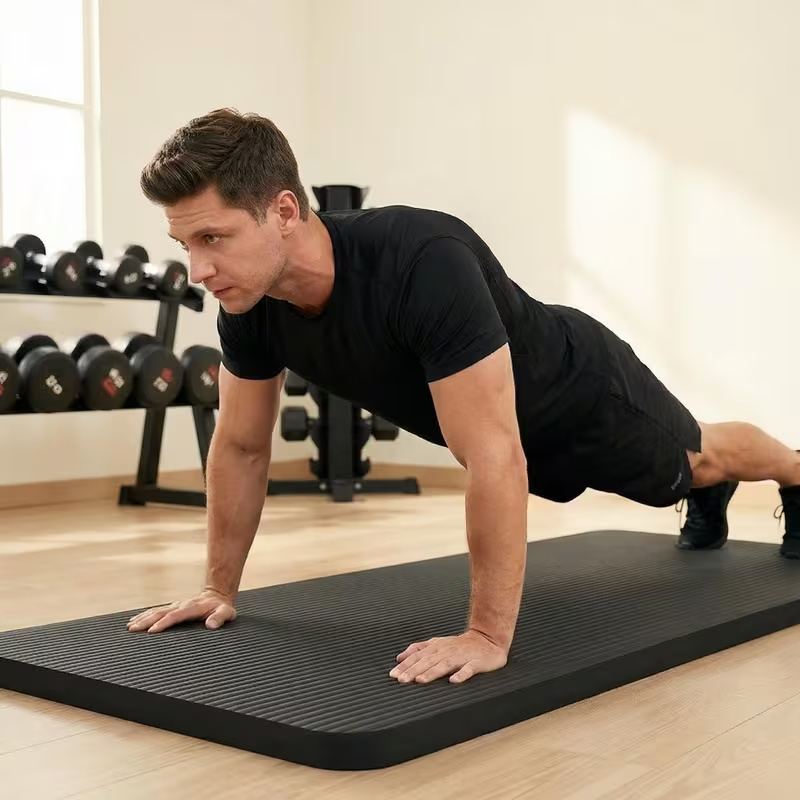
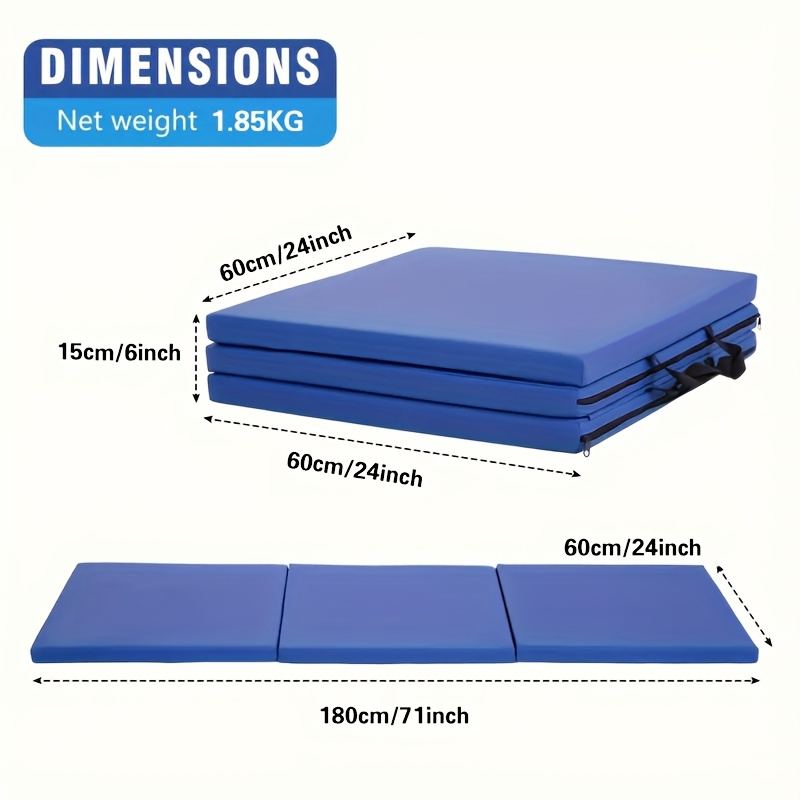
A supportive mat. Hip stretches are almost entirely floor-based, and bony knees and hips deserve padding. The Black Folding Gym Mat is thick, folds away for storage, and gives you a stable surface for kneeling work. For more on choosing, see how to choose yoga mat thickness.
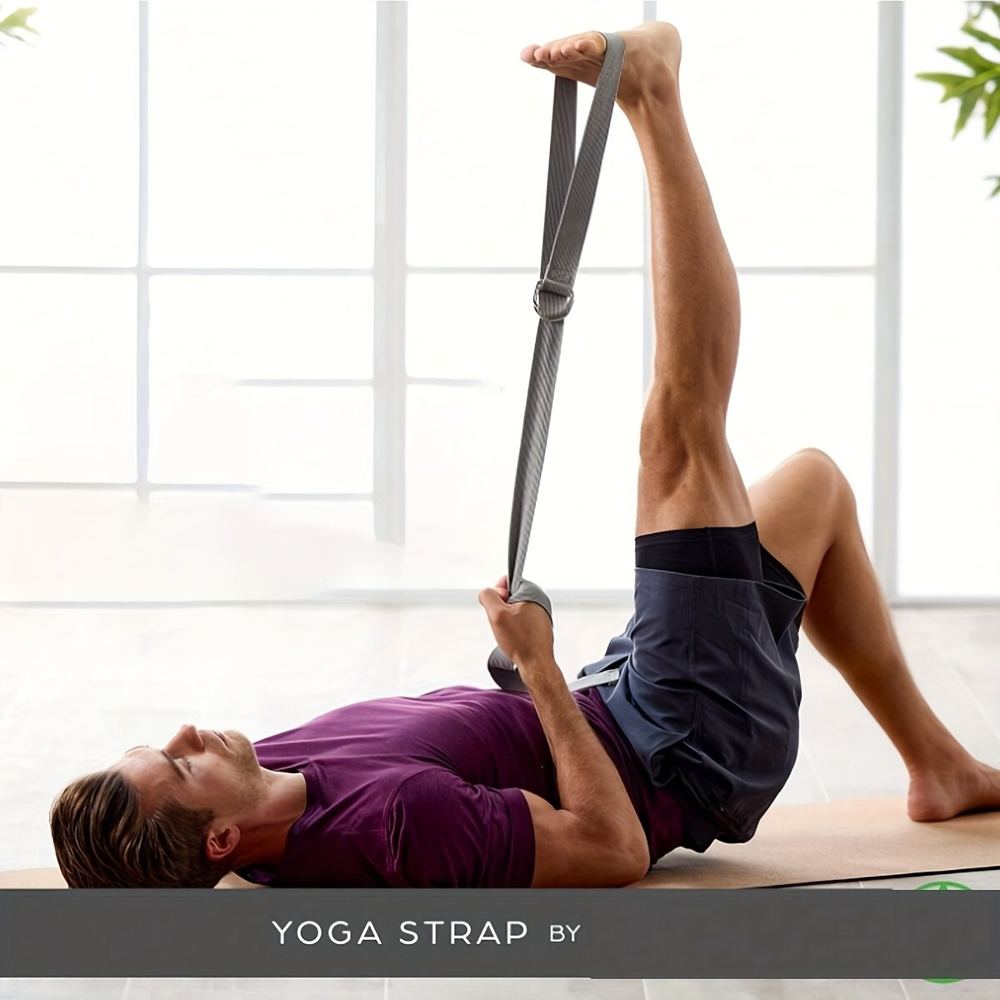
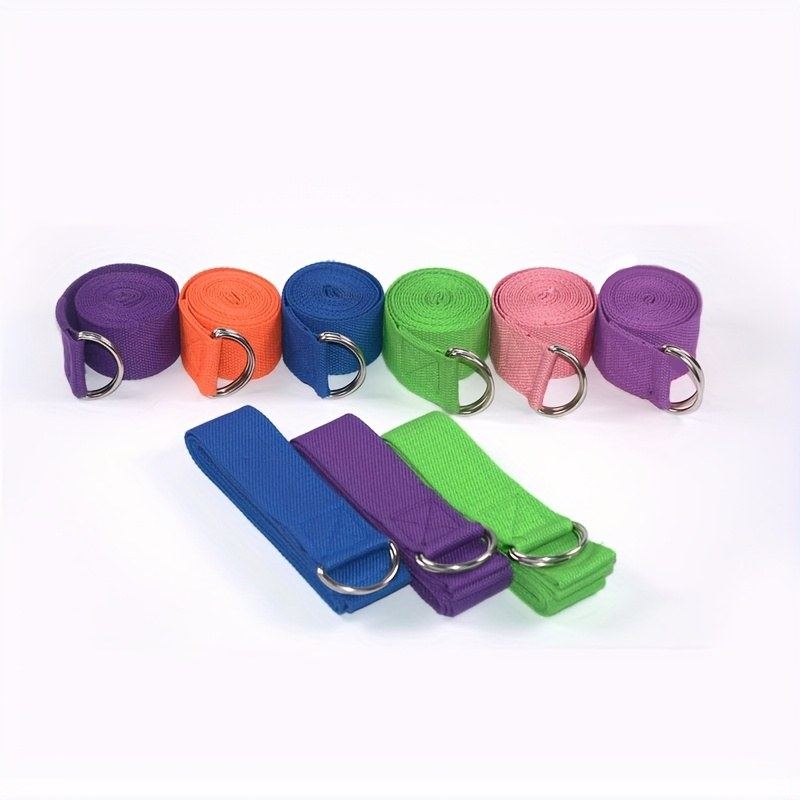
Optional: a strap. If your hamstrings or adductors are very tight, a durable nylon yoga strap lets you do supine stretches with straight legs instead of straining. A belt or scarf works too, but a real strap with a D-ring is far easier to adjust mid-stretch.
The 8 Moves
Spend 45–60 seconds per side on each stretch (5–6 slow breaths). Work at a 5–6 out of 10 intensity — a clear, comfortable pull, never sharp pain. Breathe in through the nose, out slowly; imagine the exhale creating a little more room in the joint.
Front of the Hip: Hip Flexors
1. Half-Kneeling Hip Flexor Stretch. Place your right knee on the mat, left foot flat in front of you, torso upright. Tuck your pelvis slightly (think of gently pulling your belt buckle up) and shift your weight forward until you feel a stretch along the front of the right hip. Starting position check: the front knee should stack over the ankle, not drift past the toes. Common mistake: arching the lower back to fake extra range — the stretch belongs in the hip, not the spine. Beginner modification: place a folded towel under the back knee, or shorten the stance. Raise the arm on the kneeling side overhead and lean slightly away for a deeper line of stretch.
2. Low Lunge with Rotation. From the half-kneel above, place both hands inside the front foot and gently rotate the torso toward the front leg, reaching one arm to the ceiling. Purpose: adds a rotational element that reaches the deep hip flexor and the obliques together — the area that gets most compressed by sitting. Breathing: exhale as you rotate. Safety: keep the movement smooth; if the knee complains, stay with the basic hip flexor stretch above.
Outer Hip: Glutes and Deep Rotators
3. Figure-Four Stretch (Supine). Lie on your back, cross your right ankle over your left knee, and draw the left thigh toward you until you feel the stretch deep in the right buttock. Purpose: targets the piriformis and deep external rotators — the muscles responsible for that deep, achy hip stiffness. Technique: keep your head down and both shoulders on the floor. Beginner modification: leave the left foot on the floor and simply press the right knee gently away from you.
4. Pigeon Pose (Supported). From hands and knees, bring your right shin forward so the knee angles out to the right and the shin rests roughly parallel to the front of the mat, then extend the left leg long behind you and fold forward over the front leg. Purpose: the deepest of the outer-hip openers. Beginner modification: place a cushion under the right hip if it does not comfortably reach the floor, and keep the torso upright instead of folding forward. Safety: the sensation should sit in the outer hip and glute, never in the knee. If you feel knee pressure, back out and use the figure-four stretch instead.
Inner Thigh: Adductors
5. Frog Stretch. Start on hands and knees, then walk your knees wide apart, keeping the inner knees and inner feet on the floor, and sink your hips back and down. Purpose: opens the inner thighs and groin — a region that barely moves in daily life. Technique: keep your shins roughly in line with your knees (not trailing behind), and your back flat rather than sagging. Sets: hold 60–90 seconds, rocking very gently forward and back if that feels good. Common mistake: going too wide too fast; the first few sessions should feel conservative.
6. Wide-Legged Seated Fold. Sit tall, legs open in a wide V, feet flexed. Hinge at the hips and fold forward between your legs as far as comfortable, resting your hands on the floor or on a stack of cushions. Purpose: a gentler adductor stretch that also reaches the hamstrings. Beginner modification: sit on a folded blanket to tilt the pelvis forward — this one change makes the stretch dramatically more accessible.
Back of the Hip: Hamstrings and Glutes
7. Supine Hamstring Stretch with Strap. Lie on your back, loop the yoga strap around the ball of your right foot, and extend the leg toward the ceiling, holding the strap with straight arms. Purpose: lengthens the hamstrings without straining the back — the strap removes the temptation to round up to "reach the toes." Technique: keep the left leg extended on the floor (or bent with the foot down if the back prefers it); flex the raised foot. Beginner modification: keep a soft bend in the raised knee — a straight leg is not the goal, a felt stretch is.
8. Happy Baby. Lie on your back, bend your knees toward your chest, grab the outer edges of your feet, and let the knees fall open toward the floor outside your ribs. Gently rock side to side. Purpose: a playful finisher that opens the inner groin, outer hips, and low back all at once. Hold 60 seconds.
The Complete Sequence
| Order | Stretch | Area | Hold | | --- | --- | --- | --- | | 1 | Half-Kneeling Hip Flexor | Front | 45–60s/side | | 2 | Low Lunge with Rotation | Front + torso | 45–60s/side | | 3 | Figure-Four (supine) | Outer hip | 45–60s/side | | 4 | Supported Pigeon | Outer hip | 45–60s/side | | 5 | Frog Stretch | Inner thigh | 60–90s | | 6 | Wide-Legged Seated Fold | Inner thigh | 60–90s | | 7 | Supine Hamstring (strap) | Back | 45–60s/side | | 8 | Happy Baby | All-around | 60s |
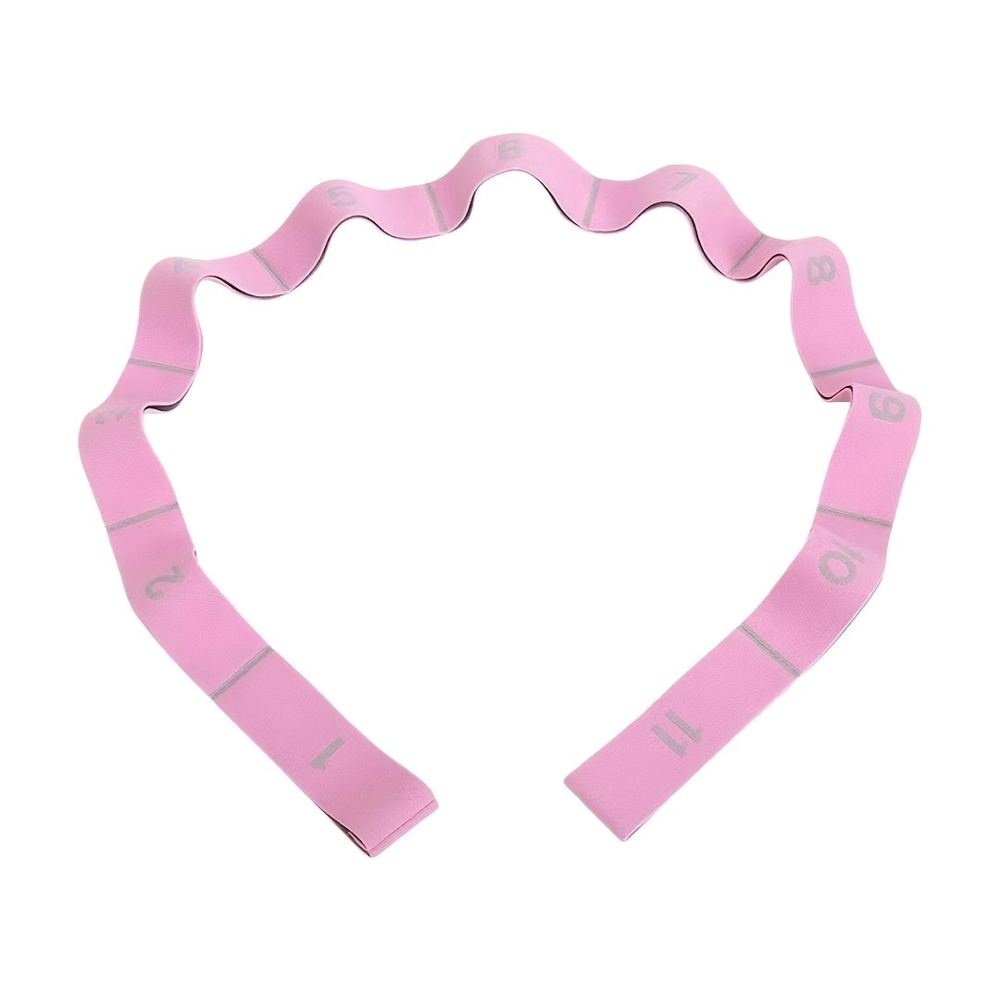
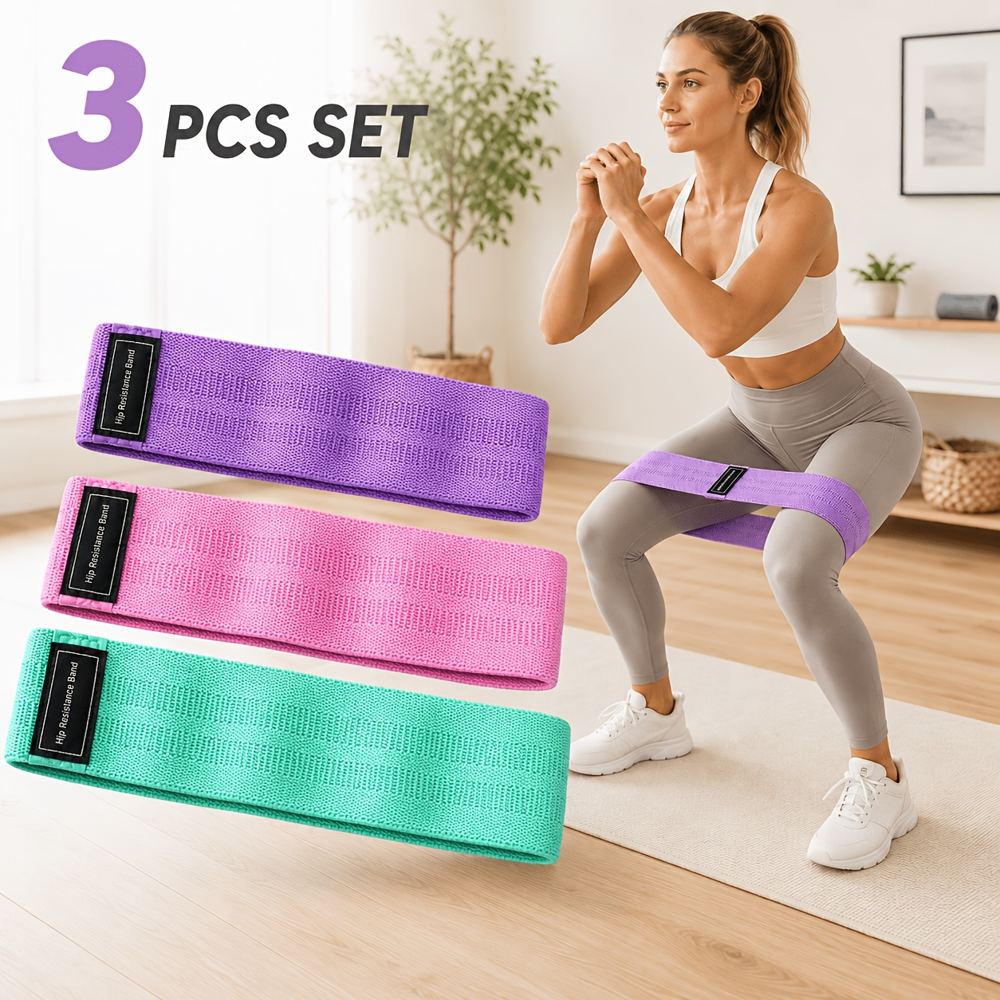
Do the sequence 3–5 times per week. It pairs naturally with strength work — hip mobility improves squat depth and glute activation. For structured strength to pair with it, see our resistance band workout for women (the 3-pack of yoga resistance bands is ideal for glute activation before stretching) and our beginner home workout plan.
Stretching vs. Strengthening: Why You Need Both
Stretching tight hips without strengthening the surrounding muscles is half a solution — flexible but weak hips are still unhappy hips. A simple weekly balance looks like this:
| Goal | What to do | Frequency | | --- | --- | --- | | Mobility | The 8-stretch sequence above | 3–5×/week | | Glute strength | Bridges, banded walks, bodyweight squats | 2–3×/week | | Core stability | Dead bugs, bird-dogs, side planks | 2×/week |
Strong glutes take load off the hip flexors and the low back; a stable core keeps the pelvis positioned well while you stretch. If your hips stay tight despite regular stretching, the missing piece is usually strength, not more stretching.
Common Mistakes
- Only stretching the hip flexors. The classic desk-worker error. Tight-feeling hips are often weak glutes in disguise — give the back and sides of the hip equal attention.
- Forcing pigeon pose. It is the most Instagrammed hip stretch and the most commonly overdone. If your body is not ready, the figure-four stretch delivers 90% of the benefit with none of the knee risk.
- Holding your breath. Tension and breath-holding go together. If you cannot breathe easily through a stretch, you have gone too far — back off until the breath flows.
- Stretching cold aggressively. These are static stretches; they belong after activity or in the evening when the body is warm, not as the first thing you do out of bed. A few minutes of easy movement first makes everything safer and more effective.
- Expecting overnight change. Hip mobility built over years of sitting unwinds over weeks and months of practice. Track progress monthly — deeper lunge, easier cross-legged sitting — not daily.
FAQ
Q: How often should I stretch my hips?
Three to five sessions per week is the practical range for most people. Daily is fine if the intensity stays gentle — hips tolerate frequent, easy stretching well. What matters far more than frequency is consistency over weeks.
Q: Why do my hips feel tight even though I stretch?
Three usual suspects: you only stretch one side of the joint, the surrounding muscles (especially glutes) are weak, or you sit for very long uninterrupted hours. Add strength work, stretch all four sides, and break up sitting hourly.
Q: Is pigeon pose safe for beginners?
It can be, with support — a cushion under the hip of the bent leg and an upright torso instead of folding forward. But the supine figure-four stretch is the safer starting point and hits the same muscles. If pigeon causes any knee discomfort, skip it; no single stretch is mandatory.
Q: Can tight hips cause lower back pain?
They are frequently connected. Tight hip flexors tilt the pelvis forward, which increases the arch in the lower back and can contribute to achiness. Loosening the hips and strengthening the glutes and core often eases that pattern — but persistent back pain should be assessed by a professional.
Q: Should I stretch before or after a workout?
Both, differently. Before training, use dynamic hip mobility — leg swings, walking lunges, bodyweight squats. After training (or in the evening), use the static holds in this guide. Static stretching immediately before heavy lifting can temporarily reduce power output, so save the long holds for after.
The Bottom Line
Tight hips are not a life sentence — they are an adaptation, and adaptations can be re-adapted. Work all four sides of the joint with these eight moves, three to five times a week, pair the stretching with glute and core strength, and give it a month. The morning groan when you stand up, the ache after long drives, the stiffness after training days — these are the things that quietly improve. Your hips carried you through every step of your life; fifteen minutes a few times a week is a fair trade.