A complete resistance band workout for women: eight full-body exercises with form cues, sets and reps, band safety checks and a simple weekly plan.
Resistance Band Workout for Women: A Full-Body Routine
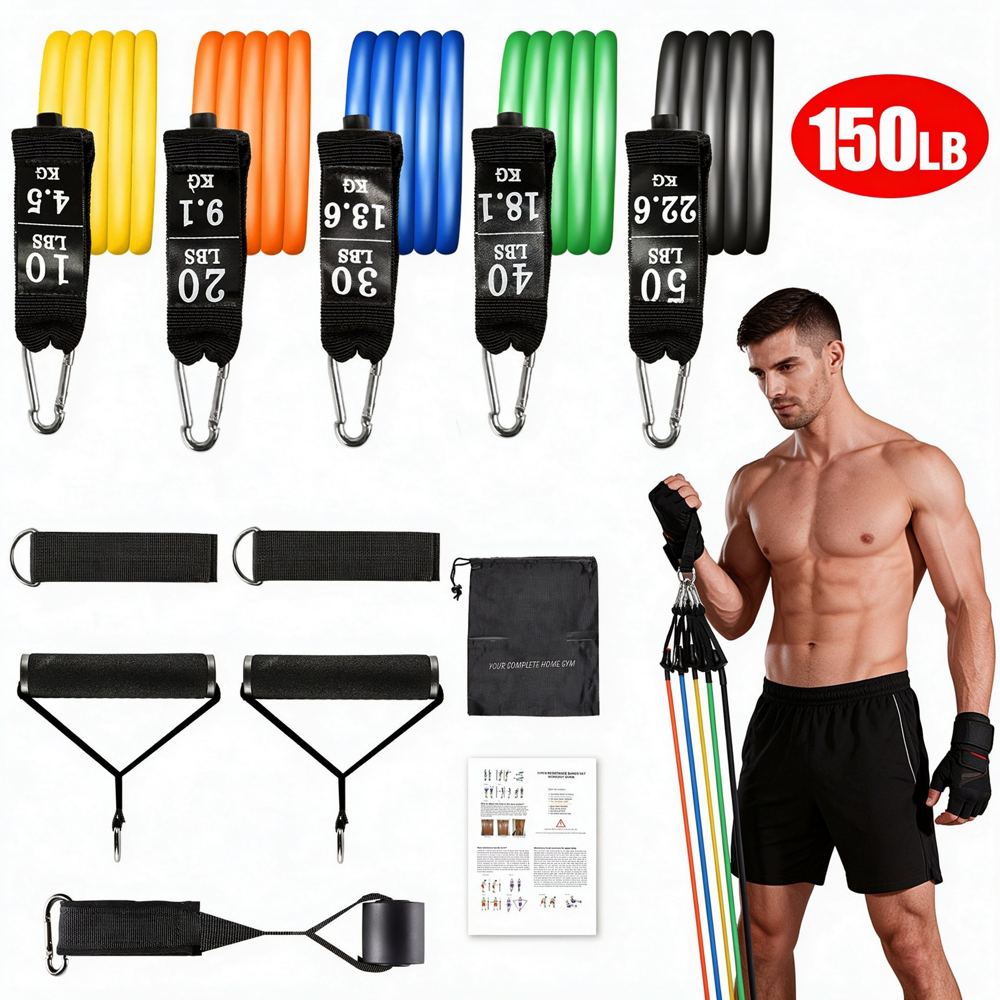
If you want to train your whole body at home — legs, glutes, back, chest, shoulders, arms and core — but you do not have the space, budget or desire for a rack of weights, a good set of resistance bands is honestly all you need to start. Bands are quiet, kind to your floors, easy on your joints, and small enough to store in a drawer.
This resistance band workout for women uses eight exercises to cover every major muscle group in about 35 to 45 minutes. Every move includes a way to make it easier and a way to make it harder, so the same routine works whether this is your first week of training or your fiftieth. As with any program, results vary from person to person — what this routine promises is not a transformation on a deadline, but a well-built session you can progress for months.
This guide contains affiliate links. If you buy through them, VÉLORA may earn a commission at no extra cost to you.
What You Need
- A tube band set with handles and a door anchor. Five stackable resistance levels let you match the band to each exercise. The 11Pcs Resistance Bands Set with Handles and Door Anchor is a good example of the style this routine is written for.
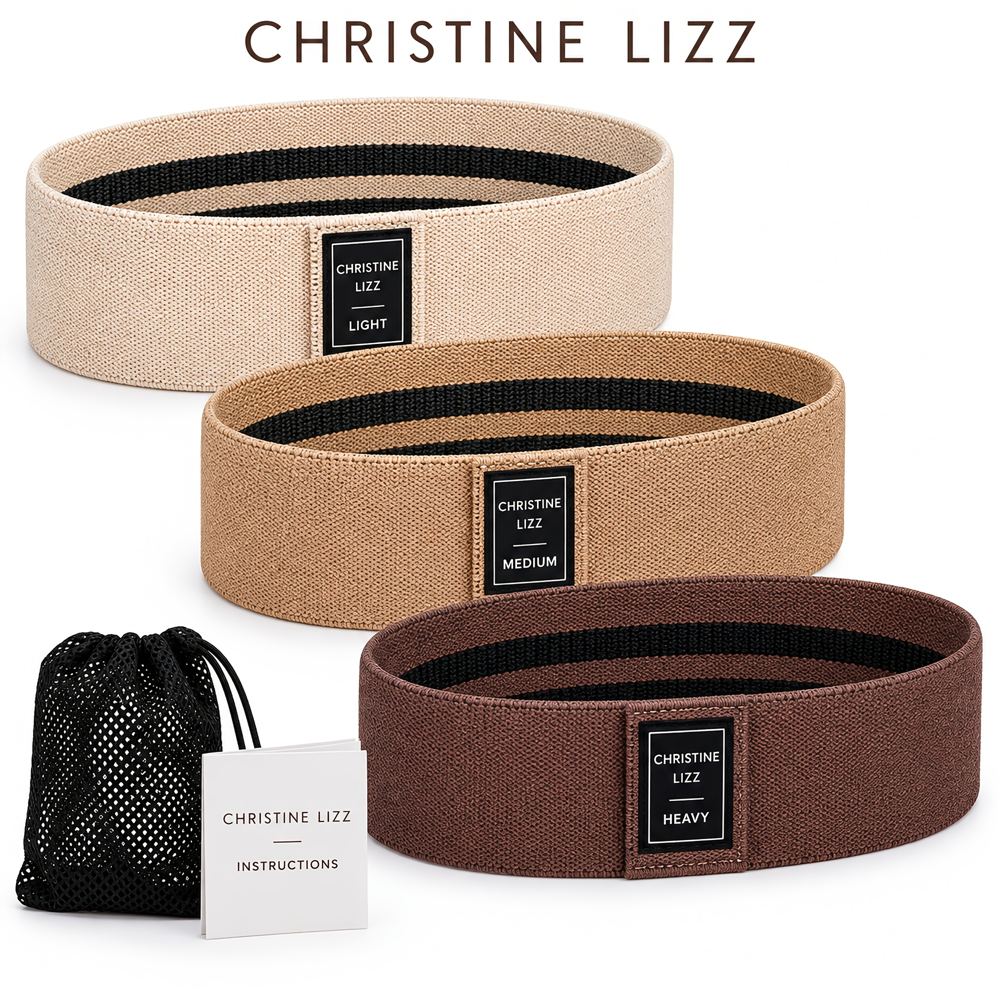
- A loop band (mini band) for glute work. Fabric loop bands stay in place better than latex ones and are more comfortable against bare legs.
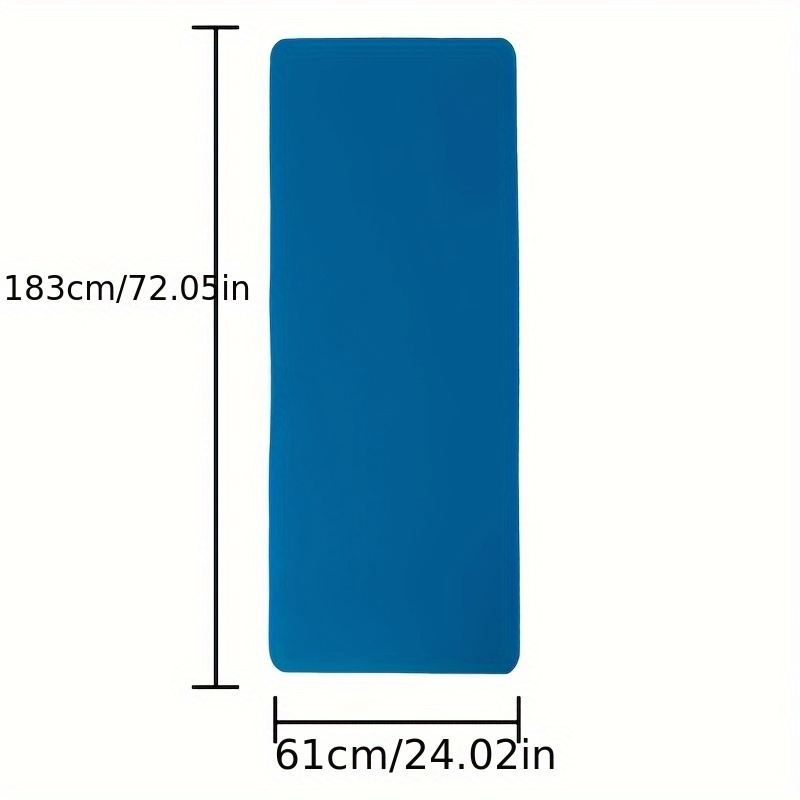
- A mat for the floor exercises, so your knees, elbows and back are cushioned.
If you are still choosing bands, our guide to the Best Resistance Bands for Women walks through types and resistance levels, and Resistance Bands vs Dumbbells explains honestly how the two compare.
Band Safety: Check Before Every Session
Bands are safe and beginner-friendly when they are in good condition and anchored properly. A band under tension stores energy, so a few seconds of checking matters:
- Inspect before you train. Run the band slowly through your hands and look for nicks, tears, cracks or worn patches. If you find damage, retire that band — do not train with it.
- Anchor securely. Thread the door anchor over the top or hinge side of a sturdy door, close it fully (lock it if you can), and give the band a firm test tug before your first rep. Anchor only to solid, fixed points.
- Keep bands away from sharp edges. Door hinges, rough furniture corners and jewellery can cut latex. Remove rings before gripping handles.
- Never release a stretched band. Walk towards the anchor to take the tension off instead of letting go.
- Do not overstretch. If an exercise forces you to stretch a band close to its limit on every rep, switch to a stronger band or stack two bands instead.
- Store them out of sunlight and heat, which age latex faster. If you have a latex sensitivity, choose latex-free or fabric bands.
A Quick 5-Minute Warm-Up
March in place for a minute, then do 10 slow bodyweight glute bridges, 10 light band pull-aparts (exercise 7 below, with your lightest band), 5 easy bodyweight squats and a few arm circles each way. You should feel warm, not tired — the goal is simply to wake your muscles and joints up.
The Routine at a Glance
| Exercise | Main muscles | Sets | Reps | |---|---|---|---| | Banded squat | Glutes, thighs | 3 | 10–15 | | Glute bridge with loop band | Glutes, hamstrings | 3 | 12–15 | | Banded Romanian deadlift | Hamstrings, glutes, back | 3 | 10–12 | | Chest press | Chest, shoulders, triceps | 3 | 10–12 | | Seated row | Back, biceps | 3 | 10–12 | | Overhead press | Shoulders, triceps | 2–3 | 8–12 | | Band pull-apart | Rear shoulders, upper back | 2 | 12–15 | | Pallof press | Core | 2 | 8–10 per side |
Rest 45 to 90 seconds between sets. Move to the next exercise when you have finished all sets of the current one.
The Exercises
1. Banded Squat
Purpose. Builds strength in your glutes and thighs and teaches your knees to track safely. Setup. Place a loop band just above your knees, feet roughly hip-width apart, toes turned out slightly. Technique. Sit your hips back and down as if into a chair, keeping your chest tall and pressing your knees gently out against the band so they stay in line with your toes. Drive through your whole foot to stand. Breathing. Inhale as you lower, exhale as you stand. Easier: squat to a chair or reduce the depth. Harder: use a stronger band, or pause for two seconds at the bottom. Watch out for: knees collapsing inwards — the band is there to remind them out.
2. Glute Bridge with Loop Band
Purpose. Targets the glutes directly, with very little stress on your knees or lower back. Setup. Lie on your back on a mat with the loop band above your knees, feet flat and close to your hips. A fabric band like the Fabric Hip Bands 3-Band Set will not roll or pinch here. Technique. Push through your heels, lift your hips until your body forms a straight line from knees to shoulders, and squeeze your glutes hard at the top while pressing your knees slightly out. Lower slowly. Breathing. Exhale as you lift, inhale as you lower. Easier: skip the band. Harder: stronger band, or one leg at a time. Watch out for: arching your lower back at the top — stop when your ribs start to flare.
3. Banded Romanian Deadlift
Purpose. Strengthens the hamstrings, glutes and back — the whole back of your body. Setup. Stand on the middle of a tube band, feet hip-width apart, holding a handle in each hand with the band fairly short. Technique. With soft knees and a flat back, push your hips backwards as if closing a door behind you, letting the handles slide down the front of your thighs. Stop when you feel a strong stretch in your hamstrings, then stand tall by driving your hips forwards. Breathing. Inhale as you hinge, exhale as you stand. Easier: shorten the range — only hinge as far as you can keep your back flat. Harder: stronger band, or single-leg with a hand on a chair for balance. Watch out for: rounding your back or turning it into a squat — the movement comes from the hips.
4. Chest Press
Purpose. Works the chest, front shoulders and triceps without needing the floor space or wrist comfort of push-ups. Setup. Anchor the band behind you at chest height, or pass it around your upper back. Step forwards into a staggered stance until there is tension. Technique. Start with your hands beside your chest, elbows at about 45 degrees, and press forwards until your arms are straight but not locked. Return slowly. Breathing. Exhale as you press, inhale as you return. Easier: step closer to the anchor or use a lighter band. Harder: step further away or stack two bands. Watch out for: shrugging your shoulders up towards your ears — keep them down and back.
5. Seated Row
Purpose. Trains the mid-back and biceps — the postural muscles that balance all your pressing. Setup. Sit on the floor or mat with legs extended and the band looped around your feet (or anchored low), holding a handle in each hand, sitting tall. Technique. Pull your elbows straight back, squeezing your shoulder blades together as if you are tucking them into your back pockets, then straighten your arms under control. Breathing. Exhale as you pull, inhale as you extend. Easier: lighter band or bend your knees. Harder: hold the squeeze for two seconds each rep. Watch out for: leaning back or rounding your shoulders — your torso should stay tall and still.
6. Overhead Press
Purpose. Builds shoulder and triceps strength for everyday lifting and carrying. Setup. Stand on the centre of the band, feet hip-width apart, holding the handles at shoulder height with your palms facing forwards or towards each other. Technique. Brace your glutes and stomach, then press the handles straight overhead until your arms are extended, and lower them slowly. Breathing. Exhale as you press, inhale as you lower. Easier: press one arm at a time, which halves the load on your core. Harder: stronger band or a slow three-second lower. Watch out for: arching your lower back — if that happens, the band is too heavy for now.
7. Band Pull-Apart
Purpose. Strengthens the rear shoulders and upper back, supporting good posture. Setup. Hold a light band (or the ends of a long tube band) in front of you at shoulder height, arms straight with a soft bend in the elbows. Technique. Keeping your arms level, pull the band apart until it lightly touches your chest, pinching your shoulder blades together. Return slowly — do not let the band snap back. Breathing. Exhale as you pull apart, inhale as you return. Easier: grip the band wider. Harder: narrower grip or a slower return. Watch out for: using a band so heavy that your shoulders shrug and your neck does the work.
8. Pallof Press
Purpose. Trains your core to resist twisting — the kind of stability that protects your back in daily life. Setup. Anchor the band at chest height and stand side-on to the anchor, holding the handle with both hands at the centre of your chest, feet hip-width apart. Technique. Press your hands straight out in front of you without letting the band rotate your body, hold for a breath, then bring them back. Do all reps, then turn around and repeat on the other side. Breathing. Exhale as you press out. Easier: stand closer to the anchor. Harder: step further away or narrow your stance. Watch out for: letting your torso twist towards the anchor — your shoulders and hips should stay square.
Your Weekly Plan
Do this routine two or three times a week on non-consecutive days — Monday, Wednesday and Friday is a simple pattern — so each muscle group gets rest between sessions. When the top of a rep range starts to feel comfortable with good form, progress in this order: add a rep or two, then slow the lowering phase to a three-count, then move up a band level or stack two bands. Change only one thing at a time, and keep the version that lets your last two reps feel challenging but controlled.
Mild next-day muscle soreness is normal when a movement is new. Sharp pain is not — stop the exercise, check your form and band choice, and if pain persists, get it looked at by a qualified professional before training through it.
Cool Down
Finish with five unhurried minutes: a figure-four glute stretch lying on your exercise mat, a standing thigh stretch holding a chair, a doorway chest stretch, and a few slow cat-cow movements on all fours. Breathe deeply and let your heart rate settle.
FAQ
Q: Can resistance bands really build strength and muscle?
Yes. Your muscles respond to tension and progressive challenge, and they cannot tell whether that challenge comes from a band or a dumbbell. What matters is that the last reps of a set are genuinely hard with good form — and that you keep progressing the resistance over time.
Q: Which band should a beginner start with?
Start with a light-to-medium band for upper-body exercises and a medium band for legs and glutes, since leg muscles are stronger. A multi-level set makes this easy: if you can finish a set barely feeling it, go up a level; if your form breaks down early, go down one.
Q: How often should I do this routine?
Two or three times per week is a good range for most women, with at least one rest day between full-body sessions. Consistency over months matters far more than squeezing in extra sessions.
Q: What if my loop band keeps rolling up during leg exercises?
That is the most common complaint about latex mini bands. Fabric loop bands are thicker, grip your leggings, and stay where you put them — they are worth it if glute work is a big part of your training.
Q: Are bands or dumbbells better for a home workout?
Both work well, and many women end up using a mix. Bands win on price, storage and joint-friendliness; dumbbells win on precise, easy progression. Our Resistance Bands vs Dumbbells guide compares them in detail.
The Bottom Line
A resistance band workout does not need to be complicated to be complete. Eight well-chosen exercises, a band you have checked is in good condition, and a plan to progress a little each week will carry you a long way. Start with the lightest band that challenges you, master the form, and let the stronger bands wait patiently in the drawer — you will be surprised how quickly you reach for them.
