New to stability ball exercises? This beginner-friendly Swiss ball guide covers sizing, setup, and the safest first moves — bridges, marches, and wall squats.
Stability Ball Exercises for Beginners: A Swiss Ball Guide
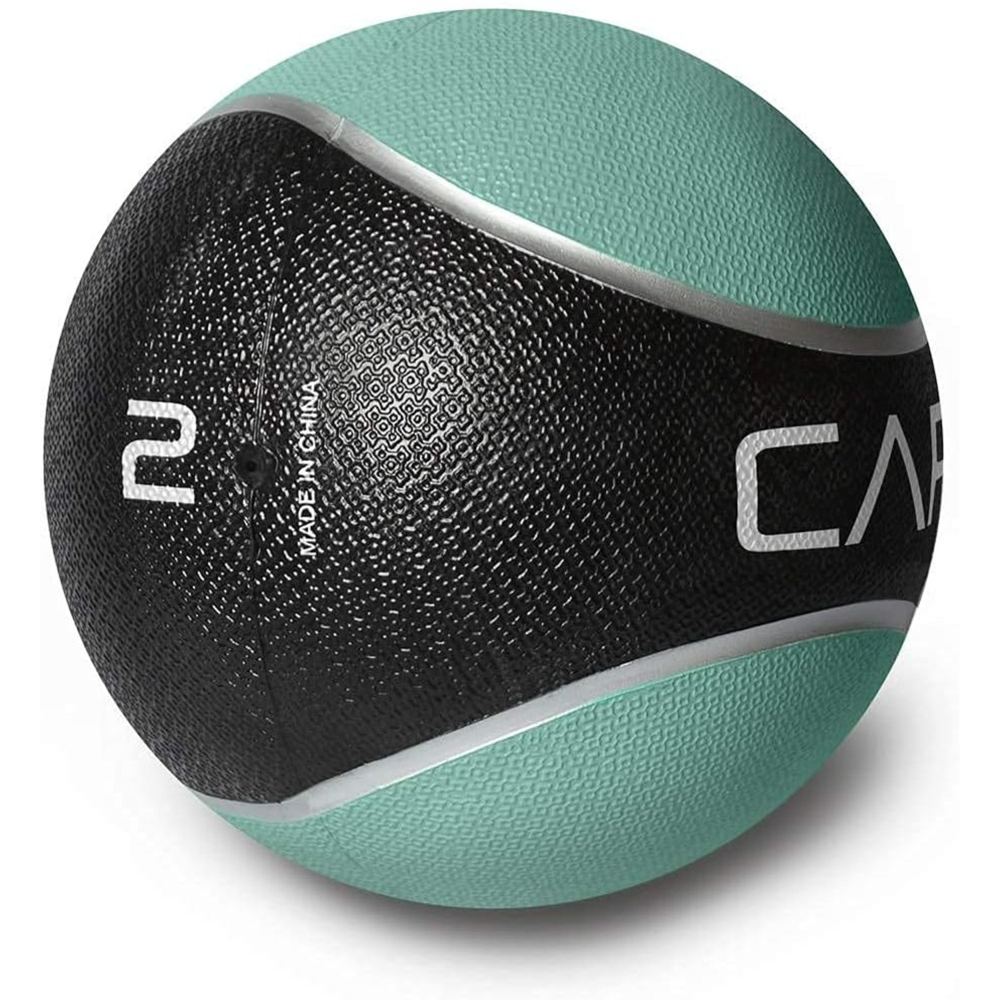
The stability ball — also called a Swiss ball or exercise ball — is that big inflatable sphere you see in every gym corner and physical therapy clinic. It looks like a toy, but it's one of the friendliest tools a beginner can own: inexpensive, gentle on joints, and brilliant at teaching your trunk to stabilize while the rest of you moves.
The idea is simple. An unstable surface forces your deep trunk muscles to switch on and keep you balanced. That means even familiar moves — a bridge, a wall squat, a simple march — become more effective at building the steadiness and coordination that protect your back in daily life.
This guide is written for true beginners: how to pick the right size, how to set up safely, and the first exercises to learn in order.
This guide contains affiliate links. If you buy through them, VÉLORA may earn a commission at no extra cost to you.
Choosing the Right Ball Size
Size matters more than brand. The rule: when you sit on the ball, your thighs should be roughly parallel to the floor, with knees at about 90 degrees.
| Your height | Ball diameter | |---|---| | Under 5'1" (155 cm) | 55 cm | | 5'1"–5'7" (155–170 cm) | 65 cm | | 5'8"–6'1" (173–185 cm) | 75 cm | | Over 6'1" (185 cm) | 85 cm |
When in doubt, size up — a slightly larger ball is easier and more stable for beginners. Most women fall into the 55 cm or 65 cm range. The ball should feel firm when fully inflated: press your thumb in and it should give about half an inch.
Look for a burst-resistant rating (often labeled "anti-burst") and a weight capacity well above your body weight. A textured surface helps grip: balls like the CAPHAUS exercise ball with textured grip stay put against your back during wall squats. The comfort-textured CAPHAUS ball is a similar option with a slightly softer feel. For a different instability challenge later, a BOSU-style 50 cm balance ball trainer works as a natural progression tool.
Setting Up Safely
Inflate the ball fully using the included pump — don't try to blow it up by mouth. Place it on a non-slip surface: carpet, a yoga mat, or rubber flooring. Smooth tile or hardwood is the riskiest surface, especially for moves where the ball is under your back.
Clear at least 3 feet of space in every direction. The first time you use the ball, do it near a wall or sturdy chair you can touch for balance. Sit on the ball and bounce gently to get a feel for it before attempting any exercise.
Important: stability balls are not chairs for all-day sitting. Prolonged sitting on a ball doesn't strengthen your core the way people hope, and it can aggravate back discomfort. Use it for exercise sessions, then get up.
The Beginner Exercises (In Learning Order)
These five progress from most stable to least. Master each one before moving on — rushing to the wobbly moves is how people fall off and lose confidence.
1. Seated March
The gentlest possible introduction: sitting on the ball and lifting your knees.
Starting position: sit tall on the ball, feet flat and hip-width apart, hands resting lightly on your thighs.
Technique: brace your trunk gently (think: tightening a corset, not holding your breath) and lift one foot a few inches off the floor, then lower it and lift the other. Alternate slowly. Your job is to keep the ball and your torso still while your legs move.
Breathing: breathe continuously and naturally. Never hold your breath.
Beginner modification: hold a wall or chair with one hand until you trust your balance.
Common mistakes: leaning side to side with each march; marching too fast; slouching.
How much: 2–3 sets of 10–14 marches per side, resting 30–60 seconds between sets.
2. Wall Squat with Ball
The ball goes behind your back against a wall — a supported squat that teaches good knee tracking.
Starting position: place the ball between your lower back and a wall. Walk your feet forward about 18 inches, feet hip-width apart.
Technique: lower into a squat by bending your knees, letting the ball roll up your back as you descend. Keep your knees tracking over your toes and your weight in your heels. Pause at the bottom (thighs near parallel), then press through your heels to stand.
Breathing: inhale going down, exhale standing up.
Beginner modification: squat to a chair seat behind you — the chair catches you if your balance wavers.
Common mistakes: feet too close to the wall (knees shoot past toes); letting the ball slip sideways; rounding the shoulders forward.
How much: 2–3 sets of 8–12 reps, resting 60–90 seconds between sets.
3. Glute Bridge on the Ball
Heels on the ball, hips lifting — a glute and hamstring builder with a stability bonus.
Starting position: lie on your back, heels resting on top of the ball, arms at your sides, knees slightly bent.
Technique: press your heels into the ball and lift your hips until your body forms a straight line from shoulders to knees. Squeeze your glutes at the top for one count, then lower slowly.
Breathing: exhale as you lift, inhale as you lower.
Beginner modification: place the ball against a wall so it can't roll away; or start with both feet flat on the ball instead of just heels.
Common mistakes: arching the lower back at the top instead of squeezing the glutes; letting the ball drift; rushing the reps.
How much: 2–3 sets of 10–15 reps, resting 60 seconds between sets.
For more on this movement family, see our glute bridge vs hip thrust guide.
4. Ball Crunch (Supported)
A crunch with the ball supporting your lower back — gentler than floor crunches and a better range of motion.
Starting position: sit on the ball, then walk your feet forward until your lower back rests on the ball's curve, feet flat, knees at 90 degrees. Cross your arms over your chest or rest fingertips behind your ears (don't pull your head).
Technique: curl your torso upward by contracting your abs, lifting your shoulder blades off the ball's curve. Pause for one count, then lower slowly. The ball supports your spine through the whole movement.
Breathing: exhale as you curl up, inhale as you lower.
Beginner modification: reduce the range — small curls build the connection before full crunches.
Common mistakes: pulling on the neck; using momentum to bounce off the ball; holding the breath.
How much: 2–3 sets of 10–15 reps, resting 45–60 seconds between sets.
5. Prone Ball Roll (Walkout)
The most advanced move in this guide — rolling the ball out under your body while your trunk holds steady.
Starting position: kneel in front of the ball and drape your torso over it, hands on the floor.
Technique: walk your hands forward, letting the ball roll from under your hips toward your knees, until your body forms a straight line from head to knees (hands under shoulders). Hold for 5–10 seconds while bracing your trunk, then walk your hands back. Keep your pelvis tucked slightly — don't let your lower back sag.
Breathing: breathe steadily behind a moderate brace; exhale as you return.
Beginner modification: roll out only a few inches at first; or do the hold with the ball under your hips instead of rolling out at all.
Common mistakes: letting the lower back collapse (the #1 issue — shorten the roll if this happens); shrugging the shoulders; holding the breath.
How much: 3–4 holds of 10–20 seconds, resting 45 seconds between holds.
A 4-Week Beginner Plan
Two sessions per week, 20 minutes each:
- Weeks 1–2: seated march (3×12/side), wall squat (3×10), glute bridge (3×12). Rest as needed between sets.
- Weeks 3–4: add the ball crunch (3×12) and prone ball roll holds (3×12 seconds). Reduce rest to 45 seconds between sets.
After four weeks, most beginners feel noticeably steadier. From there, add a third session, try single-leg bridges, or explore our core stability vs core strength guide.
Common Mistakes to Avoid
- Under-inflating the ball. A soft ball is unstable in an unhelpful way and makes everything harder. Inflate it properly.
- Skipping the easy moves. The seated march feels too simple to matter — but it's teaching your trunk the exact skill the harder moves require.
- Training on slippery floors. Tile plus a smooth ball is a fall waiting to happen. Use a mat or carpet.
- Using the ball as an all-day chair. Exercise sessions, yes. Eight hours of desk sitting, no.
- Ignoring pain. Discomfort from effort is normal; sharp or pinching pain — especially in the back — means stop and reassess your setup.
Safety Notes
- Check the ball's weight rating and burst-resistant label before buying. Replace a ball that shows cracks, thinning spots, or slow leaks.
- Keep the ball away from sharp objects, pets' claws, and direct heat.
- Never stand on a stability ball. Ever.
- Clear the area of furniture edges and hard corners before each session.
- If you are pregnant, postpartum, or managing a back injury, pelvic floor issues, or balance problems, get your provider's clearance before starting ball exercises. Stop immediately and seek care if you feel dizzy, experience pelvic pressure, leaking, or any warning signs your body gives you.
FAQ
Q: Are stability ball exercises good for beginners?
Yes — they're one of the best starting points there is. The ball supports your body through the movements, the exercises are low-impact, and the instability teaches balance and trunk control gently.
Q: What size stability ball do I need?
Match the ball to your height: 55 cm if you're under 5'1", 65 cm for 5'1"–5'7", 75 cm for 5'8"–6'1", and 85 cm above that. When seated, your thighs should be roughly parallel to the floor. When in doubt, size up.
Q: Can stability ball exercises help back pain?
They can help build the trunk stability that supports a healthy back — bridges, marches, and gentle ball work are common in rehab-style programs. But exercise isn't a treatment: if you have ongoing back pain, see a professional for a proper assessment before starting.
Q: How often should I do stability ball exercises?
Two to three times per week is plenty for beginners. The movements are gentle enough that you can pair them with walking, yoga, or other training on alternate days. Our balance exercises for women guide pairs well on off days.
Q: Do I need to inflate the ball fully?
Yes. A properly inflated ball should dent about half an inch under firm thumb pressure. Under-inflated balls are wobbly, make exercises unnecessarily hard, and wear out faster.
Q: Will a stability ball help me lose belly fat?
No exercise spot-reduces fat from any area, and the ball is no exception. What it does build is trunk strength, stability, and better movement — which supports an active lifestyle. Body composition changes come from overall activity and nutrition, and results vary.
Conclusion
The stability ball rewards patience more than any other tool. Sit, march, bridge, and squat against the wall for a few weeks, and you'll feel the difference in how steady your body feels — on the ball and off it. Inflate it right, progress in order, and let this humble inflatable sphere teach your trunk to do its job.
