Glute bridge or hip thrust? How range of motion, loading and setup differ, which muscles each targets, and how to choose based on your equipment and goals.
Glute Bridge vs Hip Thrust: Differences and When to Use Each
The glute bridge and the hip thrust look like siblings — both involve lying on your back and driving your hips toward the ceiling — and they get used almost interchangeably in glute programs. But they are not the same exercise. The range of motion, the loading potential, the setup, and even which part of the glute does the most work all differ in ways that matter for programming.
If you have wondered whether to graduate from bridges to thrusts, which is better, or which fits your home setup — this guide covers how each move works, how they compare, and how to choose based on your equipment and goals.
This guide contains affiliate links. If you buy through them, VÉLORA may earn a commission at no extra cost to you.
The Glute Bridge: Floor-Based Foundation
Setup: Lie on your back on the floor, knees bent, feet flat and hip-width apart, arms at your sides. Your heels should be close enough that your fingertips can nearly touch them.
Technique: Press through your heels, squeeze your glutes, and lift your hips until your knees, hips, and shoulders form a straight line. Pause one second at the top with a hard glute squeeze — imagine cracking a walnut — then lower slowly over 2–3 seconds. Do not overextend: if your lower back arches at the top, you have gone too high. Ribs stay down, pelvis stays neutral.
Breathing: Exhale as you lift (the effort), inhale as you lower.
What it trains: Primarily the gluteus maximus, with hamstrings and core assisting. With your back on the floor, the range of motion is shorter — floor to full extension, and that is it.
Loading: Bodyweight to start; add a dumbbell or plate resting on your hips, or a loop resistance band just above your knees to train abduction at the same time. Single-leg glute bridges are the classic bodyweight progression — one foot planted, the other extended.
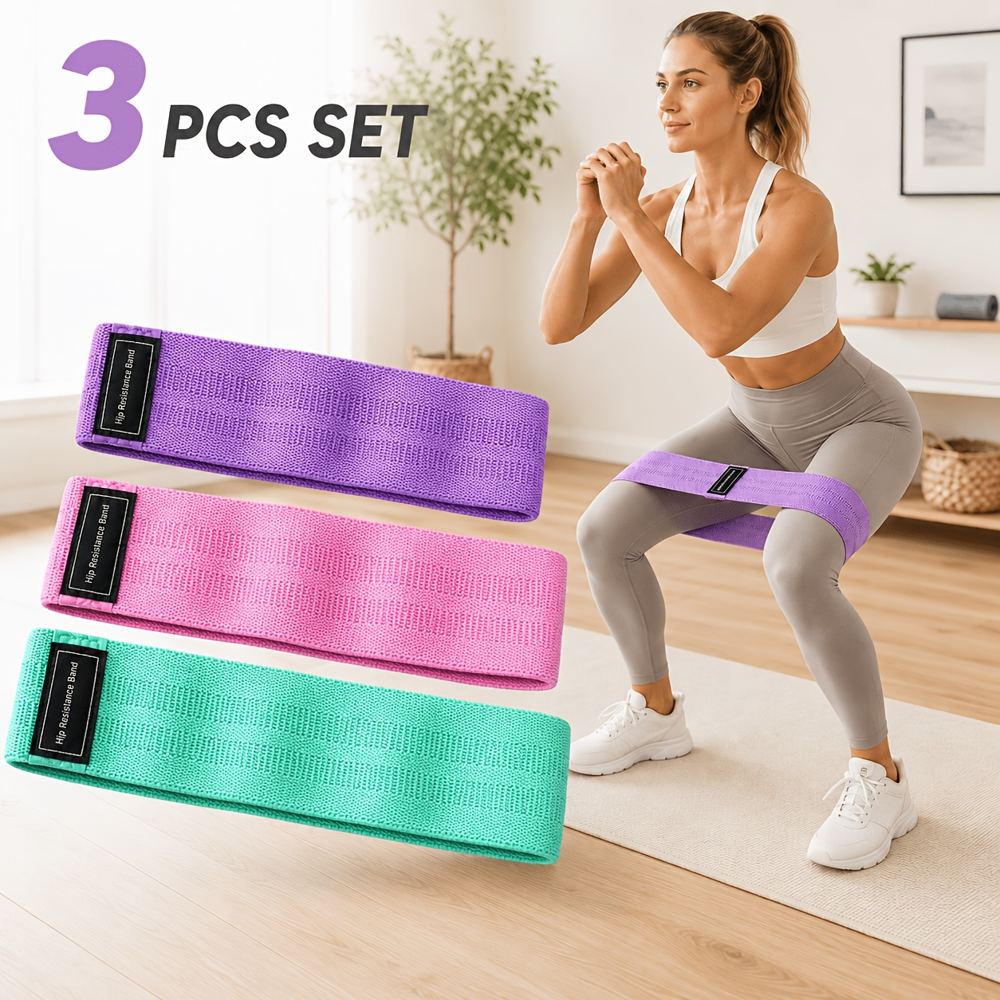
Best for: Beginners learning glute activation, warm-ups and activation work before heavier leg training, home workouts with minimal equipment, and anyone rehabbing or returning from time off. The floor gives you stability and feedback, which makes it the safest place to learn the hip-hinge pattern of full extension.
The Hip Thrust: Elevated, Loaded, Longer Range
Setup: Sit on the floor with your upper back against a bench (or sturdy couch/bed edge), knees bent, feet flat on the floor. The bench edge should sit just below your shoulder blades. Roll or place a barbell, dumbbell, or plate across your hips — a pad or folded towel under the weight saves your hip bones.
Technique: Drive through your heels and lift your hips until your torso is roughly parallel to the floor and your shins are vertical — knees stacked over ankles. Squeeze hard at the top for a full second. Lower under control until your hips nearly touch the floor, then repeat. Your upper back pivots on the bench; keep your chin slightly tucked and do not crank your head back.
Breathing: Same pattern — exhale on the lift, inhale on the way down. Brace your core before each rep as the weight gets heavier.
What it trains: The gluteus maximus through a longer range of motion, with hamstring and quad assistance and heavy core demands. Elevated shoulders let your hips drop lower, stretching the glutes under load — a big part of why the hip thrust builds glutes so effectively.
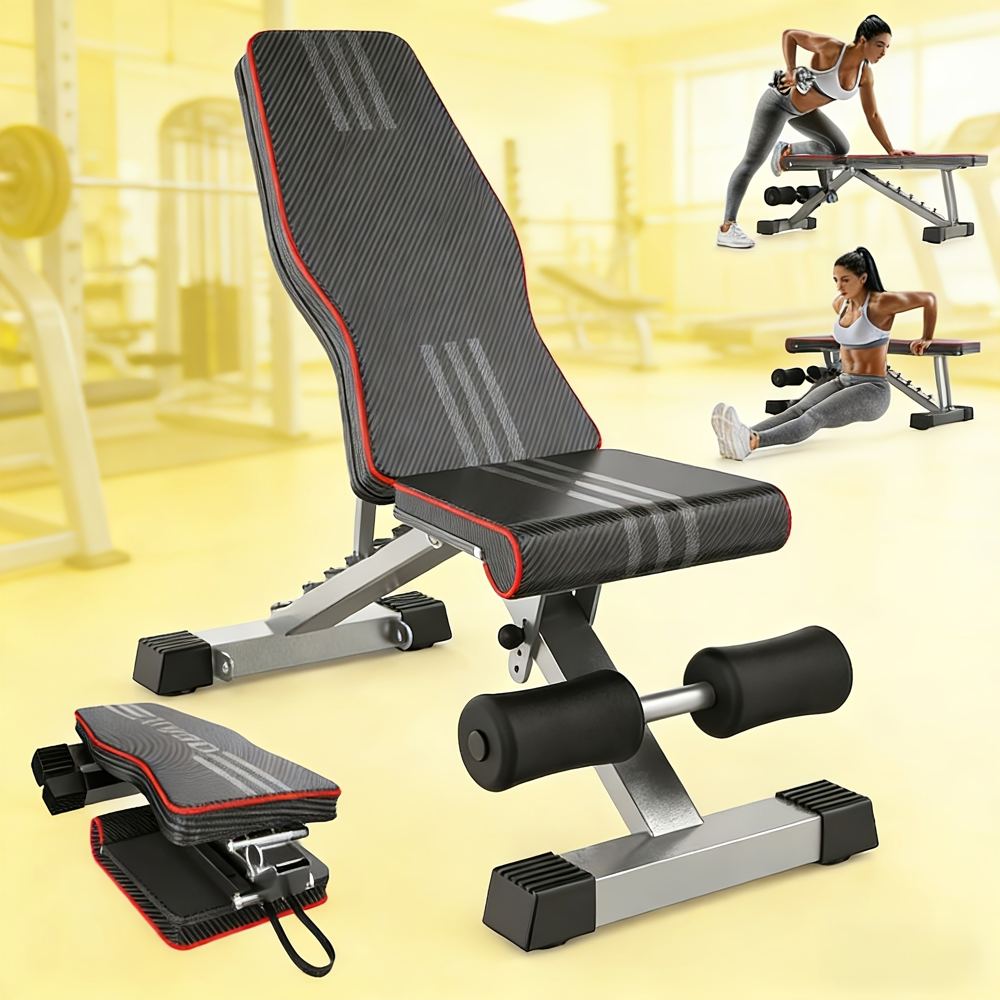
Loading: This is where the hip thrust pulls away. The bench setup comfortably supports barbells, heavy dumbbells, and dedicated machines. A sturdy adjustable weight bench is the home-gym enabler here — set at the right height, it gives you the stable pivot point the exercise needs. For lifters who want the movement without barbell logistics, a dedicated 3D hip thrust machine provides the same pattern with built-in loading.
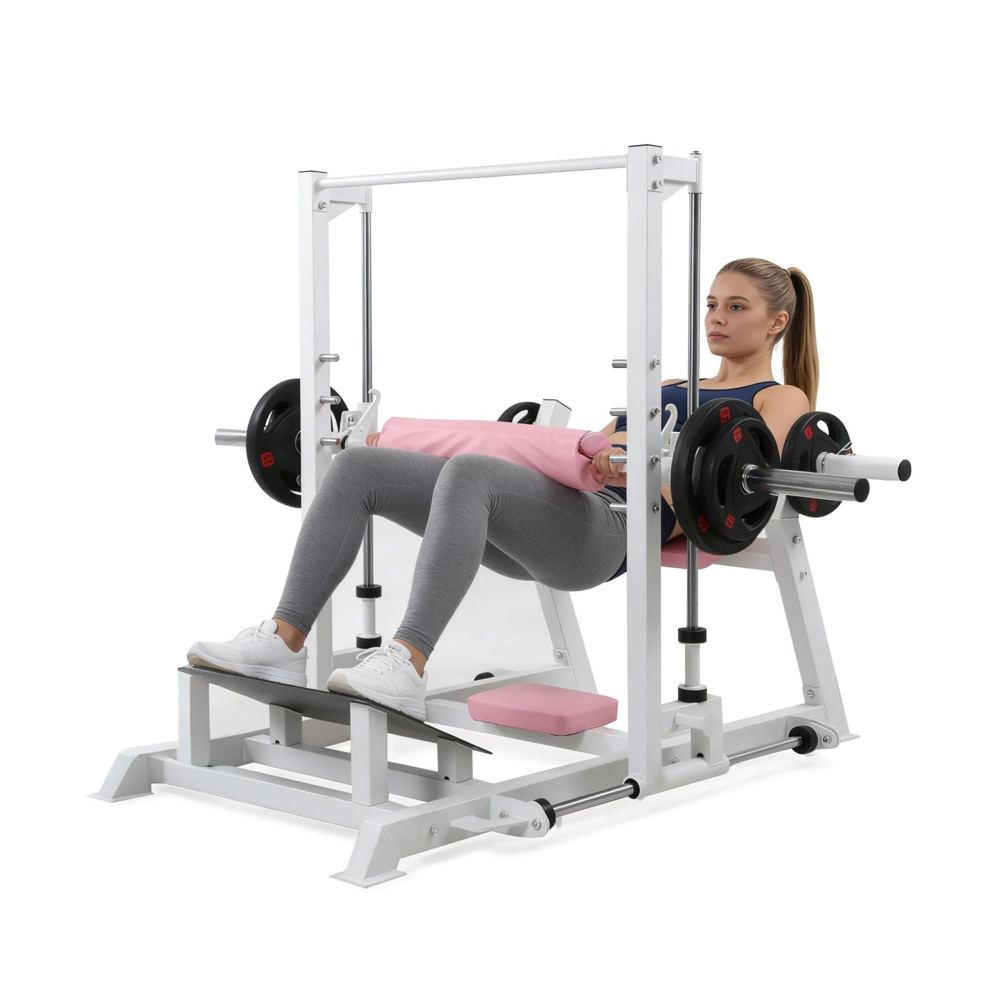
Best for: Intermediate and advanced lifters chasing glute strength and development, anyone with access to a bench and heavier weights, and athletes wanting hip-extension power. It is also the better choice when glute bridges have gotten too easy to load meaningfully at home.
Side-by-Side Comparison
| | Glute Bridge | Hip Thrust | |---|---|---| | Setup | Back flat on the floor, feet planted | Upper back on a bench, feet on the floor | | Range of motion | Shorter — floor to full extension | Longer — hips drop below bench level for a loaded stretch | | Loading potential | Bodyweight to moderate (dumbbell on hips, bands) | Moderate to very heavy (barbell, machines) | | Primary muscles | Gluteus maximus, hamstrings assist | Gluteus maximus (greater stretch + load), hamstrings, quads assist | | Equipment needed | Just a floor (mat optional) | Bench or sturdy elevated surface + weight | | Difficulty to learn | Easy — most people get it in one session | Moderate — bench position and bar placement take practice | | Best starting point | Beginners, warm-ups, activation | Lifters with bridge experience and heavier weights available | | Typical rep ranges | 10–20 (bodyweight) / 8–15 (loaded) | 8–15 (moderate) / 5–8 (heavy strength work) | | Knee/back friendliness | Very — floor-supported, low shear | Good, but heavier loading demands solid bracing |
Neither is "better" in absolute terms — they are points on a progression. The bridge teaches the pattern; the thrust extends it.
How to Choose Based on Your Goals and Equipment
Choose the glute bridge if: you are new to glute training and still learning to feel your glutes fire; you train at home with no bench; you want a warm-up or activation move before squats and deadlifts (2 sets of 12–15 bodyweight bridges wake the glutes up beautifully); or you are returning from injury or a long break and want the most supported version.
Choose the hip thrust if: bridges feel easy even loaded; you have a bench and weights and want to keep progressing; or your goal is maximal glute strength and development.
Use both if: you want the best of both worlds, which is what most good glute programs do. A common template: hip thrusts as the heavy main lift early in the session (3–4 sets of 8–12), glute bridges as a higher-rep finisher or on a lighter day (2–3 sets of 12–20, or single-leg for challenge).
For full programming ideas, our glute workout at home guide shows where each move fits, and the hip thrust machine guide covers dedicated equipment.
Programming: Sets, Reps, and Progression
Glute bridge:
- Bodyweight: 2–4 sets of 12–20 reps, resting 45–60 seconds.
- Loaded (dumbbell on hips): 3–4 sets of 8–15 reps, resting 60–90 seconds.
- Single-leg: 2–3 sets of 8–12 per side.
- Progress by adding reps first, then load, then moving to single-leg or to hip thrusts.
Hip thrust:
- Hypertrophy/development focus: 3–4 sets of 8–15 reps, resting 90 seconds–2 minutes.
- Strength focus: 3–5 sets of 5–8 reps with heavier weight, resting 2–3 minutes.
- Progress by adding small amounts of weight when you hit the top of your rep range with clean form.
Frequency: Train glutes directly 2–3 times per week with at least a day between hard sessions. One heavy hip thrust day plus one lighter bridge/band day is a classic split that avoids burnout while keeping frequency high.
Common Mistakes (Both Exercises)
Overextending at the top. Pushing the hips "extra high" arches the lower back and shifts work from the glutes to the spine. The top position is a straight line — knees, hips, shoulders — not a backbend. If your back hurts, you are going too high.
Letting the knees cave in. Especially under load, knees drift inward. Keep them tracking over your toes; a light band above the knees is a great teacher — push out against it on every rep.
Rushing the eccentric. Dropping fast wastes half the rep. Lower over 2–3 seconds, every rep, both exercises.
Wrong foot position. Feet too far forward turns the move into a hamstring exercise; too close cramps the quads. Start with shins vertical at the top position and adjust from there — that is your home base.
Holding your breath through whole sets (hip thrust). Brace and exhale per rep. On heavy thrusts, a held brace for a single rep is fine; holding it for ten is not.
Bench too high or too low (hip thrust). The bench edge should hit just below your shoulder blades. Too high and you cannot get range; too low and your back slides. A 14–16 inch bench height works for most women — adjustable benches earn their keep here.
Safety Notes
- Never load a hip thrust on an unstable surface — the bench or couch must not slide or tip. Test it unloaded first.
- Keep weights controlled when placing them on your hips; a barbell rolling off mid-set is the classic hip-thrust mishap. Set up deliberately every time.
- Stop for sharp lower-back, hip, or knee pain. Glute burn and fatigue are the goal; joint pain is a signal to adjust setup or regress to the easier variation.
- If you are pregnant, loaded hip thrusts and prone-adjacent positions need individual clearance — the supine position (on your back) is generally advised against after the first trimester, so check with your clinician or midwife for safe glute alternatives rather than improvising.
FAQ
Q: Do I need to graduate from glute bridges to hip thrusts?
Not necessarily, but most people eventually do — not because bridges stop working, but because they become hard to load heavily at home. If bodyweight or dumbbell bridges still challenge you, stay with them. Move to thrusts when you want heavier loading and have the setup for it.
Q: Which one builds glutes faster?
The hip thrust has the edge simply because it can be loaded much heavier through a longer range of motion. But "faster" still means months of consistent training, adequate protein, and progressive overload — no exercise builds noticeable muscle in weeks. Results vary between individuals.
Q: Can I do hip thrusts without a bench?
Yes — a sturdy couch, a low bed frame, or a solid step all work as the elevated surface, as long as they do not slide or tip. Many women start hip thrusting with a couch before buying a bench. Just test stability unloaded first.
Q: Why do I feel hip thrusts in my quads or lower back instead of my glutes?
Usually a setup issue: feet too close (quad-dominant) or overextending at the top (back takes over). Move your feet slightly farther out, stop the rep at a straight line rather than pushing higher, and focus on initiating each rep by squeezing the glutes first. If the mind-muscle connection is missing, spend two weeks on bodyweight glute bridges first — they teach the firing pattern the thrust needs.
Q: How heavy should women go on hip thrusts?
As heavy as good form allows, progressed gradually. There is no gender-specific cap — some women hip thrust well over their bodyweight within a year of training. Start with bodyweight to learn the pattern, add a dumbbell, then a barbell, adding small increments when you complete your target reps cleanly.
The Bottom Line
The glute bridge and hip thrust are not rivals — they are a progression. Bridges teach your glutes to fire with nothing but a floor; thrusts take that same pattern, add range of motion and serious loading, and turn it into one of the most effective glute exercises that exists. Start where your equipment and experience put you, progress honestly, and use both once you can: heavy thrusts for strength, bridges for activation and finishers. Train them 2–3 times a week, add weight or reps over time, and let consistency do what no single "best" exercise can.