Stronger glutes at home, no gym needed: 8 beginner-friendly exercises with step-by-step form, band tips, sets and reps, and honest safety advice.
Glute Workout at Home for Women: 8 Exercises That Build Strength
Strong glutes do far more than shape your jeans. They power you up stairs, support your lower back when you lift groceries or children, and stabilize your knees when you walk. And you do not need a gym: a mat, a band, and your bodyweight are enough to build real, functional strength at home.
One honest note first: glute training builds and strengthens the muscles of your hips and backside. It does not selectively melt fat from one area — no exercise can do that, despite what social media promises. What it delivers is firmer, stronger muscles and better posture.
This guide contains affiliate links. If you buy through them, VÉLORA may earn a commission at no extra cost to you.
What You Need
- A mat or soft surface for floor work.
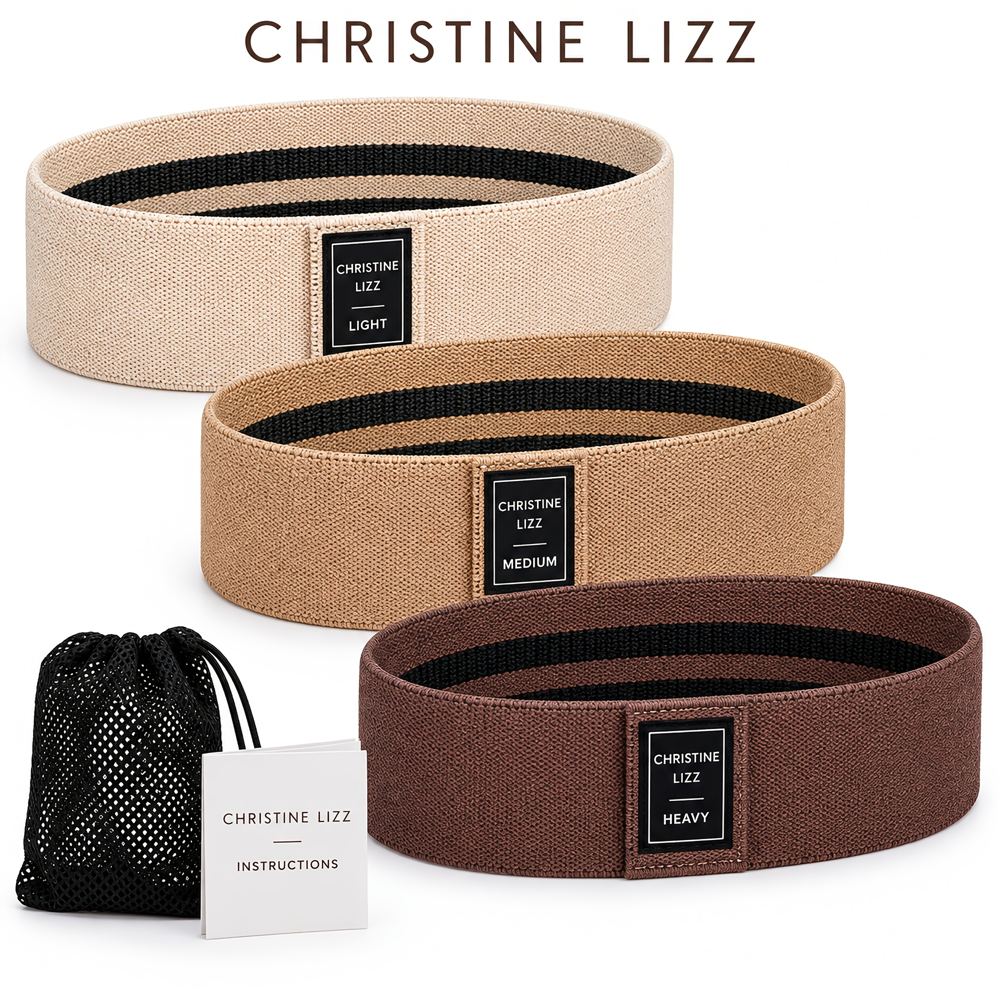
- A loop resistance band (optional but very useful). Fabric bands like the Fabric Hip Bands 3-Band Set stay put on your thighs, while thin latex loops tend to roll and pinch. See our guide to the Best Resistance Bands for Women.
- A sturdy sofa, low bench, or padded chair for hip thrusts.
- A dumbbell or filled water bottle (optional) to load bridges and thrusts later.
Warm-up (3 minutes): March in place for 30 seconds, then 10 slow bodyweight squats, 10 easy reverse lunges, and 10 unweighted glute bridges. Cold glutes are sleepy glutes.
The 8 Exercises
Work through these in order — foundational patterns first, targeted work after.
1. Glute Bridge
Purpose: The foundation of home glute training — teaches your glutes to extend the hip, their main job, without loading your spine.
How to do it: Lie on your back, knees bent, feet flat and hip-width apart, heels close enough to graze with your fingertips. Brace your stomach lightly, push through your heels, and lift until your body forms a straight line from knees to shoulders. Squeeze for one to two seconds, then lower slowly.
Breathing and reps: Exhale as you lift, inhale as you lower. Aim for 2–4 sets of 10–20 reps, resting 30–60 seconds between sets.
Beginner modification: Lift only as high as you can without arching your back.
Common mistakes: Pushing through the toes (shifts work to the quads), overarching at the top, and dropping down quickly instead of controlling the descent.
2. Hip Thrust (Sofa or Bench)
Purpose: The bridge's bigger sibling — a raised surface means a larger range, loading the glutes hardest at the top.
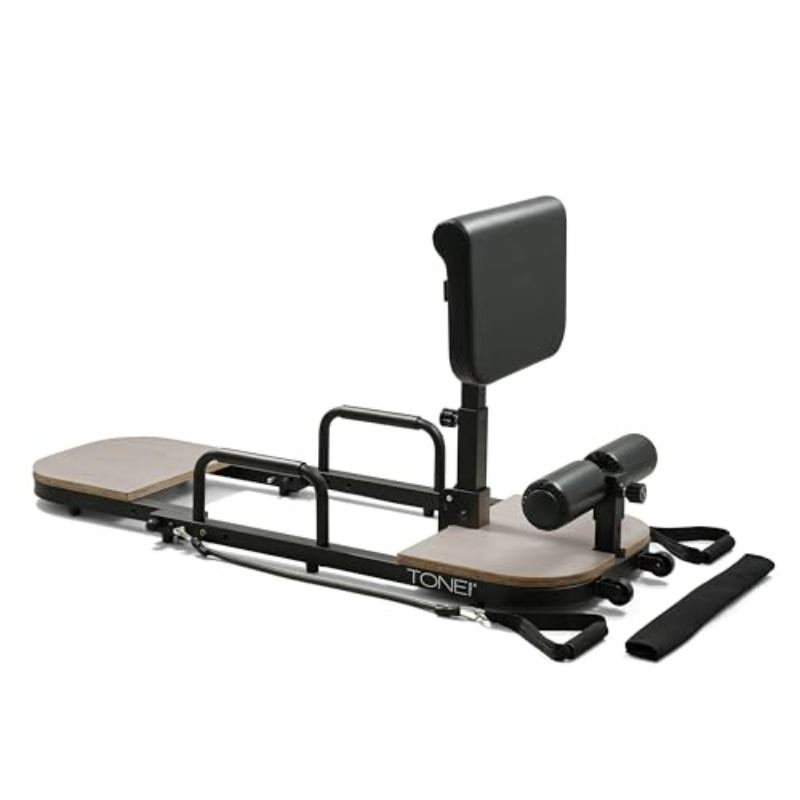
Equipment: A sturdy sofa or bench; optional dumbbell on the hips. If this becomes a favorite, see the Best Hip Thrust Machines for Home, including the Foldable Hip Thrust Glute Machine.
How to do it: Sit on the floor, upper back (just below the shoulder blades) against the sofa edge, feet flat and hip-width apart, chin slightly tucked, ribs down. Drive through your heels and lift until your thighs are parallel to the floor, squeeze for one to two seconds, then lower until your hips hover just above the floor.
Breathing and reps: Exhale on the lift, inhale on the way down. Aim for 2–4 sets of 8–15 reps.
Beginner modification: Build up with bridges for two to three weeks first, or use a lower surface.
Common mistakes: Knees caving inward (push them gently out), hyperextending the back at the top, and feet placed too far away, which shifts work to the hamstrings.
3. Donkey Kickback
Purpose: Isolates one glute at a time and reveals side-to-side strength differences.
How to do it: Start on all fours — wrists under shoulders, knees under hips, back flat like a tabletop. Keeping the knee bent at about 90 degrees and the foot flexed, press one heel toward the ceiling until your thigh is roughly parallel to the floor. Lower slowly without letting the knee touch down. Finish one side, then switch. Ankle weights make a good progression later — see our guide to the Best Ankle Weights for Women.
Breathing and reps: Exhale as you kick up, inhale as you lower. Aim for 2–3 sets of 10–16 reps per side.
Beginner modification: A smaller, controlled lift beats a big, wobbly one.
Common mistakes: Arching the lower back to lift higher (the movement should come from the hip), rotating the hips open, and swinging with momentum.
4. Fire Hydrant
Purpose: Trains the gluteus medius, the outer-hip muscle that stabilizes your pelvis when you walk or climb stairs.
How to do it: From all fours, keep the knee bent at 90 degrees and lift it out to the side, like opening a gate, as high as you can without your torso tipping. Pause, lower with control, and repeat before switching sides. An optional band above the knees adds challenge.
Breathing and reps: Exhale as you lift, inhale as you lower. Aim for 2–3 sets of 10–15 reps per side.
Beginner modification: Lift only a few inches; range grows as the outer hip strengthens.
Common mistakes: Leaning away from the lifting leg and letting the hips shift backward. Brace your core and stay centered.
5. Banded Clamshell
Purpose: A gentle outer-hip strengthener — a friendly starting point if your knees dislike squats and lunges.
Equipment: A loop band such as the 3-Pack Yoga Resistance Bands for Squat, Glute and Leg Work.
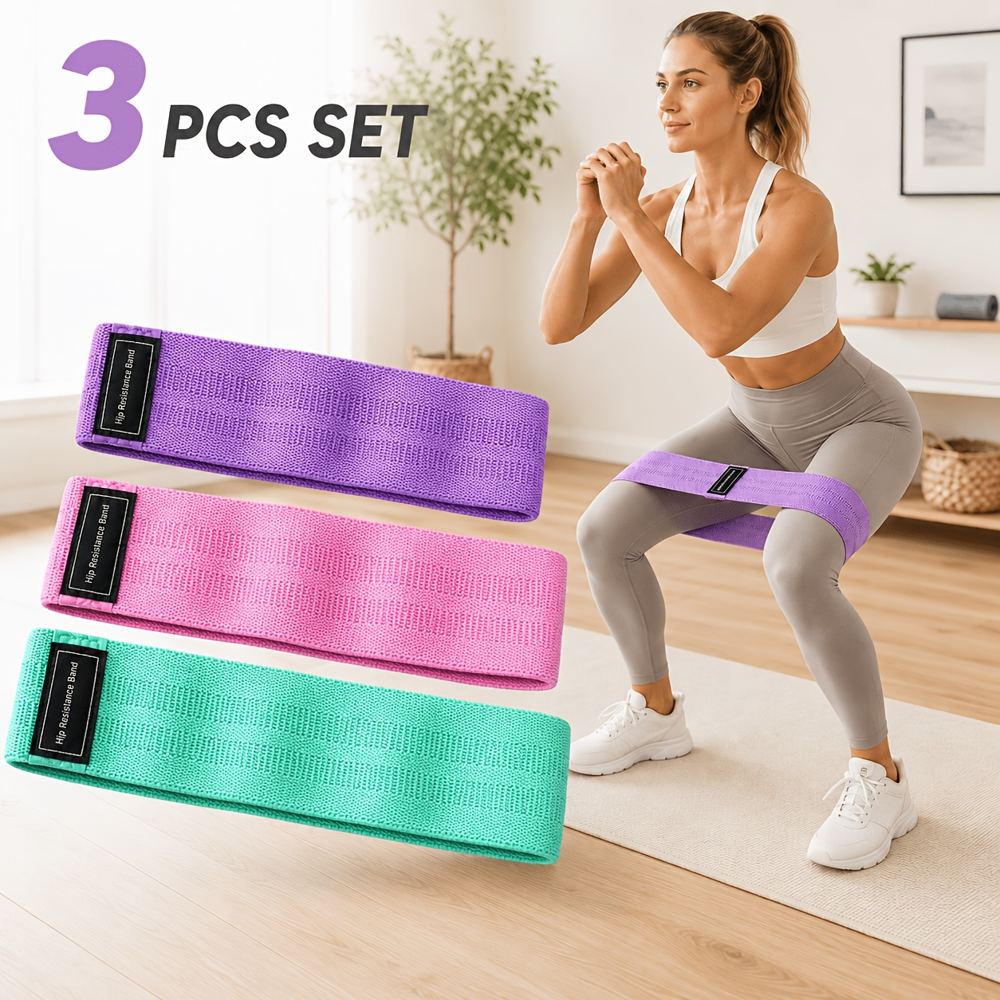
How to do it: Lie on your side, knees bent at about 45 degrees, heels in line with your back, head on your lower arm, band just above your knees. Feet together and hips stacked, open the top knee as far as you can without your pelvis rocking back. Pause, close slowly, then roll over and repeat.
Breathing and reps: Exhale as you open, inhale as you close. Aim for 2–3 sets of 12–20 reps per side.
Beginner modification: Skip the band at first; bodyweight alone is a fine start.
Common mistakes: Rolling the top hip backward to fake a bigger opening, and rushing. This one rewards slowness.
6. Frog Pump
Purpose: A high-repetition finisher that many women find lights up the glutes more than a standard bridge.
How to do it: Lie on your back, soles together, knees fallen open, feet pulled in close — legs in a diamond shape. Tuck your chin slightly, push through the outer edges of your feet, and lift your hips, squeezing hard at the top. Lower without fully relaxing between reps.
Breathing and reps: Breathe steadily, exhaling on each lift. Aim for 2–3 sets of 15–30 reps.
Beginner modification: Fewer reps, with a full rest at the bottom of each one.
Common mistakes: Overarching so the lower back takes over. If you feel it mainly in your back, reduce the height and slow down.
7. Banded Squat
Purpose: Connects glute strength to the most functional pattern of all — standing up. The band teaches your knees to track outward, keeping the glutes switched on.
How to do it: Place a loop band just above your knees. Stand feet hip-width apart, toes forward or turned out slightly — whichever lets your knees track comfortably over your toes. Push your hips back and bend your knees as if sitting into a chair, chest lifted, knees pressing gently out against the band. Go as deep as you comfortably can with heels down, then drive through your whole foot to stand, squeezing your glutes at the top.
Breathing and reps: Inhale as you sit down, exhale as you stand. Aim for 2–4 sets of 8–15 reps.
Beginner modification: Squat to a chair, lightly touching the seat each rep to gauge depth safely.
Common mistakes: Knees collapsing inward, heels lifting, and rounding the lower back at the bottom. Slow down before adding resistance.
8. Standing Glute Kickback
Purpose: Trains hip extension standing up — useful if floor work is difficult.
How to do it: Stand tall, holding a wall or chair back, feet hip-width apart. Keeping the working leg mostly straight and torso upright, sweep one leg a short distance behind you, squeezing the glute at the end. Return slowly — all the motion happens at the hip; your lower back stays quiet.
Breathing and reps: Exhale as the leg sweeps back, inhale as it returns. Aim for 2–3 sets of 10–15 reps per side.
Beginner modification: Hold your support with both hands and make the sweep smaller.
Common mistakes: Leaning forward to fake range and bending the lower back. A small, honest kickback with a strong squeeze beats a big, loose one.
Putting It Together: A Sample Session
Pick six of the eight exercises — always include a bridge or thrust pattern — and rotate the others across days. Two to three sessions per week, with a rest day between them, suits most women well.
| Exercise | Main Focus | Equipment | Difficulty | |---|---|---|---| | Glute Bridge | Glute max, hip extension | Mat | Beginner | | Hip Thrust | Glute max, heavy loading | Sofa/bench | Beginner–Intermediate | | Donkey Kickback | Single-side glute strength | Mat | Beginner | | Fire Hydrant | Outer hip (glute medius) | Mat, optional band | Beginner | | Banded Clamshell | Outer hip, knee stability | Mat + band | Beginner | | Frog Pump | Glute activation, finisher | Mat | Beginner | | Banded Squat | Glutes + thighs, functional | Band | Beginner–Intermediate | | Standing Kickback | Hip extension, balance | Chair for support | Beginner |
How to progress: When the top of a rep range feels manageable with good form for two sessions running, change one thing — a stronger band, a dumbbell on your hips, slower lowering, or an extra set. Soreness for a day or two after a new session is common; sharp pain is not — stop and reassess.
Safety Notes
- Stop any exercise that causes sharp or joint pain. Muscle effort and a deep burn are normal; pain is information, not a challenge.
- If you are pregnant, postpartum, recovering from injury, or managing a condition affecting your hips, back, or pelvic floor, check with your doctor or a physiotherapist first — several of these movements deserve individual guidance then.
- Keep movements slow and controlled; if form breaks down, end the set.
FAQ
Q: How often should I do this glute workout?
Two to three times per week, with at least one rest day between sessions. Your glutes need recovery time to adapt and grow stronger — daily training is neither necessary nor helpful.
Q: How long before I see results?
Most people notice strength changes — movements feeling more stable, stairs feeling easier — within a few weeks of consistent training. Visible changes take longer and vary widely with starting point, consistency, nutrition, and genetics. Anyone promising a transformed shape in a fixed number of days is selling something.
Q: Can I do this workout without a resistance band?
Yes — every exercise here works with bodyweight alone. A band adds challenge to kickbacks, clamshells, and squats, and helps you feel the outer-hip muscles working. Add one when bodyweight sets feel easy.
Q: Will this workout make my thighs bulky?
Unlikely. Bodyweight and light resistance typically build firm, functional muscle gradually. Significant bulk requires years of heavy loading and nutrition aimed at size — a very different program.
Q: Why do I feel bridges in my hamstrings or lower back instead of my glutes?
Usually the feet are too far away (hamstrings take over) or you are arching at the top (lower back takes over). Move your heels closer, tuck your ribs down, push through your heels, and finish by squeezing your glutes rather than lifting as high as possible.
Q: Is soreness after a glute workout normal?
Mild to moderate soreness for 24–48 hours after a new or harder session is common and usually fades as your body adapts. Persistent or worsening pain is different — rest, and seek advice if it does not settle.
The Bottom Line
Strong glutes are built with unglamorous consistency: bridges and thrusts for power, kickbacks and clamshells for control, a band to keep everything honest. Start with what feels manageable, treat the rep ranges as a guide rather than a test, and add challenge in small steps.
