Simple balance exercises for women of any age: nine progressive stability exercises with safety tips, form cues, and beginner modifications for steady confidence.
Balance Exercises for Women: Stability Training at Any Age
Balance is one of those abilities you never think about until it falters — the moment a curb surprises you, a wet floor shifts, or you stand up too fast and the room tilts. And yet it is one of the most trainable qualities in the body. Balance exercises for women improve steadiness on stairs and uneven ground, protect ankles and knees during sports, sharpen coordination for everyday movement, and reduce the risk of falls at every age.
The good news: balance training requires almost no equipment, takes about 10–15 minutes, and responds quickly to consistent practice. This guide gives you nine progressive exercises — from foundational stands to genuinely challenging variations — with clear form cues, safety notes, and modifications so you can start exactly where you are.
This guide contains affiliate links. If you buy through them, VÉLORA may earn a commission at no extra cost to you.
Why Balance Deserves Its Own Training
We train balance indirectly all the time — every step is a brief single-leg stance — but deliberate practice strengthens three systems that keep you upright:
- The ankles. Small muscles around the ankle make constant micro-corrections. Strong, mobile ankles are your first line of defense on uneven ground.
- The hips and glutes. The muscles on the outer hip keep your pelvis level when you stand on one leg. Weakness here shows up as a wobbling, side-to-side walk.
- The core. Your midsection links upper and lower body, keeping your trunk steady while your limbs move. Our resistance band workout also includes single-leg moves that reinforce this.
Women lose some muscle mass and proprioception (the body's sense of its own position) with age, which is why stability training matters more — not less — in the decades after 40. But balance is for everyone: runners with wobbly ankles, new mothers regaining steadiness, desk workers whose feet have forgotten their job.
Safety First: Set Up for Success
- Use a support. A sturdy chair back, countertop, or wall within arm's reach is not cheating — it is smart training. Hold lightly with fingertips, and reduce the support as you improve.
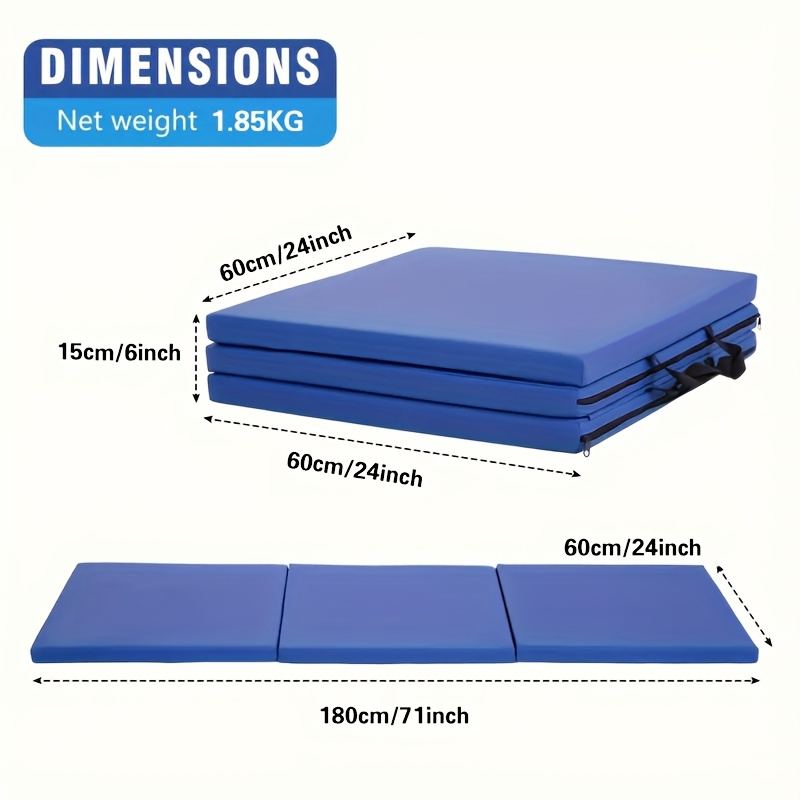
- Clear the floor. Train on a flat, uncluttered surface. A folding gym mat gives a stable, cushioned surface and folds away afterward.
- Barefoot or flat shoes. Balance work is best done barefoot (maximum feedback from your feet) or in flat, stable shoes. Avoid thick, squishy running shoes, which mask the signals your feet send.
- Stop if dizzy. Dizziness, nausea, or blurred vision mean stop immediately, sit down, and hydrate. Some exercises briefly challenge the vestibular system — that is normal — but symptoms that persist need medical attention.
- Health conditions. If you have inner-ear disorders, significant neuropathy, a history of fainting, or are recovering from injury or surgery, get medical clearance first.
Level 1: Foundational Balance (Weeks 1–2)
Master these before moving on. Hold each position for 20–30 seconds per side, 2–3 rounds, resting as needed.
1. Two-Foot Stand, Eyes Closed
Purpose: Establishes your baseline — removing vision forces your ankles and inner ear to do the work.
Starting position: Stand tall, feet hip-width apart, arms relaxed at your sides, near your support.
Technique: Close your eyes and simply stand. You will feel small sways — that is your balance system working. Keep breathing normally. If you must open your eyes or touch the support, that is fine; note it and try again.
Beginner modification: Start with eyes open, then try brief eye closures of 5–10 seconds.
Common mistake: Locking the knees. Keep them soft — stiff legs transmit every sway up to your hips.
2. Tandem Stand (Heel to Toe)
Purpose: Narrows your base of support side-to-side, training ankle and hip stability.
Starting position: Place one foot directly in front of the other, heel touching toes, like standing on a tightrope.
Technique: Find your support, then stand tall. Hold 20–30 seconds, then switch which foot is in front. Progress by hovering your hand just above the support rather than holding it.
Breathing: Slow, even breaths. Holding your breath increases tension and wobbling.
3. Single-Leg Stand
Purpose: The cornerstone of all balance training — and of normal walking.
Starting position: Stand near your support, feet together.
Technique: Shift your weight onto one foot and lift the other a few inches off the floor, knee slightly bent. Keep your standing knee soft and your hips level — imagine a string pulling the crown of your head toward the ceiling. Hold 20–30 seconds per side.
Beginner modification: Keep a fingertip on the support. Progress by closing your eyes briefly.
Common mistake: Hiking the hip of the lifted leg or leaning the trunk toward the standing leg. Level hips, tall spine.
Level 2: Dynamic Balance (Weeks 3–4)
Once the static stands feel steady, add movement. The body learns balance best when it must constantly re-find it.
4. Heel-to-Toe Walk
Purpose: Trains balance in motion — closer to real life than any static hold.
Technique: Walk forward placing each foot's heel directly against the previous foot's toes, arms out to the sides for balance. Take 10–15 steps, turn carefully, and walk back. Keep your gaze forward, not at your feet.
Beginner modification: Walk beside a wall, trailing a hand along it.
5. Single-Leg March
Purpose: Adds alternating limb movement to the single-leg stance.
Technique: March in place, lifting each knee to hip height (or whatever height feels stable), pausing for one full breath on each standing leg before switching. Continue for 30–60 seconds.
Beginner modification: Lower the knee height and keep the march slow. Touch the floor briefly between steps if needed.
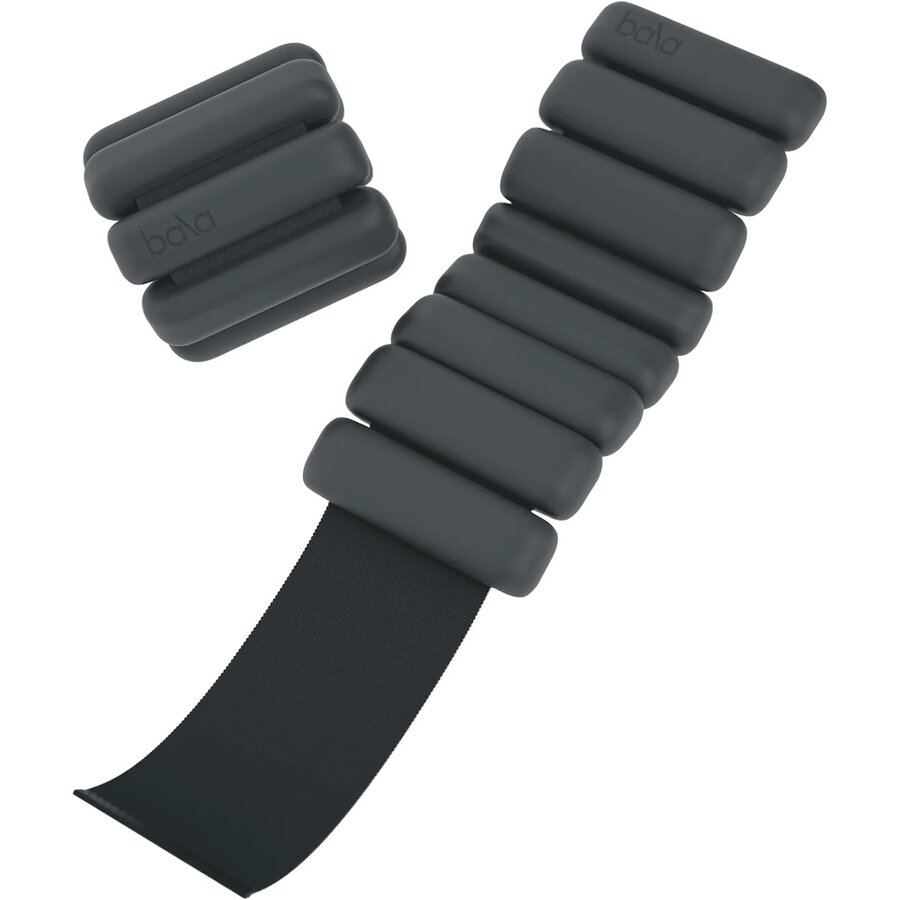
Progression: Add light ankle or wrist weights — the Bala Bangles 3 lb set adds gentle load that challenges stability without changing the movement.
6. Sit-to-Stand (Assisted Single-Leg)
Purpose: Builds the leg strength that makes balance possible — balance without strength is fragile.
Starting position: Sit on a sturdy chair, feet flat, holding the chair's sides.
Technique: Shift your weight onto one foot, press through the heel, and stand — using the chair arms as much as you need. Lower back down with control. Aim for 5–8 repetitions per side.
Beginner modification: Use both legs but press more through one; or do the full two-legged version slowly. Both build useful strength.
Common mistake: Pushing off with the hands explosively and falling back down. Slow both directions.
Level 3: Challenging Variations (Week 5+)
Add these when Level 2 feels comfortable. They demand more from your ankles, hips, and focus.
7. Tree Pose Hold
Purpose: A yoga classic that combines hip mobility with focused single-leg balance.
Starting position: Stand tall, shift weight to one foot.
Technique: Place the sole of the other foot against your inner calf or inner thigh — never pressed against the knee joint. Bring your hands to your heart or overhead. Hold 20–30 seconds per side, breathing steadily.
Beginner modification: Keep the toes of the lifted foot on the floor with the heel resting against the ankle — a "kickstand" tree.
8. Lateral Step and Balance
Purpose: Trains side-to-side stability — the direction most people neglect and most ankle sprains exploit.
Technique: Step sideways onto a low, stable step or platform (a sturdy low stool or the bottom stair), transfer all your weight onto that foot, and lift the trailing foot off the ground, holding for 2–3 seconds. Step back down with control. Repeat 8–12 times per side.
Safety: Use a very low, stable surface and keep your support within reach. Never use a wobbly surface.
9. Single-Leg Reach (Clock Reach)
Purpose: The most functional exercise here — reaching while balanced mimics picking things up in real life.
Technique: Stand on one leg near your support. Slowly reach the free foot toward imaginary clock positions — 12, 3, 6, 9 o'clock — lightly touching the floor at each point without transferring weight. Keep the standing knee soft and the hips level. Do 4–6 reaches per leg.
Beginner modification: Reduce to two positions (forward and side) and keep a fingertip on the support throughout.
Exercise Progression Summary
| Level | Exercises | When to advance | | --- | --- | --- | | 1 — Foundational | Eyes-closed stand, tandem stand, single-leg stand | You can hold each 30 seconds with minimal support | | 2 — Dynamic | Heel-to-toe walk, single-leg march, assisted single-leg sit-to-stand | Movements feel smooth, not scrambly | | 3 — Challenging | Tree pose, lateral step and balance, clock reach | Ready for genuine challenge and variety |
Stay at each level at least two weeks. Balance improves through repetition, not through rushing to the hardest exercise.
Supporting Your Ankles: Mobility Matters
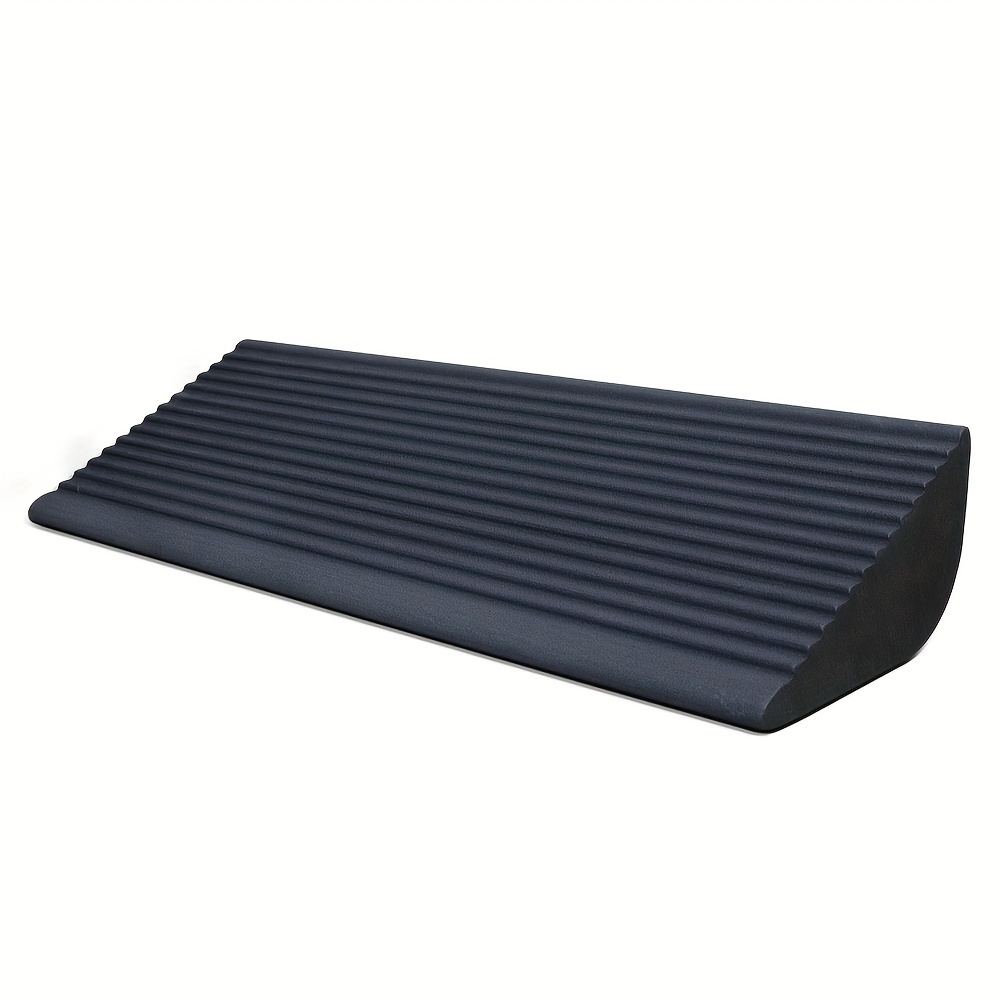
Stiff ankles undermine balance. A simple daily drill: half-kneel with one foot forward, and gently drive that knee forward over your toes, keeping the heel down. A slant board like this squat wedge gives a consistent angle for calf and ankle stretching.
How to Fit This Into Your Week
Balance training slots easily into existing routines: 10–15 minutes, two to three times a week, is enough to see real improvement. Good pairings:
- After a walk, while your body is warm.
- As a warm-up before a lower-body workout.
- During TV time — single-leg stands between episodes.
FAQ
Q: I'm in my 60s and have never done balance training. Is it too late to start?
Not at all — balance is trainable at any age, and older adults often see fast relative improvements because they are starting from less practice. Begin with Level 1, always use a support, and mention your plans to your doctor if you take medications that affect blood pressure or dizziness.
Q: How long does it take to improve balance?
Many people notice steadier single-leg stands within two to three weeks of consistent practice (2–3 sessions a week). Meaningful, reliable improvement — the kind that shows up on icy sidewalks — typically builds over six to twelve weeks. As with all training, results vary.
Q: Should I use a wobble board or balance pad?
Unstable surfaces are advanced tools, not starting points. Master the floor exercises in this guide first. If you later add a balance pad, use it only with a support nearby — falls from these devices are a real cause of ankle injuries.
Q: Can balance exercises help with ankle sprains?
Stronger, better-trained ankles are generally more resilient, and balance training is a standard part of ankle rehabilitation programs. However, if you have an acute sprain or chronic instability, work with a physiotherapist rather than self-prescribing — they can assess whether you need bracing, taping, or specific rehab exercises first.
Q: I get dizzy when I close my eyes standing. Should I worry?
Brief unsteadiness with eyes closed is common — you have just removed one of your three balance systems. But if you feel genuinely dizzy, nauseous, or the room spins, stop and sit down. Occasional, mild unsteadiness that improves with practice is one thing; persistent dizziness deserves a medical check, as it can relate to inner-ear, blood-pressure, or medication issues.
The Bottom Line
Balance is not a talent — it is a skill, and skills respond to practice. Nine exercises, three levels, ten to fifteen minutes a few times a week: that is all it takes to build steadier ankles, stronger hips, and quieter confidence on stairs, trails, and wet floors. Start at Level 1 no matter how fit you feel, use your support without shame, and give each level its two weeks.