Good squats build strong legs and glutes; poor form strains knees and backs. Learn proper stance, depth, breathing, and fixes for common mistakes.
Proper Squat Form: A Step-by-Step Technique Guide
The squat is the single most useful strength movement you can learn. It trains your glutes, quads, hamstrings, and core all at once, and it carries over into everything — climbing stairs, lifting groceries, playing with your kids. But most people squat with some version of wobbly knees, lifted heels, or a rounded back, and over time those small errors add up to achy knees and a sore lower back.
Good news: proper squat form isn't complicated. It's a sequence of simple, repeatable positions — stance, descent, bottom, drive — that anyone can learn with patience and light weight. This guide walks you through every step, shows you how to fix the most common mistakes, and gives you beginner-friendly sets and reps. Individual results vary, but the technique here is the same solid foundation strength coaches teach everywhere.
This guide contains affiliate links. If you buy through them, VÉLORA may earn a commission at no extra cost to you.
The Stance: Your Starting Platform
Every good squat starts before you move. Stand with your feet about shoulder-width apart — some people do best slightly wider, and that's fine. Point your toes outward about 15 to 30 degrees; this lets your knees track over your feet comfortably rather than being forced into an unnatural straight-ahead path.
Weight distribution: Keep your weight through the middle of your foot, with a slight bias toward the heel — imagine "rooting" your big toe, little toe, and heel into the floor like a tripod.
Torso: Stand tall with your chest lifted and your gaze forward or slightly down — not cranked up at the ceiling. Squeeze your shoulder blades gently together to set your upper back. Take a breath into your belly (more on breathing below) and you're ready to descend.
A quick activation warm-up (2 minutes)
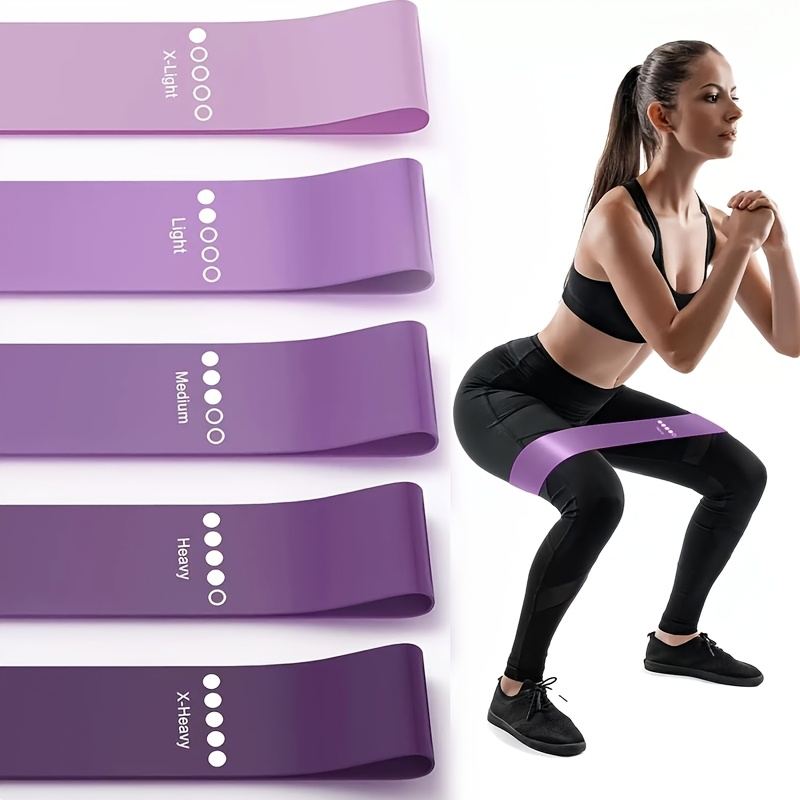
Waking up your glutes before you squat helps your knees track properly from the first rep. Loop a resistance band for men and women just above your knees and do 10 lateral band walks each direction (small steps, band taut, knees pressed gently outward), then 10 glute bridges — lying on your back, feet flat, driving your hips up with a two-second squeeze. This isn't a workout; it's a signal to your glutes that they're on duty today.
The Descent: Sit Down, Stay Tall
Initiate the squat by pushing your hips back and bending your knees at the same time — think of sitting down onto an invisible chair behind you. Bending only the knees first pushes them too far forward and tips the torso over.
Knee tracking: As you descend, actively push your knees outward so they track over your toes — not collapsing inward. The cue "spread the floor apart with your feet" helps without you having to think about individual joints.
Torso angle: Your torso will lean forward somewhat — this is normal and expected. The goal is a neutral spine: flat back, not rounded, with your chest pointing forward and slightly down. The exact torso angle varies with your proportions (longer legs generally mean more lean).
Depth — a range, not a rule: Squat as deep as you can while keeping your form. For most people that's somewhere between thighs parallel to the floor and a full deep squat. If your heels lift or your lower back rounds, you've gone past your current range — stop just before that point. Depth improves with practice; don't force it.
Breathing: Brace and Drive
Breathing is the invisible half of good squat form:
- At the top, take a breath into your belly — your ribcage should expand outward and down, not just up into your chest.
- Hold that breath and brace your core as if someone were about to gently poke your stomach. This pressure protects your spine through the descent and bottom position.
- Exhale forcefully as you pass the hardest part of the ascent — through pursed lips or with a short "tss" sound.
For light, high-rep sets you can breathe more naturally (inhale down, exhale up). But whenever the weight feels meaningful, brace-and-hold is the safer default. Never hold your breath to the point of dizziness — if you feel lightheaded, the load is too heavy for your current capacity.
The Drive Up: Stand Tall, Squeeze Through
From the bottom, drive the floor away with your whole foot — don't just "stand up." Keep your knees tracking over your toes (the inward caving that appears during fatigue happens here, so stay conscious of it). Squeeze your glutes as your hips come through at the top, but don't hyperextend your lower back — just stand fully tall. Aim for a 2–3 second descent with a controlled 1–2 second ascent.
The Goblet Squat: The Beginner's Best Teacher
If you're learning to squat, the goblet squat is where to start. Hold a dumbbell vertically against your chest, cupping the top end with both hands. The front-loaded weight acts as a counterbalance, naturally encouraging an upright torso and proper depth.
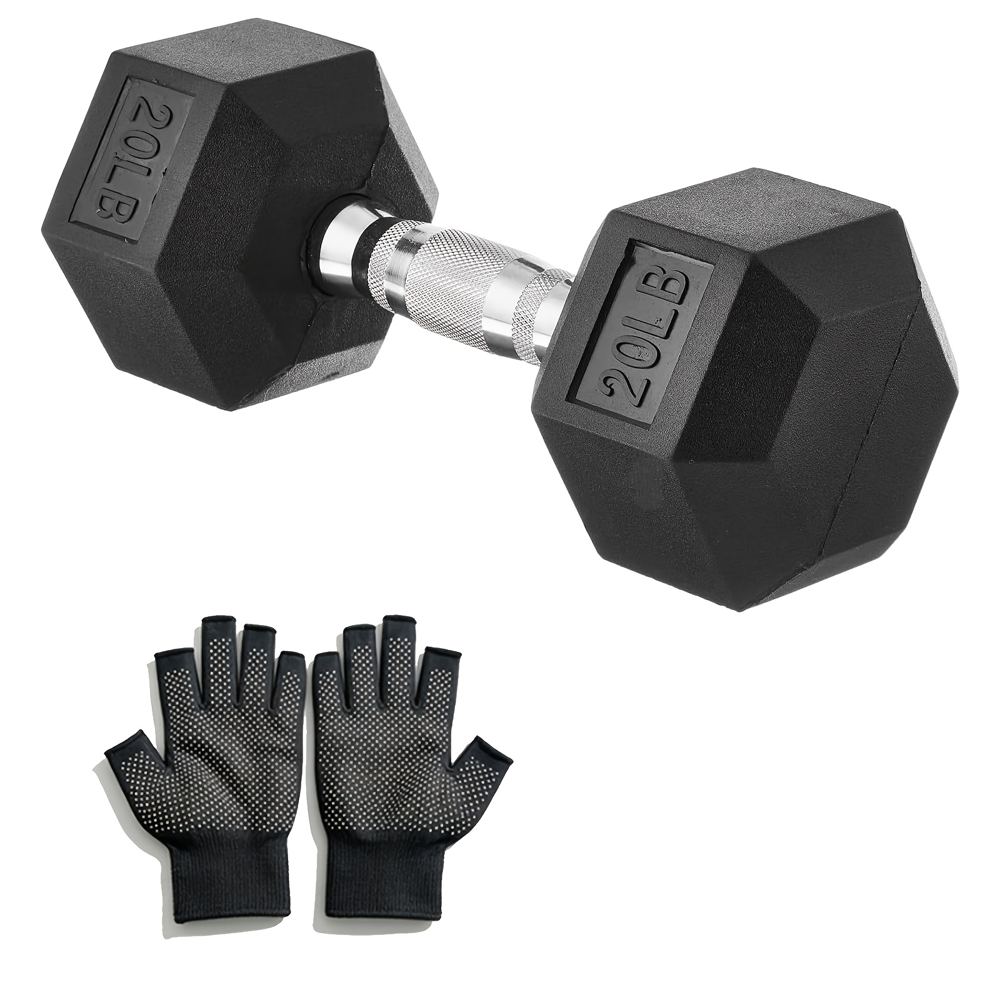
A pair of rubber-coated hex dumbbells is ideal for this — the hex shape won't roll away between sets, and the coating is kind to floors. Start with a weight you can hold comfortably for a full set with clean form; most beginners do well in the 10–20 lb range.
As you progress, an adjustable dumbbell with wear-resistant grips lets you increase the load in small steps without buying a whole rack of dumbbells.
Sets and Reps: Sensible Ranges
There is no single perfect prescription — it depends on your goal and experience:
- Learning the movement: 3 sets of 8–12 reps with light weight (or bodyweight), resting 60–90 seconds between sets. Technique is the entire point here.
- Building strength: 3–5 sets of 5–8 reps with a challenging but controllable weight, resting 2–3 minutes between sets.
- Muscle tone and endurance: 2–3 sets of 12–15 reps with moderate weight, resting 60–90 seconds.
Train squats 2–3 times per week with at least a day of rest between sessions. Add weight only when you can complete all your planned reps with clean form — the classic sign you're ready is that your last rep looks like your first.
Common Squat Mistakes: Spot It, Fix It
Film yourself from the side and front occasionally — it's the fastest way to catch these:
| Mistake | What it looks/feels like | The fix | |---|---|---| | Knees caving inward | Knees drift toward each other on the way up; knees feel unstable | Cue "knees out" and "spread the floor"; add band walks to warm-up; reduce weight | | Heels lifting off the floor | Weight shifts to toes; you feel like falling forward | Widen stance slightly; work ankle mobility (calf stretches, deep squat holds); keep tripod foot | | Lower back rounding | Back rounds at the bottom; dull ache afterward | Stop the descent before the rounding starts; brace harder; strengthen core | | Chest collapsing forward | Torso tips over, bar/dumbbell drifts forward | Lift the chest; strengthen upper back; try goblet squats to relearn upright posture | | Not going deep enough | Quarter-squats that barely bend the knees | Use a box or bench as a depth target; mobilize hips and ankles; lighten the load | | Holding breath too long / dizziness | Lightheaded after a heavy set | Exhale past the sticking point; reduce load; make sure you're not bearing down excessively |
When to Add Weight — and When to Wait
Add weight when your knees track cleanly, your heels stay planted, your back stays neutral, and you can finish your sets without form deteriorating. If any of those fail, you're not ready for more load — you're ready for more practice.
Back off (or drop to bodyweight) if you feel sharp pain rather than muscle effort, if your knees cave despite your best cueing, or if the load has you holding your breath from rep one. There's no shame in a deload week — form built patiently is form that lasts.
For variety once the basic squat feels solid, our squat variations guide covers split squats, sumo squats, and more. To build squats into a full routine, see the lower body home workout and the beginner strength training program.
Safety Notes
- Sharp or sudden pain (especially in knees or lower back) is a stop signal — end the set, and if it persists, see a qualified professional rather than training through it.
- Persistent knee pain deserves professional attention — consult a qualified professional for pain that doesn't improve with form and load adjustments.
- If you have a history of back, hip, or knee injuries, check with a qualified trainer or physiotherapist before loading squats heavily.
- Always warm up for 5–10 minutes before squatting — cold muscles and stiff joints are where form breaks down.
FAQ
Q: How deep should I squat?
As deep as you can go while keeping your heels down, knees tracking over your toes, and your back neutral. For many people that's thighs roughly parallel to the floor; some can comfortably go deeper. Depth is a range that improves with practice — forcing depth past your current mobility is what causes rounding and knee stress.
Q: Should my knees go past my toes when I squat?
For most people, yes — a little. Knees traveling slightly past the toes is normal and safe when weight stays balanced over the mid-foot and knees track in line with the toes. Forcing the knees behind the toes usually just tips you forward and stresses the hips and back more.
Q: Why do my knees cave inward when I squat?
Usually a combination of weak or "sleepy" glutes (especially the glute medius) and a load that's too heavy for your current control. Cue your knees outward, add banded warm-ups like lateral walks, and reduce the weight until you can keep every rep clean. If caving persists despite lighter loads and cueing, get a trainer to assess your movement.
Q: Is it normal for squats to hurt my lower back?
Mild muscle fatigue in the back is normal — your spinal erectors work hard during squats. But sharp pain, or a dull ache that lingers for days, usually signals form breakdown: rounding at the bottom, excessive forward lean, or poor bracing. Film yourself from the side, check the mistakes table above, and lighten the load until your back stays quiet.
Q: How often should a beginner squat?
Two to three times per week with at least one rest day between sessions works well for most beginners. Your muscles and nervous system need recovery time to adapt — squatting daily as a beginner usually just accumulates fatigue and sloppy reps.
Q: Are goblet squats as effective as barbell squats?
For beginners and home trainees, goblet squats are arguably more effective because the front-loaded position teaches upright posture and depth automatically. They build real leg and glute strength up to the point where the dumbbell gets too light to keep challenging you — which is exactly when you're ready for heavier loading methods.
Conclusion
Proper squat form comes down to a repeatable sequence: set your tripod stance, push your hips back as you descend, keep your knees tracking over your toes, brace your core, and drive the floor away. Start with goblet squats, fix mistakes with the cues in the table above, and add weight only when your form is bulletproof. Master this one movement and nearly every lower-body exercise you ever learn will come easier. Results vary from person to person, but everyone benefits from squatting well.