How to use a massage gun safely: proper technique, safe zones and time ranges, the full list of places to never use it, and the mistakes to avoid.
How to Use a Massage Gun Safely (and Where Never to Use It)
A massage gun is a wonderful tool used correctly — and a genuinely risky one used carelessly. It delivers thousands of rapid pulses per minute into your tissue. On a big muscle like the quad, that feels great. On the front of your neck, over a bone, or on injured tissue, it can cause real harm. The difference between those two outcomes is knowledge, and that is what this guide is for.
You will learn the safe zones and how to treat each one, the technique rules that keep sessions comfortable, the exact list of places to never use a massage gun, and the warning signs that mean stop. If you are still choosing a model, read our massage gun buying guide first — amplitude and usable low speeds matter most for safe home use.
This guide contains affiliate links. If you buy through them, VÉLORA may earn a commission at no extra cost to you.
The Golden Rules of Safe Use
These five rules govern every session, every muscle group:
- Start on the lowest speed, every time. Tissue sensitivity varies day to day. Begin low, increase only if it feels good.
- Float the gun — never press it in. The gun's own weight plus light guidance is enough. Pressing hard stalls the motor and bruises tissue.
- Keep it moving. Glide slowly over the muscle — about one inch per second. Never park the gun on one spot; concentrated percussion on a single point causes bruises and nerve irritation.
- Muscles only. The gun treats muscle bellies — the thick, fleshy parts. If you can feel bone under the head, you are in the wrong place.
- Time ranges, not marathons. 1–2 minutes per muscle group, up to 2–3 minutes for large dense muscles like quads and glutes. More is not better.
Where NEVER to Use a Massage Gun
This is the most important section of this guide. Do not use a massage gun on:
- The front of the neck or throat. The carotid arteries, jugular veins, vagus nerve, and thyroid all sit here. Percussion in this area is dangerous — full stop.
- The spine itself. Never run the gun directly along the bony vertebrae. The muscles beside the spine (light pressure, low speed) are fine; the spinal column is not.
- Bones and bony prominences. Shins, kneecaps, elbows, collarbones — bone has no muscle to absorb the percussion.
- Joints. Knees, ankles, wrists, elbows. Joints are cartilage, ligaments, and small bones — not percussion targets.
- Injured, swollen, or recently strained tissue. Percussion drives blood into tissue that is already inflamed. Let injuries calm down first, and follow your clinician's guidance.
- Varicose veins or areas with poor circulation. Percussion over compromised veins risks damaging fragile vessels.
- Broken skin, rashes, infections, or surgical sites. Wait for full medical clearance before treating near healing incisions.
- Numb areas. If you cannot feel the area properly, you cannot judge safe pressure.
For persistent pain: a massage gun manages everyday soreness and tension. Pain that lasts more than a couple of weeks, worsens, or comes with numbness, tingling, or weakness deserves professional evaluation — not more percussion.
The Safe Zones: How to Treat Each One
For each zone: start at the lowest speed, use the ball head, float the gun, keep it moving, 1–2 minutes per side. Increase speed only if the lowest setting feels like nothing.
Quads (Front of Thighs)
Purpose: The quads take the brunt of squats, lunges, stairs, and running. They are the single best beginner zone — large, accessible, forgiving.
Position: Seated with the leg extended or slightly bent, muscle relaxed. Tense muscle fights the percussion; shake the leg loose first.
Technique: Glide from mid-thigh toward the knee and back, staying on the fleshy belly — stop well above the kneecap. 1–2 minutes per leg.
Breathing: Slow and steady. If you catch yourself holding your breath, reduce the speed.
Beginner note: The quads can take moderate pressure, but start low anyway. This is where you learn what the gun feels like.
Hamstrings (Back of Thighs)
Purpose: Chronically tight in desk workers; sore after deadlifts and sprints.
Position: Seated on a chair or bench edge so the hamstring hangs free — do not sit on the muscle you are treating.
Technique: Glide along the back of the thigh from glute to just above the knee, 1–2 minutes per leg. Stay off the back of the knee joint.
Beginner note: Keep the speed low; the sciatic nerve runs through this area, and aggressive work can irritate it. Tingling down the leg is a stop signal.
Glutes
Purpose: The glutes are the body's largest muscle group and a prime soreness site after lower-body training.
Position: Standing with a slight bend, or lying on your side.
Technique: Work the fleshy upper-outer glute in slow arcs, 1–2 minutes per side. Stay on the muscle belly — avoid pressing toward the tailbone or hip bone.
Calves
Purpose: Tight from walking, running, stairs, and heeled shoes.
Position: Seated with the leg extended, calf accessible, ankle relaxed.
Technique: Glide from just below the knee to just above the ankle along the muscle belly, 1–2 minutes per leg. Stay off the Achilles tendon and the shin bone. Start at the lowest speed — calves are more sensitive than they look.
Upper Back and Shoulders (Trapezius)
Purpose: The classic desk-worker tension zone — the shelf of muscle between neck and shoulders.
Position: Seated or standing, shoulders dropped and relaxed. You can reach one side with the opposite hand; for the mid-upper back, a partner helps, or use the gun on the accessible outer portions.
Technique: Glide along the top of the shoulder from neck toward the shoulder tip, 1–2 minutes per side. Stay on the muscle, well clear of the neck itself and the spine. Light pressure only — low speed, ball or cushioned head. Never angle the gun toward the throat.
Lats and Outer Back
Purpose: Tight from pulling exercises, carrying bags, and rounded posture.
Position: Standing, arm on the working side raised slightly to expose the lat.
Technique: Glide from the armpit area down along the outer back, 1–2 minutes per side, staying on muscle and off the ribs and spine.
Forearms
Purpose: Sore from gripping — lifting, typing marathons, carrying toddlers.
Position: Forearm resting on a table.
Technique: Light, low-speed passes along the fleshy forearm muscles, 30–60 seconds per side. Very light pressure — little padding over bone and tendon here.
Before vs. After a Workout
- Before training (warm-up): 30–60 seconds per muscle group at low to medium speed. The goal is to feel awake and loose, not deeply worked. Think of it as a wake-up call for the muscles you are about to use.
- After training (recovery): 1–2 minutes per muscle group at low to medium speed, a few hours after the session or the next day when soreness peaks. Gentle and unhurried.
- Rest days: fine for general tension, same 1–2 minute ranges. Skip areas that are still sore from the last session — sore tissue needs rest, not more stimulation.
Choosing the Right Head for the Job
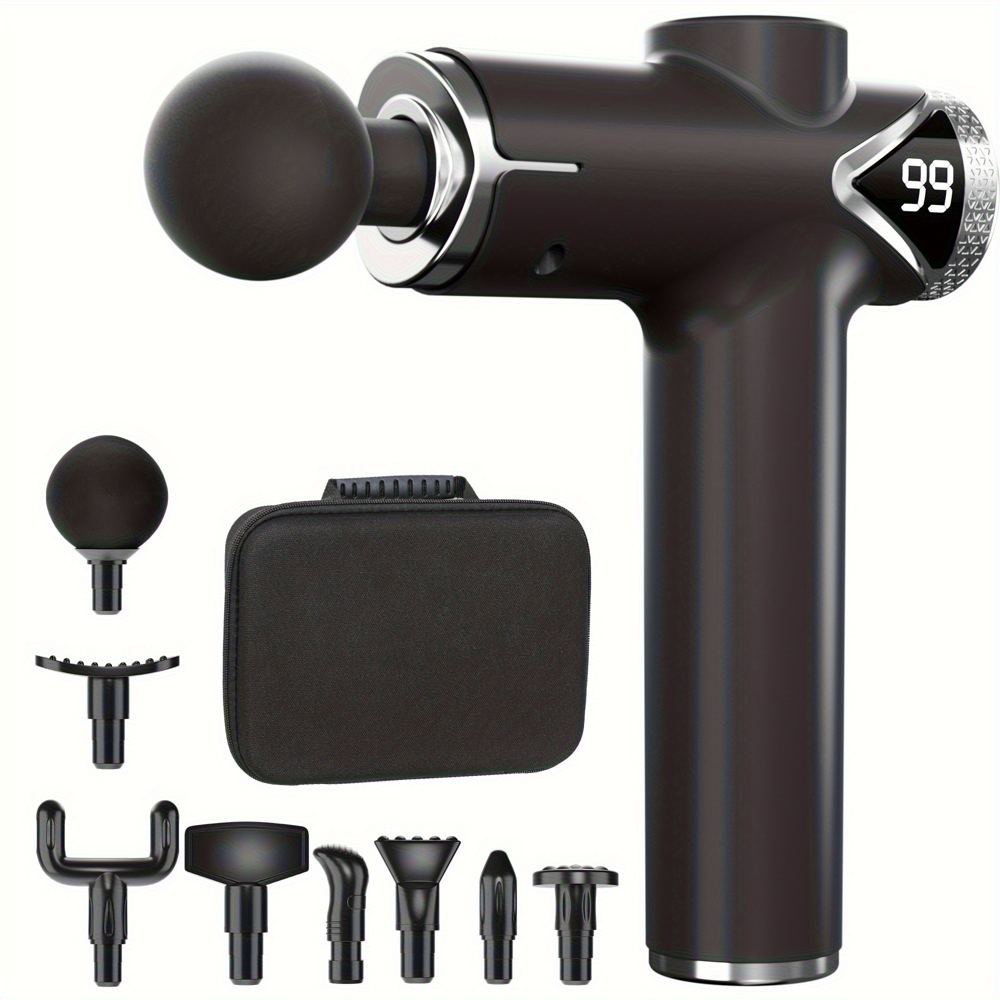
- Ball head: the default. Large muscles, general use, beginners. Start here and you may never need another.
- Flat head: dense muscles, slightly broader pressure. Good second choice for quads and glutes.
- Fork/U-shape: designed to straddle areas like the Achilles or either side of the spine — low speed, light pressure, and never on the spine.
- Bullet/cone: intense, focused pressure for small stubborn spots. Easy to overdo; beginners should treat this as an advanced tool and use it sparingly at the lowest speed.
- Cushioned head: the gentlest option — good for sensitive areas like the forearms and upper back.
When in doubt: ball head, lowest speed. That combination is safe for every zone listed above.
Common Mistakes
- Going straight to max speed. High speed on unprepared tissue causes guarding and bruising. Earn your way up over weeks.
- Pressing hard to "get deeper." Depth comes from the gun's amplitude, not your arm. Pressing stalls the motor and bruises tissue.
- Holding the gun in one spot. Keep it gliding. Parking on a "knot" feels productive and is counterproductive.
- Using it on a fresh injury. Swollen, strained, or recently hurt tissue needs rest and professional guidance, not percussion.
- Marathon sessions. Ten minutes on one quad does not give ten times the benefit — it gives irritation. Respect the 1–2 minute ranges.
- Chasing the same pain daily. If one spot needs the gun every day to feel okay, see a professional rather than escalating the percussion.
Safety Notes and When to Stop
Stop the session and seek medical advice if you experience: sharp or worsening pain, numbness or tingling, dizziness, unusual bruising, or swelling that appears after use. These are not "part of the process."
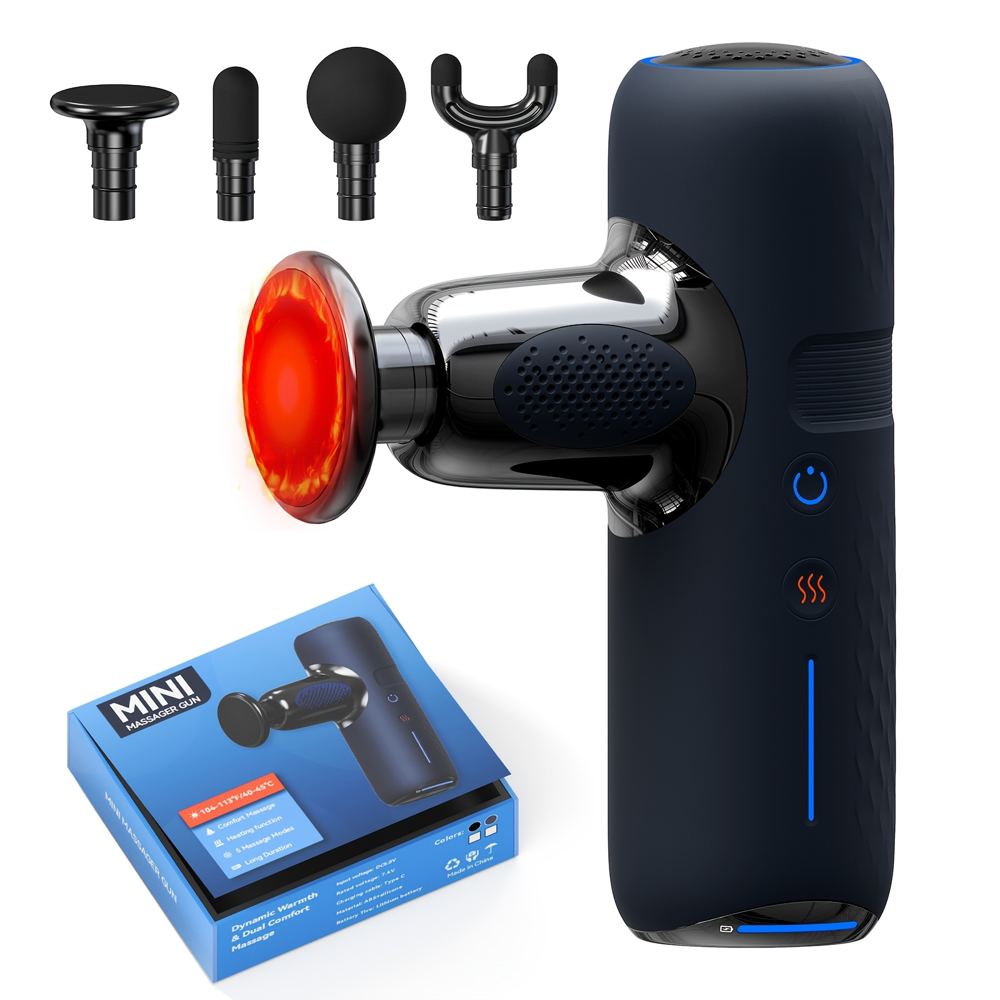
Use extra caution — or check with your clinician first — if you are pregnant (avoid the abdomen and lower back; keep sessions gentle), take blood thinners or have a clotting disorder, have a diagnosed nerve, spine, or circulatory condition, or are recovering from surgery. The same rules apply to small portable guns like the Mini Massage Gun with Heating Function — convenience does not replace caution.
FAQ
Q: How long should I use a massage gun on each muscle?
1–2 minutes per muscle group is the standard range; 30–60 seconds for warm-ups and sensitive areas like forearms; up to 2–3 minutes for large dense muscles like quads and glutes. Longer sessions do not give proportionally better results and can cause irritation.
Q: Is it normal to feel sore after using a massage gun?
Mild tenderness the next day can happen, especially when you are new to it or used a higher speed. It should feel like post-exercise muscle soreness, not sharp pain. If you are consistently sore afterward, reduce the speed and time — and remember results vary from person to person.
Q: Can I use a massage gun every day?
For general tension at low speeds and sensible durations, most healthy adults can. But do not hammer the same sore muscle daily — tissue needs recovery days. Rotate areas, and skip anything still tender from the last session.
Q: What speed should a beginner start on?
The lowest setting, with the ball head. Stay there for your first several sessions. Only increase when the lowest speed genuinely feels like it is doing nothing — and increase one step at a time.
Q: Can a massage gun help me lose weight or tone a specific area?
No. A massage gun works on muscle comfort and perceived tension — it does not burn fat, and no tool or exercise can reduce fat in one specific spot. Anyone claiming otherwise is selling something, not informing you.
Q: My massage gun left a bruise — did I do something wrong?
Probably just too much pressure, speed, or time on that area — common and usually harmless. Let the bruise heal fully before treating that spot again, and next time use a lower speed, float the gun, and keep it moving. If bruising happens easily or often, check with your clinician before continuing.
Conclusion
A massage gun is simple to use safely once the rules are internalized: lowest speed first, float don't press, keep it gliding, muscles only, 1–2 minutes per area — and never on the neck front, spine, bones, joints, injured tissue, or broken skin. Respect those boundaries and it becomes one of the most satisfying tools in your recovery kit: a few unhurried minutes that leave heavy legs lighter and tight shoulders quieter. Pair it with our full-body stretching routine and best foam rollers shortlist for a complete recovery practice.
