The burpee, demystified: step-by-step technique, breathing, common mistakes — plus 5 easier alternatives that deliver the same full-body conditioning.
How to Do a Burpee (and Easier Alternatives That Still Work)

The burpee has a reputation problem. Ask a room of women about it and you will hear groans, war stories, and the occasional defiant "I love them" from someone who clearly cannot be trusted. It is the exercise everyone loves to hate — and yet it keeps showing up in workouts, because few movements train as much of your body in as little time.
Here is the thing nobody tells you: most people hate burpees because they have only ever done them badly — rushed, breathless, and several difficulty levels above what they were ready for. Done with proper technique and scaled to your level, the burpee is simply a great full-body conditioning move. And if the full version never appeals to you, the alternatives below deliver the same conditioning without the dread. Either way, you win.
This guide contains affiliate links. If you buy through them, VÉLORA may earn a commission at no extra cost to you.
What a Burpee Actually Trains
Strip away the drama and a burpee is a sequence: squat down, kick back to a plank, do a push-up, jump (or step) back in, and stand or jump up. That chain hits your legs, glutes, chest, shoulders, triceps, and core — plus your heart and lungs, because stringing it all together is demanding.
It is a conditioning exercise first and a strength exercise second. Nobody builds a big squat from burpees; people build work capacity — the ability to keep moving under fatigue. Keep that purpose in mind: you are training stamina and coordination, so the goal is smooth, repeatable reps, not grinding singles.
A folding foam mat makes the floor portion far friendlier — burpees put your hands, knees, and chest on the ground repeatedly, and cushioning turns that from punishment into practice.
Step-by-Step: The Full Burpee
Work through these phases slowly before you ever try to do them fast. Each step should feel controlled before you link them.
1. The squat down. Stand tall, feet hip-width apart. Bend your knees and place your hands flat on the floor in front of your feet, about shoulder-width apart. Your hips drop, your chest stays relatively upright — think of it as sitting into a squat while reaching for the floor.
2. The kick-back. With your weight on your hands, jump or step your feet back into a high plank. Land in one solid line from head to heels: no sagging hips, no piked butt. Brace your core before the feet leave the ground — the plank should feel like a single rigid piece.
3. The push-up. Lower your chest toward the floor with control, elbows tracking at roughly 45 degrees from your body (not flared straight out). Touch your chest lightly to the floor — or stop a fist's height above it — then press back up to the plank. This is the step most people skip or fake; it is also the step that makes the burpee a real upper-body exercise.
4. The return. Jump or step your feet back up to your hands, landing in the same squat position from step 1. Keep your hands on the floor until your feet are planted — standing up early is a common form leak.
5. The stand (and optional jump). Drive up to standing, extending hips fully. The classic finish adds a small jump with arms overhead; the quieter, knee-friendlier version just stands tall. Both count.
Breathing: The Part Everyone Gets Wrong
Burpees done breathlessly are burpees done badly. The rhythm that works:
- Inhale as you squat down and kick back.
- Exhale on the push-up press (the effort).
- Inhale as you return your feet.
- Exhale on the stand or jump.

One breath cycle per burpee, flowing rather than held. If you find yourself gasping after five reps, slow down before you quit — most burpee suffering is pacing suffering. A magnetic interval timer helps enormously here: set 30 seconds of work and 30 of rest, and let the beeps enforce a sustainable rhythm instead of your ego enforcing a sprint.
Rep Ranges and Programming
Burpees respond to intervals, not to max-effort sets. Sensible formats:
- Beginners: 5–8 burpees per set, 2–3 sets, resting 60–90 seconds between. Or EMOM-style: 5 burpees at the top of each minute for 5–8 minutes, resting the remainder.
- Intermediate: 8–12 per set, 3–4 sets; or 30 seconds work / 30 seconds rest for 6–10 rounds.
- Conditioning finishers: 1–3 minutes of steady burpees at the end of a workout, aiming for smooth pace rather than a rep record.
Do burpees 1–2 times per week at most. They are demanding on the shoulders, wrists, and lower back, and daily burpees are how overuse complaints start. Your body needs 48 hours between hard burpee sessions — like any other intense exercise.
5 Common Mistakes
1. The worm. Hips sag in the plank and the push-up becomes a full-body flop — chest up first, hips dragging. Fix: brace before you kick back, and if you cannot hold a rigid plank, do the whole burpee from your knees until you can.
2. Skipping the push-up. Kicking back and immediately jumping forward turns the burpee into a sprawl — fine as its own exercise, but not a burpee, and your upper body gets nothing. If full push-ups are too much, do them from your knees; the range of motion matters more than the leverage.
3. Landing the jump with straight, stiff legs. Whether it is the kick-back or the stand-up jump, land softly — knees bent, weight through the whole foot, quiet. Loud landings are hard landings, and hard landings are how knees complain.
4. Rushing the first reps and dying by rep six. Burpees punish sprinters. Start at a pace you could hold for the whole set, even if it feels embarrassingly slow. Smooth is fast in conditioning work.
5. Rounding the lower back on the return. As fatigue sets in, people hike their hips and round their backs jumping their feet forward. Fix: step the feet in one at a time when you are tired — the step-back version is always available and always respectable.
5 Easier Alternatives That Still Work
Not ready for — or not interested in — full burpees? These deliver the same full-body conditioning at lower difficulty. Pick the one that matches your level and progress upward over weeks.
1. The walkout (no push-up, no jump). Squat down, walk your hands out to a plank one at a time, hold one second, walk back, stand. This is the single best burpee regression: it teaches the whole sequence without impact or pressing. Do 8–12 per set.
2. The step-back burpee. Same as a full burpee, but step your feet back and forward instead of jumping them. Removes all impact while keeping the push-up and the full-body demand. Do 6–10 per set.
3. The no-push-up burpee. Kick back to a plank, skip the push-up, return and stand (with or without the jump). Keeps the cardio and leg demand while your pressing strength catches up. Do 8–12 per set.
4. The incline burpee. Hands on a sturdy bench, couch, or step instead of the floor. The elevated angle makes the plank and push-up dramatically easier while preserving the movement pattern. Do 8–12 per set — a perfect bridge to floor burpees.
5. The squat thrust + stand. Kick back to plank, return, stand — no push-up, no jump. Essentially the walkout done at speed. It is the conditioning engine of the burpee with the two hardest pieces removed. Do 10–15 per set in interval format.
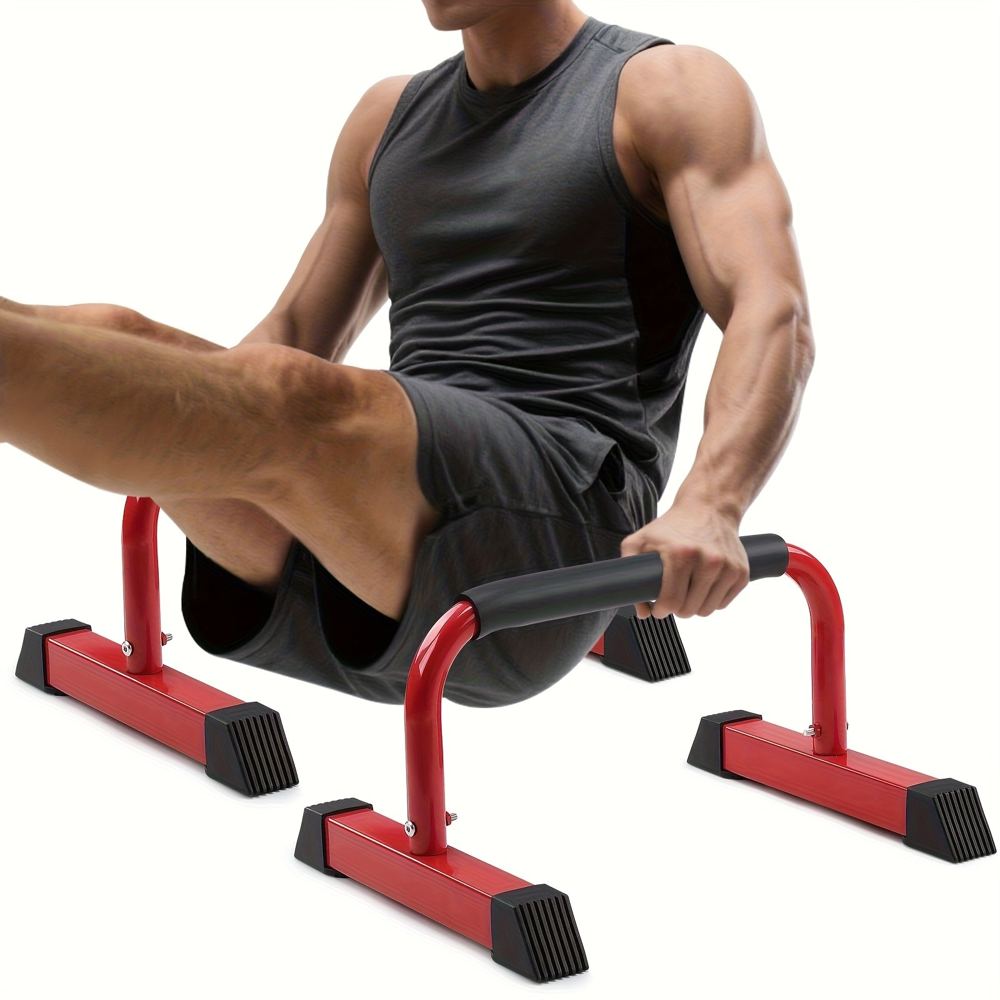
Progression path: walkout → step-back burpee → no-push-up burpee → full burpee (no jump) → full burpee. Spend 2–3 weeks at each stage, and only advance when the current stage feels smooth. If your wrists bother you during the plank phases, push-up bars with padded handles keep the wrists neutral and are easier on them than flat palms — useful for burpees and for push-up training generally. Our push-up progression guide pairs well with this work.
Beginner Modifications
- Brand new to floor work: start with walkouts only, 2 sets of 8, twice a week. Master the sequence before adding speed.
- Wrist pain in planks: use push-up bars or dumbbells as handles, or do incline burpees with hands elevated — both reduce wrist extension.
- Knee sensitivity: always choose the step-back versions; skip the jump at the top and just stand tall.
- Low ceiling or small space: the step-back burpee needs barely more room than your body length. Skip the overhead jump and the burpee fits anywhere.
Safety Notes
- Warm up before burpees — 5 minutes of easy movement (marching, arm circles, bodyweight squats, a few walkouts). Cold burpees are how shoulders and backs get cranky.
- Stop for sharp wrist, shoulder, or lower-back pain. Muscle fatigue and breathlessness are expected; joint pain is a stop signal.
- If you are pregnant, burpees need modification: the prone plank position and the jump become inappropriate as pregnancy progresses. Get guidance from your clinician or a prenatal-qualified trainer rather than pushing through — lying prone, jumping, and breath-holding all deserve individual clearance.
- Postpartum, wait for clearance (typically at the 6-week checkup, longer after C-section) and rebuild core function before attempting full burpees; start with walkouts.
For conditioning ideas that pair burpees with other moves, see our guide to cardio exercises at home and the mountain climbers guide for a natural burpee companion.
FAQ
Q: How many burpees should a beginner be able to do?
There is no required number. A reasonable early target is 5 smooth, well-formed burpees (or step-back burpees) in a row, building to sets of 8–10 over several weeks. Quality first — ten sloppy burpees teach sloppy burpees.
Q: Are burpees bad for your knees?
Burpees are not inherently bad for knees, but the jumping versions add impact that sensitive knees may not enjoy. The step-back variations remove that concern almost entirely. If any version causes knee pain (not just effort), stop that version and stick with what is pain-free — or check with a physiotherapist.
Q: Can burpees replace cardio like running?
For general conditioning, burpee intervals are a legitimate cardio substitute — they raise heart rate substantially and train work capacity. They do not replicate everything running does (sustained aerobic base, bone loading from miles), so think of them as one conditioning tool among several, not a total replacement.
Q: Why do I get dizzy doing burpees?
Usually a combination of breath-holding, going from floor to standing quickly (blood pressure shift), and starting too hard. Fix all three: breathe rhythmically, stand up at a controlled pace rather than snapping upright, and slow your pace. If dizziness persists or you feel faint, stop the session and mention it to your clinician.
Q: Do I have to do the push-up for it to count as a burpee?
Strictly, yes — the push-up is what separates a burpee from a squat thrust. But the squat thrust is a fine exercise in its own right, and there is no burpee police. Do the version that matches your current strength, and add the push-up when you are ready. Progress, not purity.
The Bottom Line
The burpee is not the enemy — rushed, oversized burpees are. Learn the sequence step by step, breathe through it, pace it like the conditioning exercise it is, and scale it honestly to your level with the walkout-to-full progression above. Whether you end up loving full burpees or happily living in step-back land, you will have the same full-body conditioning either way. Results vary, consistency matters more than intensity, and the best burpee is the one with good form that you will actually repeat next week.