A complete no-equipment full-body workout for beginners: warm-up, six proven moves with form cues, rep ranges, modifications, and a cool-down — done in 20 minutes.
Full-Body Workout at Home Without Equipment (Beginner-Friendly)
You do not need a gym, a dumbbell, or even a full hour to start training — just a small patch of floor, about twenty minutes, and six well-chosen moves that cover your whole body. This workout is designed for true beginners, kind to joints, and built on one honest principle: your bodyweight is plenty of resistance when you are starting out.
Full-body sessions suit beginners because every major muscle group gets trained in one sitting, the movements are simple to learn correctly, and you build coordination that makes every future workout safer and more effective. Forget "getting in shape" before you exercise — this session starts exactly where you are today.
This guide contains affiliate links. If you buy through them, VÉLORA may earn a commission at no extra cost to you.
Why This Workout Works for Beginners
Beginner programs succeed on consistency, not intensity. A short, repeatable session beats an ambitious 60-minute plan you abandon after a week. This workout asks for twenty minutes, two to three times per week — a commitment that fits around work, family, and everything else.
Each of the six moves is compound, training several muscle groups at once — together they cover your whole body with nothing to buy, set up, or store. Results vary, and no workout works on a fixed timeline, but consistent full-body sessions build real strength, better posture, and steadier energy over time.
If you are looking for a structured week around sessions like this one, our beginner home workout plan for women maps out exactly how to schedule them.
The 20-Minute Session at a Glance
- Warm-up: 4 minutes of easy movement
- Main work: 6 moves, done as a circuit, 1–2 rounds
- Cool-down: 3 minutes of gentle stretching
Do each move for 30–40 seconds, rest 15–20 seconds, and move to the next. Complete all six, rest 60–90 seconds, and repeat for a second round if you have the energy. One round is a valid workout in week one — stop there without guilt.
Aim for 2–3 sessions per week with at least one rest day between them. Muscles adapt during recovery, not during the workout itself. A simple interval timer keeps the rounds honest — no clock-watching, no overlong rests.

Warm-Up (4 Minutes)
Never skip this. Cold muscles and stiff joints turn good exercises into sloppy ones. Move through each of these for about 45 seconds:
- March in place. Lift your knees, swing your arms naturally, and build to a brisk pace.
- Arm circles. Ten small circles forward and back, then ten large ones each way, shoulders relaxed.
- Bodyweight good mornings. Feet hip-width apart, soft knees, hinge your hips back and lower your torso to about 45 degrees, then stand tall. This wakes up your glutes and hamstrings.
- Standing knee raises. Alternate pulling each knee toward your chest; hold a wall or chair if balance is shaky.
By the end of these four minutes you should feel warm and slightly breathless. That is exactly right.
The Six Moves
1. Bodyweight Squat
Starting position: Stand with your feet about shoulder-width apart, toes turned out slightly. Arms at your sides or extended forward for balance.
Technique: Push your hips back and down as if sitting into a chair. Keep your chest lifted and your weight through your heels and mid-foot. Go as low as you comfortably can while keeping your heels on the floor — for many beginners that is a half or three-quarter squat at first. Drive through your heels to stand.
Breathing: Inhale as you lower, exhale as you push up.
Sets and reps: 2–3 sets of 8–12 reps, or 30–40 seconds per round in the circuit.
Beginner modification: Hold a sturdy chair back or countertop for balance, and reduce the depth. As your mobility improves, let go and go deeper.
2. Incline Push-Up
Starting position: Place your hands on a raised surface — a kitchen counter, a sturdy table, or a wall. Walk your feet back until your body forms a straight line from head to heels.
Technique: Lower your chest toward the surface by bending your elbows, keeping them at roughly a 45-degree angle from your torso (not flared straight out). Lower until your chest nearly touches, then press back up without letting your hips sag or pike.
Breathing: Inhale on the way down, exhale as you press up.
Sets and reps: 2–3 sets of 6–10 reps, or 30–40 seconds per round.
Beginner modification: The higher the surface, the easier the push-up. Start at a wall or counter, and progress to a lower bench or sturdy chair seat, and eventually to the floor on your knees, as strength builds.
3. Glute Bridge
Starting position: Lie on your back on a mat, knees bent, feet flat on the floor about hip-width apart, arms at your sides.
Technique: Press through your heels and lift your hips until your body forms a straight line from shoulders to knees. Squeeze your glutes at the top for a one-second count — that squeeze is the point of the exercise. Lower slowly without arching your back.
Breathing: Exhale as you lift your hips, inhale as you lower.
Sets and reps: 2–3 sets of 10–15 reps, or 30–40 seconds per round.
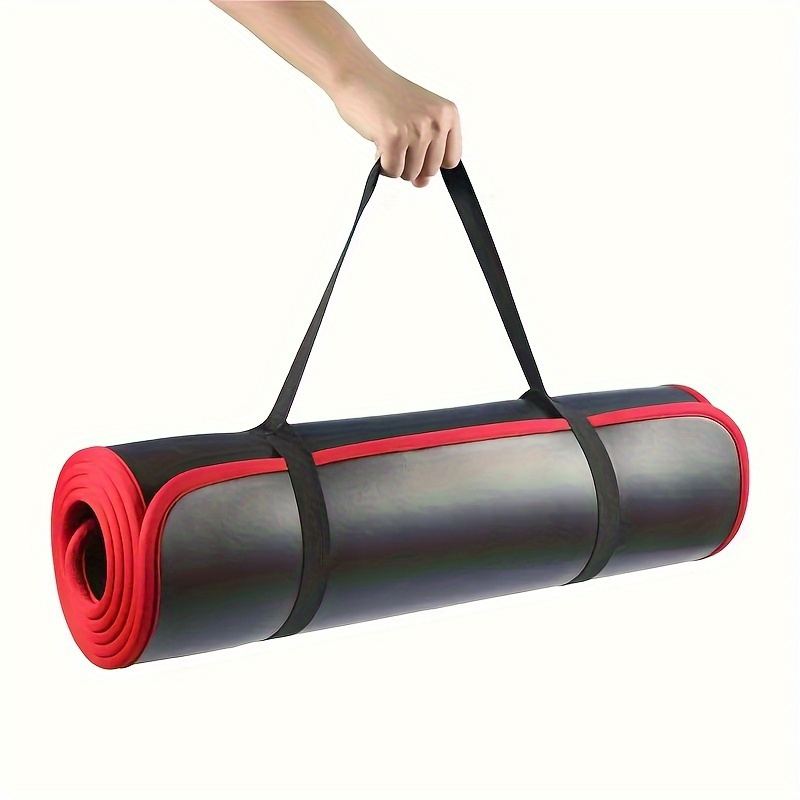
Beginner modification: If the full range feels hard, lift only halfway and shorten the hold. A thick mat under your back makes floor work far more comfortable — the Extra-Thick 10mm Yoga Mat cushions your spine and elbows during bridges and dead bugs.
4. Forearm Plank
Starting position: Rest on your forearms with elbows under your shoulders, legs extended behind you, feet hip-width apart.
Technique: Tuck your pelvis slightly and hold one straight line from head to heels, neck long, gaze at the floor past your hands. Squeeze your glutes gently — this protects your lower back and engages more of your trunk.
Breathing: Breathe steadily behind a moderate brace. Never hold your breath through a plank.
Sets and reps: 2–3 holds of 20–45 seconds each, resting 20–30 seconds between.
Beginner modification: Drop to your knees while keeping the same straight line from knees to head. For more plank ideas as this gets easy, see our plank variations for beginners.
5. Reverse Lunge
Starting position: Stand tall, feet together, hands on your hips or at your sides.
Technique: Step one foot straight back and lower until both knees are near 90 degrees, front knee tracking over the ankle without collapsing inward, torso upright. Press through your front heel to stand, then switch legs.
Breathing: Inhale as you step back and lower, exhale as you drive up.
Sets and reps: 2–3 sets of 6–10 reps per leg, or alternate legs for 30–40 seconds per round.
Beginner modification: Reverse lunges are kinder on the knees than forward lunges because the step-back is easier to control. Hold a wall for balance and take a shorter step until the pattern feels natural.
6. Dead Bug
Starting position: Lie on your back, arms reaching toward the ceiling, knees bent at 90 degrees stacked over your hips (a "tabletop" position). Press your lower back gently into the floor.
Technique: Slowly extend your right arm overhead and left leg toward the floor, keeping your lower back pressed down — if it starts to arch, you have gone too far. Return and switch sides. Slow and silent wins here.
Breathing: Exhale as you extend, inhale as you return.
Sets and reps: 2–3 sets of 6–10 reps per side, or 30–40 seconds per round.
Beginner modification: Move only the arms or only the legs at first. Master each half before combining them. Our core workout at home guide has more beginner-friendly trunk exercises.

Once the basics feel easy, simple tools add variety without adding a gym. Sliders turn bodyweight moves into smooth, joint-friendly progressions — mountain climbers, plank walkouts, and hamstring curls all become possible on a bare floor.
Cool-Down (3 Minutes)
Finish with gentle stretches, holding each for 20–30 seconds per side:
- Standing quad stretch (hold a wall): pull one foot toward your glute, knees together.
- Figure-four hip stretch lying on your back: cross one ankle over the opposite knee and gently pull the bottom thigh toward you.
- Chest opener in a doorway: forearms on the frame, step through gently.
- Child's pose: knees wide, sit back toward your heels, and breathe deeply.
Skip anything that causes sharp pain. Stretching should feel like relief, not a struggle.
How to Progress Over Four Weeks
Weeks 1–2: One circuit round, 2 sessions per week. Focus entirely on learning the movement patterns with good form.
Weeks 3–4: Two circuit rounds, 2–3 sessions per week. Add reps or seconds to each move rather than rushing the tempo.
After week 4: Add a third round, lengthen holds, or combine moves (squat to calf raise, push-up to shoulder tap). Small, steady progressions beat dramatic overhauls — though how fast they show up varies widely between women.
Common Mistakes to Avoid
- Holding your breath. Exhale on the effort, inhale on the return, for every single move.
- Rushing reps. Two seconds down, a brief pause, one to two seconds up. Sloppy speed trains nothing.
- Letting knees collapse inward on squats and lunges. Think "knees track over toes" every rep.
- Sagging through planks and push-ups. If your lower back starts aching, your core has quit — drop to the modified version.
- Skipping the warm-up and cool-down. Four minutes of prep and three of stretching protect your joints and motivation.
Safety Notes
- Stop any exercise that causes sharp pain, dizziness, or chest discomfort. Muscle effort and mild burn are normal; pain is a stop signal.
- If you are pregnant, postpartum, managing a pelvic-floor condition, or returning from an injury or surgery, check with your healthcare provider before starting this or any workout — and favor a postpartum-specific program if that applies to you.
- Train on a clear, non-slip surface with room to move. Keep water nearby and rest whenever you need to.
FAQ
Q: Is a no-equipment workout enough to build strength?
For beginners, yes — bodyweight is genuinely challenging at first and stays challenging for weeks as you progress reps, tempo, and rounds. Most women eventually add light resistance (bands or dumbbells), but that is a later chapter, not a starting requirement.
Q: How many days a week should I do this full-body workout?
Two to three times per week with a rest day between sessions. Muscles need 24–48 hours to recover and adapt.
Q: How long before I notice changes?
Strength and coordination often improve within a few weeks of consistent training. Visible changes take longer and vary widely with body composition, nutrition, sleep, stress, and genetics. There is no fixed timeline — beware anyone who promises one.
Q: I can't do a single push-up. Where do I start?
Start with wall push-ups. When 2–3 sets of 12–15 feel comfortable, move to a counter, then a low bench, then knees on the floor, then full push-ups. Most women reach full push-ups within a few months of steady practice.
Q: Should I do cardio too, or is this enough?
This session raises your heart rate on its own, especially at two rounds. Adding 2–3 brisk walks per week is a great complement, but you do not need a separate grueling cardio program to start. Build the habit first.
Conclusion
Six moves, twenty minutes, zero equipment — that is all it takes to start training your whole body at home. Learn the form, run the circuit two to three times a week, progress one small variable at a time, and allow rest days and realistic expectations. Strength is built in the boring middle weeks. Start where you are, stay consistent, and the rest follows.