Good form is the difference between progress and injury. Learn simple self-checks — filming, tempo, and feel — to judge every single rep honestly.
Exercise Form Checks: How to Know If You're Doing It Right
Every rep teaches your body something — the question is whether it's teaching it well. Good form is the difference between exercises that build strength and ones that quietly load the wrong joints until something complains. The tricky part? Inside the movement, it often feels fine, because small faults hide in your blind spots.
The good news: you don't need a coach watching every session. With a phone camera, a sense of tempo, and knowledge of what "right" actually looks like, you can audit your own reps honestly. This guide gives you universal form principles, movement-by-movement checklists, and the filming setup that catches what mirrors miss.
This guide contains affiliate links. If you buy through them, VÉLORA may earn a commission at no extra cost to you.
The Five Universal Principles of Good Form
Before any specific exercise, these five rules apply to nearly everything you lift, press, or carry. Run through them like a pre-flight checklist.
1. Neutral spine, ribs down
Your spine has natural curves — "neutral" means preserving them, not flattening or exaggerating them. A common fault is over-arching the lower back while the ribs flare upward. Bracing your core — drawing your ribs gently down toward your pelvis without holding your breath for the whole set — keeps the spine protected under load. For a deep dive, see our guide on how to engage your core.
2. Controlled tempo: the 2–1–2 rule
Most lifts should take roughly 2 seconds up, a 1-second pause, and 2 seconds down. If you're throwing weight up and letting it crash down, you're skipping the parts of the rep where muscles actually grow — and adding momentum where joints don't want it. Beginners can slow this to 3–1–3 until the pattern feels automatic. Fast is easy; controlled is strong.
3. Full, pain-free range of motion
Use the full range your joints allow without pain. A pain-free squat to parallel beats a deep squat that pinches your hip. Range improves with consistent practice and patience. Never push through joint pain to hit a depth milestone you saw online.
4. Knees track over toes
In squats and lunges, knees should travel in line with your toes — not collapse inward. Slight variation between people is normal: limb length and ankle mobility change the geometry. The rule is tracking, not a fixed angle.
5. Grip and setup are part of the rep
Most form failures start before the rep does. A shaky overhead press started with a loose grip and unbraced midsection. Take 5 seconds to set up: feet positioned, weight centered, breath braced. Setup isn't wasted time — it's the rep.
Film Yourself: The Honest Mirror
Gym mirrors mislead — not because they distort, but because you can't watch yourself from the side while squatting, and twisting your head to check breaks your neutral neck. Video is the most honest form check available, and you already own the camera.
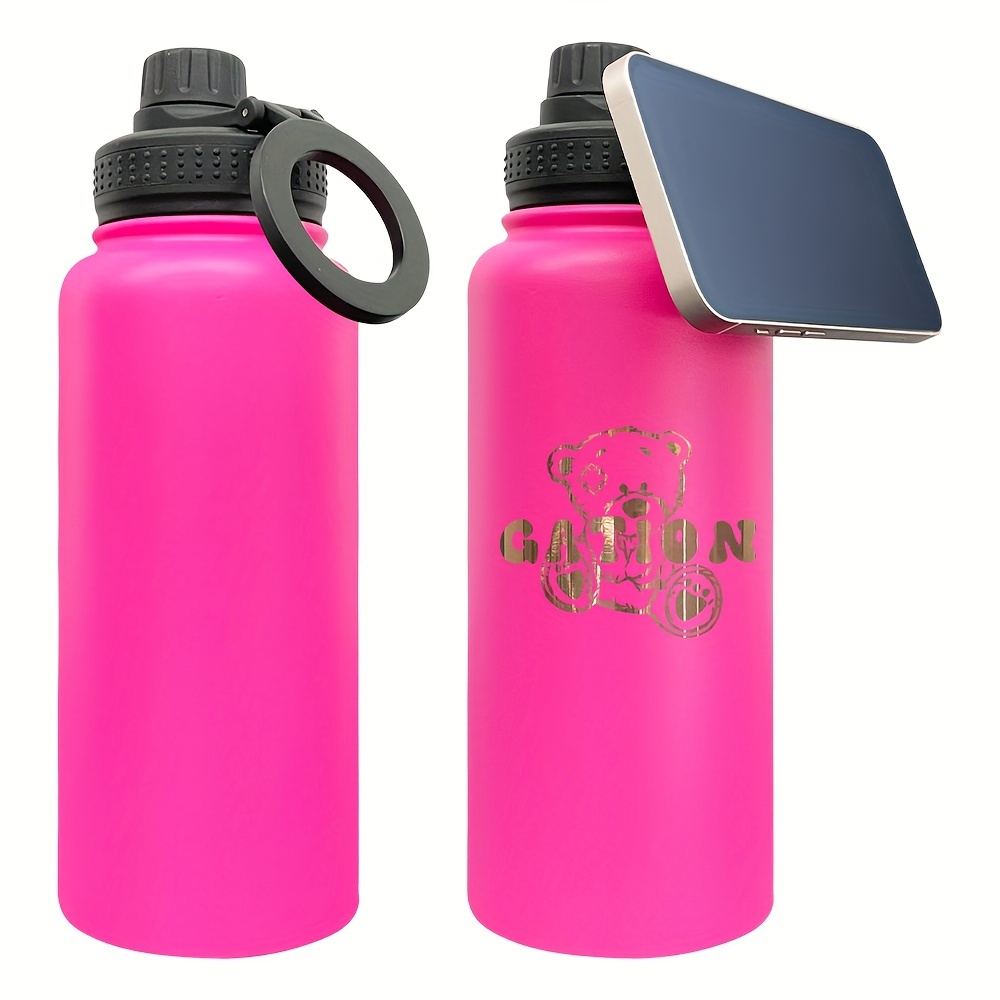
Simple phone setup: prop your phone against your water bottle on the floor about 8–10 feet away, or use a magnetic mount. A bottle with a magnetic phone holder like this insulated gym bottle doubles as a tripod — standing steadily at the right height for most lifts while keeping your hydration in one place.
Film two angles:
- Side view: shows squat depth, back angle in hinges and rows, dumbbell path in presses. Most faults live here.
- Front (or 45-degree) view: shows knee tracking, shoulder symmetry, and side-to-side shifting.
What to look for: watch at normal speed, then slowed down. Compare what you see against the checklists below — not against a fitness influencer's highlight reel. You're looking for your neutral and your control, not someone else's anatomy. Film technical sets once every 2–4 weeks; filming every set turns training into a photo shoot.
Pattern Checklists: Looks Right vs. Red Flags
Nearly every exercise is a variation of five patterns. Learn these and you can self-check almost anything.
The Squat (goblet squat, bodyweight squat, dumbbell squat)
Looks right: heels planted, chest up but ribs down, knees in line with toes, controlled 2–3 second descent, hips going back and down together, driving up through your whole foot. Depth is whatever your hips and ankles allow without your lower back rounding at the bottom.
Red flags: knees collapsing inward; heels lifting; lower back rounding at the bottom; torso collapsing so your chest faces the floor; bouncing out of the bottom. Our squat variations guide breaks down which squat style fits your body.
The Hinge (Romanian deadlift, hip hinge drill)
Looks right: hips push straight back like you're closing a car door with your backside, knees soft, back flat, chest proud — you feel a stretch in the hamstrings, and the weight travels close to your legs. The movement comes from the hips, not the lower back.
Red flags: lower back rounding as you fold forward; squatting the weight down instead of hinging; the weight drifting away from your legs; yanking up with the lower back instead of driving hips forward. An adjustable dumbbell is ideal for grooving this pattern — start light and add load in small steps as the hinge feels natural.
The Push (push-up, dumbbell press)
Looks right: in a push-up, your body forms a straight line from head to heels, hands under shoulders, elbows at roughly 45 degrees from your torso, chest lowering to near the floor under control. In a dumbbell press, the weights travel down to chest level and press up in a straight line, shoulders staying on the bench.
Red flags: hips sagging or piking up; elbows flared wide with shoulders shrugging toward ears; the lower back arching off the bench; bouncing the chest off the floor.
The Pull (bent-over row, resistance band row)
Looks right: hinge position maintained, core braced, weight pulled toward your lower ribs with elbows driving back — not up toward your ears. Squeeze between your shoulder blades at the top, then lower with control.
Red flags: jerking the weight up with momentum; rounding the back to reach; shrugging the shoulders; cutting the range short on every rep.
The Lunge (forward, reverse, walking)
Looks right: upright torso with ribs down, front knee tracking over the ankle, back knee lowering toward the floor under control, weight balanced across the front foot. Reverse lunges are usually friendlier for beginners than forward lunges. See how to do a lunge correctly for the full breakdown.
Red flags: front knee caving inward; torso leaning far over the front thigh; short, wobbly steps; the back knee slamming into the floor.
The Pattern Cheat Sheet
| Movement | Key cue to nail | Most common fault | |---|---|---| | Squat | Knees track over toes, heels planted | Knees caving inward, heels lifting | | Hinge | Hips back, back flat, feel hamstrings stretch | Rounding the lower back under load | | Push | Elbows ~45°, body straight as a board | Hips sagging, elbows flared to 90° | | Pull | Elbows drive back to ribs, squeeze shoulder blades | Jerking with momentum, shrugging shoulders | | Lunge | Upright torso, knee tracks over ankle | Torso folding forward, knee collapsing in |
Keep this table on your phone. A 30-second glance before a new exercise replaces years of ingrained bad habits.
Why the Eccentric (Lowering Phase) Matters Most
The lowering phase — the descent of a squat, the down-phase of a press — is where form most often falls apart. Gravity helps you on the way down, which tempts you to switch off and let the weight fall. Don't. A deliberate 2–3 second lowering forces control and keeps muscles — not ligaments — in charge. If you can only focus on one tempo cue, make it this one: own the way down.
Beginner Modifications Worth Using
Needing a modification is not failure — it's how good form gets built. Smart scaling options:
- Elevate for push-ups: hands on a bench or sturdy table until you can do 8–10 clean reps.
- Box squats: squat to a chair or bench to learn consistent depth and build confidence at the bottom.
- Assisted hinges: hold a doorframe for balance while learning the hip-hinge pattern with no weight.
- Half range rows: start with a shorter range of motion and extend it as back strength grows.
- Lighter is a modification: dropping to a light dumbbell set to clean up technique is always the right call.
A stable surface helps too — a non-slip mat keeps your feet planted during floor-based form work and cushions knees in lunges.
When to Lower the Weight
The weight is too heavy when any of these show up: you can't control the lowering phase for at least 2 seconds, your range of motion shrinks compared with warm-up sets, your form breaks down before your muscles feel genuinely worked, or you need momentum to finish reps. Lower the weight, fix the pattern, then build back up. A practical rule: if the last 2 reps of a set look different from the first 2, the weight or volume needs adjusting — 2–4 sets of 8–12 clean reps beats beautiful reps followed by a mess.
Common Mistakes in Form Checking
- Judging form from feel alone. Feel lies, especially under fatigue. Video is the audit; feel is the assistant.
- Copying someone else's exact positions. Hip depth, stance width, and grip vary with body proportions. Principles are universal; exact joint angles are personal.
- Checking form only on heavy days. Light warm-up sets are where patterns are grooved — that's where the video habit pays off most.
- Changing everything at once. Fix one fault per session. Trying to fix knees, tempo, and bracing simultaneously fixes none of them.
FAQ
Q: How do I know if my squat is deep enough?
Deep enough is where your hips stop moving down while your heels stay flat and your lower back stays neutral — for many that's around thigh-parallel, for others slightly higher or lower. Film a side view: if your back starts rounding or your heels lift, you've gone past your current depth. That depth improves with consistent practice.
Q: Is some rounding of the back ever okay?
The lower back should stay neutral under load. If you see it rounding on video during hinges, rows, or the bottom of squats, treat it as a signal to reduce range, reduce weight, or work on hip mobility — not something to push through.
Q: How often should I check my form?
Film the key lifts every 2–4 weeks, or whenever you add a new exercise, increase weight significantly, or return from time off. Daily filming of every set is overkill. Think of it as a periodic audit, not constant surveillance.
Q: Should beginners work with a trainer?
A few sessions with a qualified trainer are genuinely valuable — a trained eye catches in real time what you might miss on video for months. If that's not in the budget, filming yourself and comparing against the checklists in this guide is a strong alternative. Either way, start light and progress gradually.
Conclusion
You don't need perfect form on day one — you need an honest feedback loop. Learn the five principles, film your sets every few weeks, check yourself against the pattern cues, and lower the weight when your form tells you to. The lifters who stay injury-free for years aren't the ones who never made mistakes; they're the ones who kept checking. Results vary, and no checklist guarantees a perfect rep — but every honest form check is a deposit in pain-free training.