Learn the lunge with proper form: knee tracking, torso position, breathing, and 6 beginner-friendly variations — plus the mistakes that cause knee pain.
How to Do a Lunge Correctly: Form, Variations, Mistakes
The lunge is one of the most effective lower-body exercises you can do at home — no gym required. It builds single-leg strength, balance, and coordination while working your glutes, quads, and hamstrings together. But it is also one of the most commonly butchered moves in fitness. Wobbly knees, aching kneecaps, and a torso folding forward are all signs the form needs attention, not that lunges are "bad for knees."
This guide breaks the lunge down to its fundamentals — stance, step length, knee tracking, torso position, breathing — then gives you six beginner-friendly variations in difficulty order, plus the five mistakes most responsible for knee pain.
This guide contains affiliate links. If you buy through them, VÉLORA may earn a commission at no extra cost to you.
The Lunge, Step by Step
Master this with bodyweight before adding any load. Every variation below follows the same mechanics.
Starting position: Stand tall with feet hip-width apart, core gently braced (about 20–30 percent tension), shoulders back and down. Pick a spot on the floor a few feet ahead to keep your gaze steady — staring at your feet throws your balance off.
The step: Step forward with one foot, landing heel first. Your step should be long enough that when you descend, both knees form roughly 90-degree angles — for most women that is a stride of about two to three feet. Too short a step crams the front knee; too long strains the groin and hip flexor.
The descent: Lower your body straight down, not forward. Your front knee tracks in line with your toes (think about pushing it gently outward, never letting it collapse inward). Your back knee hovers just above the floor — lightly touching down is fine for beginners. Keep your torso tall with a slight natural lean, weight balanced between both legs.
The drive: Push through the heel of your front foot to return to standing. Squeeze your front glute at the top. That is one rep.
Breathing: Inhale as you step and lower, exhale as you drive back up. Holding your breath makes you wobbly and spikes pressure — keep it rhythmic.
Sets/reps: Start with 2–3 sets of 8–10 reps per leg, bodyweight only. When you can do 3 sets of 12 clean reps per side, you are ready to add load or try a harder variation.
6 Beginner-Friendly Variations
1. Static Lunge (Split Squat)
The friendliest starting point: no stepping, just up and down. Take your lunge stance and stay there, lowering and rising for all reps before switching legs. Removing the step removes most of the balance challenge, so you can focus entirely on knee tracking and torso position. Do 2–3 sets of 8–12 reps per leg.
2. Reverse Lunge
Step backward instead of forward. This is easier on the knees for most beginners because the front foot stays planted — you control the descent by reaching the back foot behind you, and the front knee naturally stays behind the toes. Excellent if forward lunges bother your kneecaps. Do 2–3 sets of 8–12 reps per leg, alternating or completing one side at a time.
3. Forward Lunge
The classic. Step forward, descend, drive back to standing. Harder than the reverse lunge because you must decelerate your body weight on the landing — which is also what makes it such good training for real life (stairs, curbs, catching yourself). Start with 2 sets of 8–10 reps per leg and build to 3 sets of 10–12.

Practicing on a forgiving surface takes the worry out of that back-knee tap. A Folding Exercise Mat cushions the knee during static and reverse lunges while you dial in your form.
4. Walking Lunge
Link forward lunges together, traveling across the room. The continuous movement adds a cardio element and a bigger balance demand — no pause to reset between reps. Keep steps even and your torso tall; the moment your steps get choppy, you are fatigued and form is slipping. Do 2–3 sets of 10–16 total steps (5–8 per leg per set to start).
5. Lateral Lunge
Step out to the side instead of forward. This trains the often-neglected inner and outer thighs plus the glute medius — the stabilizer that keeps your knees tracking well in every other lunge. Sit your hips back and down toward the stepping foot while the other leg stays straight, then drive back to center. Do 2–3 sets of 8–10 reps per side. Keep the straight leg's foot flat — if the heel lifts, shorten the step.
6. Curtsy Lunge
Step one foot back and across behind you, as in a curtsy, then lower until the front thigh is near parallel. This variation emphasizes the glutes and outer thigh with a unique angle. It demands good balance, so hold a wall at first. Do 2 sets of 8–10 reps per side. If your front knee drifts inward on this one, the step is too far across — shorten it.
Adding Weight: When and How
Add load only when your bodyweight form is solid — knees tracking, torso tall, balance steady for 3 sets of 12 per side. Then:
- Dumbbells at your sides: The simplest loaded option. Start light (a pair you could carry comfortably) and keep the weights close to your body so they do not swing.
- Goblet hold: One dumbbell or kettlebell at your chest. The front load keeps your torso honest.
With weight, drop the reps slightly: 2–3 sets of 8–10 per leg. Rest 45–60 seconds between sets.
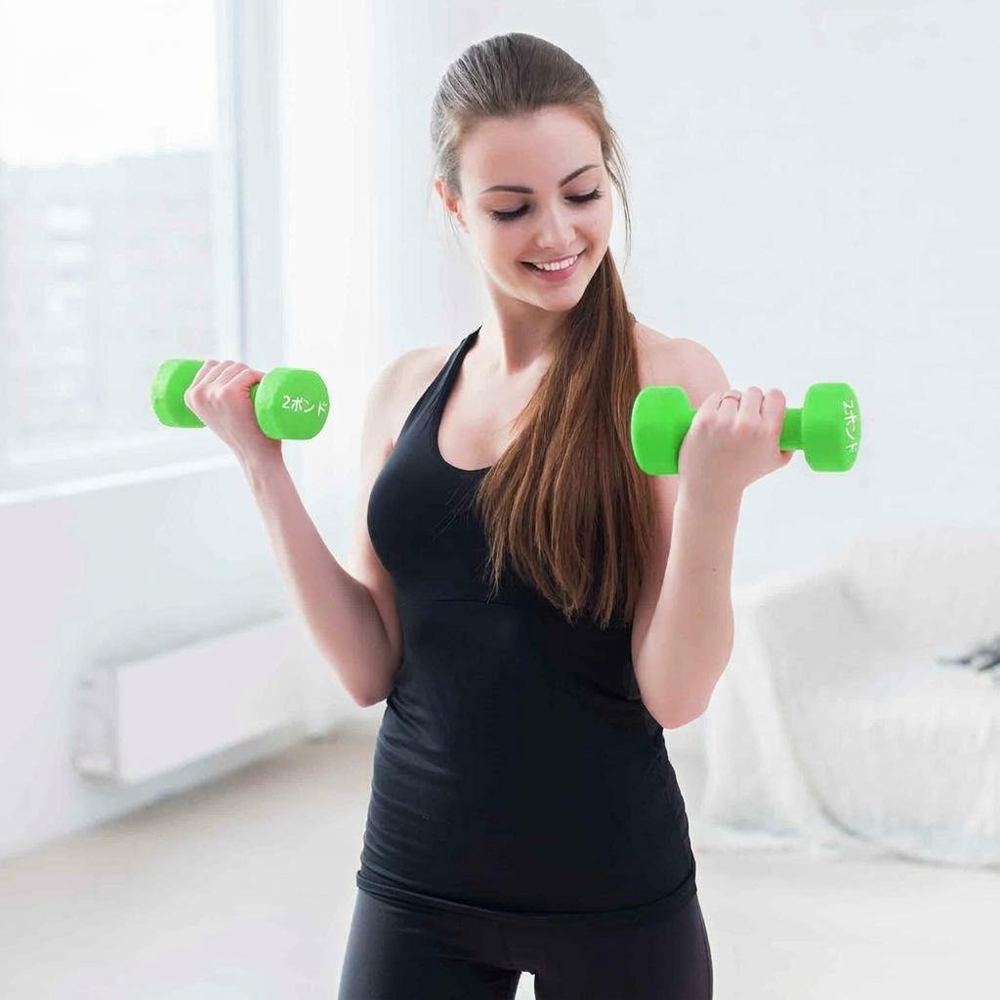
A graduated set lets you increase load in small, sensible jumps instead of guessing. The PVC Dumbbell Set with Case gives you three pairs to progress through as your lunges get stronger.
5 Mistakes That Cause Knee Pain
1. Letting the front knee collapse inward. The number-one knee-pain culprit. Weak glutes let the knee drift toward the midline under load. Fix: actively think "knee out over toes" on every rep, and strengthen the glute medius with lateral lunges and banded walks.
2. Stepping too short. A cramped step forces the front knee far forward and loads the kneecap heavily. Fix: lengthen your stride until both knees can reach roughly 90 degrees at the bottom.
3. Torso folding forward. Leaning over the front leg shifts load onto the knee and lower back. Fix: keep your chest lifted and think about lowering straight down, like riding an elevator. A goblet hold naturally corrects this.
4. Pushing off the toes instead of the heel. Driving up from the ball of the foot pitches you forward and stresses the knee. Fix: press through the whole front foot with emphasis on the heel, and squeeze the glute to finish.
5. Rushing through reps. Fast, sloppy lunges with bouncing at the bottom hammer the joints. Fix: lower under control (about 2 seconds), pause briefly, drive up. If you cannot pause at the bottom, the variation is too hard — regress one step.
Balance Progressions
If balance is your limiting factor — totally normal — train it directly rather than avoiding lunges:
- Week 1–2: Static lunges holding a wall or chair.
- Week 3–4: Static lunges with fingertip support, then reverse lunges with light support.
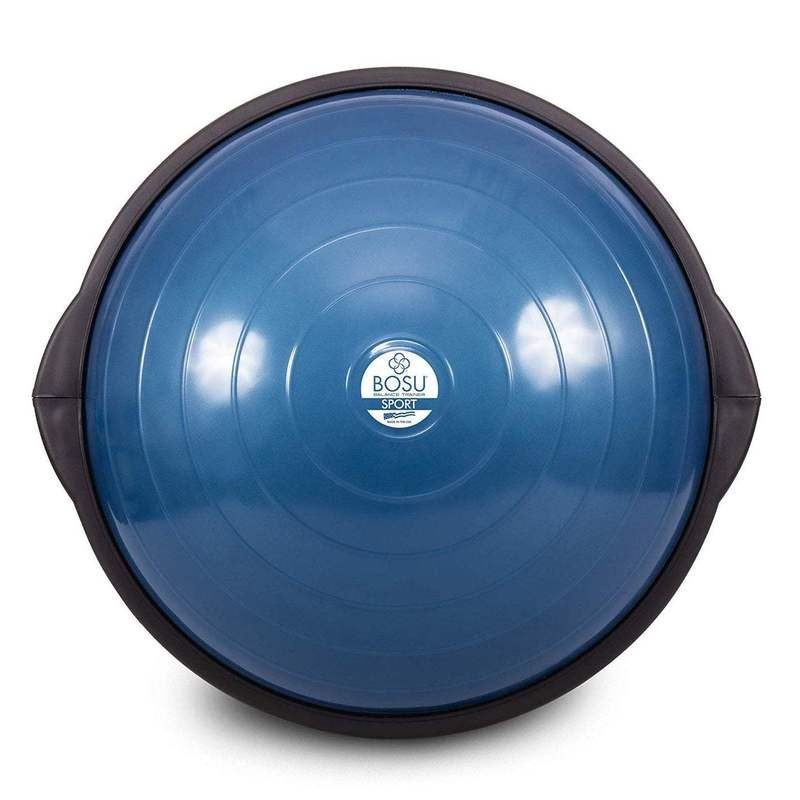
- Beyond: Once unsupported reverse lunges feel steady, try standing on a balance trainer for your static holds. A half-dome balance trainer adds a wobble that trains the small stabilizers around the ankles and knees — use it for static holds first, never for walking lunges.
Safety Notes
- Warm up 5 minutes (marching in place, leg swings, bodyweight squats) before lunging, especially loaded.
- Some knee discomfort when starting is common as tissues adapt — but sharp pain, swelling, or pain that worsens across sessions means stop and get assessed. Lunges do not have to hurt to work.
- If you are pregnant, reverse and static lunges are usually the most comfortable options; get provider clearance for loaded lunges, keep steps moderate, and skip anything that causes pelvic pressure or balance scares.
- Postpartum, rebuild with bodyweight static lunges first and watch for coning or doming along the midline — a sign to regress and check in with a pelvic-floor physiotherapist.
A 2-Week Starter Plan
Week 1 (2 sessions): Static lunges, 2–3 sets of 8–10 per leg, plus lateral lunges 2 sets of 8 per side. Focus on knee tracking.
Week 2 (2–3 sessions): Reverse lunges, 3 sets of 10 per leg, plus lateral lunges 2–3 sets of 8–10 per side. Add light dumbbells only if week 1 felt completely controlled.
Pair this with our Lower-Body Workout for Women for a complete leg day, and review How to Engage Your Core — a proper brace is what keeps your torso tall through every rep.
FAQ
Q: Are lunges bad for your knees?
No — poor lunge form is bad for knees. With the knee tracking over the toes, a sensible step length, and gradual progression, lunges strengthen the muscles that protect the knee joint. Reverse and static lunges are the gentlest entry points if your knees are sensitive.
Q: Why do my knees hurt when I lunge?
The usual suspects: knee collapsing inward, a step that is too short, or progressing to load or volume too fast. Film yourself from the front — the answer is usually visible in one clip. If pain is sharp, causes swelling, or does not improve as form improves, see a physiotherapist.
Q: Should the front knee go past the toes in a lunge?
A little forward travel is normal and fine. Problems come from the knee collapsing inward or the heel lifting, not from modest forward movement. Prioritize tracking and heel contact over an arbitrary "never past the toes" rule.
Q: Forward or reverse lunges — which is better for beginners?
Reverse lunges, for most women. The front foot stays planted, balance is easier, and the knee tends to stay in a friendlier position. Graduate to forward lunges once reverse lunges feel rock-solid.
Q: How many lunges should I do per workout?
Start with 2–3 sets of 8–12 reps per leg, once or twice a week. Add a set, then load, then a harder variation — one variable at a time.
The Bottom Line
The lunge rewards patience more than any other lower-body move. Spend two honest weeks on static and reverse lunges, film yourself once to check knee tracking, and add load only when the pattern is clean. Do that, and lunges stop being the exercise that hurts your knees and become the one that bulletproofs them — stronger glutes, steadier balance, and legs that handle real life with ease.