This doorway pull up bar guide compares leverage vs fixed-mount types, lists the door-frame checks that protect your trim, and shows how to set up and train safely.
How to Choose a Doorway Pull-Up Bar (Without Wrecking the Frame)
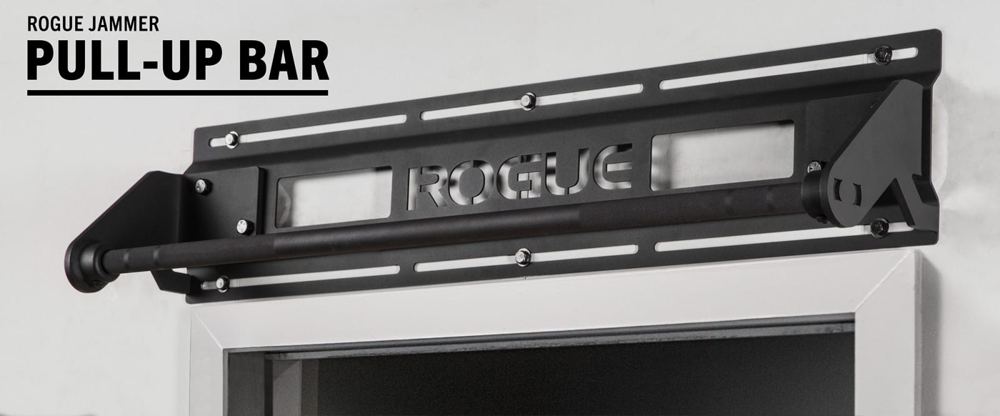
The pull-up is the gold standard of upper-body strength — and a doorway pull-up bar is the cheapest way to train it at home. But it is also the equipment most likely to leave your door frame damaged. The difference between a bar that works beautifully and one that gouges your trim comes down to three things: choosing the right type for your door, checking your frame before you buy, and installing it properly. This doorway pull-up bar guide covers all three.
This guide contains affiliate links. If you buy through them, VÉLORA may earn a commission at no extra cost to you.
The Two Types: Leverage vs Fixed-Mount
Every doorway bar is one of two designs, and they could not be more different in how they treat your home.
Leverage (no-screw) bars
These are the familiar bars that hook over the door trim — a horizontal bar you grip, with padded arms that press against the wall above the door and a lower section that braces against the frame below. Your bodyweight creates leverage: the harder you pull, the tighter the top pads press into the wall.
- Pros: no drilling, no screws, installs in minutes, renter-friendly, removable in seconds.
- Cons: they press hard against your trim and the wall above the door — the main cause of dents, paint marks, and crushed molding. They also need a minimum trim width to grip (usually 3–4 inches of flat molding), and the doorway must be the right width (most fit 24–36 inch frames).
- Best for: renters and anyone who will not drill. Accept the trade-off: protect your trim (see below) and check the pads regularly.
Fixed-mount bars
These bolt directly into the door frame's studs (or into wall studs above the doorway) with lag screws or brackets. Telescoping pressure-fit bars are a cousin of this family — they wedge between the frame sides with threaded tension, no screws, but they rely entirely on friction.
- Pros: rock solid, no wobble, higher weight ratings, zero pressure on your trim from leverage arms.
- Cons: screw-mounted versions leave holes (not renter-friendly); pressure-fit versions can slip if installed carelessly and may dent the inner frame sides.
- Best for: homeowners who want a permanent, bombproof setup. If you own the walls, this is the better long-term answer.
| | Leverage (no-screw) | Fixed screw-mount | Pressure-fit telescoping | |---|---|---|---| | Drilling | None | Yes — into studs | None | | Renter-friendly | Yes | No | Yes, with caution | | Trim damage risk | Moderate (pressure marks) | None on trim | Low–moderate (inner frame) | | Stability | Good | Excellent | Fair — check before each use | | Typical weight limit | 250–300 lb | 300–440 lb | 200–300 lb |
If you are a renter, a leverage bar with trim protection is the practical answer. If you own your home, a fixed mount is worth the one-time installation effort.
The Door-Frame Check: 5 Steps Before You Buy
Do this before ordering. Five minutes now saves a damaged frame and a return.
1. Measure the doorway width. Most leverage bars fit 24–36 inches; measure inside the trim. If your doorway is unusually narrow (closet doors) or wide (double doors), confirm the bar's stated range covers you.
2. Check the trim (molding) width and strength. Leverage bars need flat, sturdy trim at least 3–4 inches wide on the top for the pads to grip. Press firmly on the top molding — if it flexes, creaks, or feels hollow, a leverage bar will eventually dent or crack it. Decorative, thin, or foam moldings are a no.
3. Identify your wall type. Knock on the wall above the door: a solid thud suggests wood or plaster over lath (good); a hollow sound means drywall over studs (fine for leverage bars, since the load spreads across the trim). For screw-mounted bars, you must hit actual studs — use a stud finder, never trust drywall alone.
4. Check the door closes and the frame is square. A warped or loose frame is a bad candidate for any bar. The frame should feel rigid when you push on it — if it wobbles, fix that first or choose a different doorway.
5. Look above and around. You need clearance: no light fixtures, no low ceilings blocking your head at the top, and enough room in front of the door to hang without hitting furniture.
How to Protect Your Trim and Walls
This is the part most guides skip, and it is the part that saves your security deposit:
- Pad the contact points. Wrap the bar's wall pads in old socks, foam pipe insulation, or furniture pads. The manufacturer's foam is often thin; doubling it up distributes pressure and prevents the black marks cheap rubber leaves on paint.
- Reinforce weak trim. A strip of plywood behind thin molding (screwed into the studs, if you are allowed) spreads the load across a much wider area.
- Check monthly. Pads compress over time, concentrating force on smaller areas. Re-pad and re-tighten as part of your routine.
- Remove it when not in use if your trim is delicate — most leverage bars lift off in seconds. Less constant pressure means less slow deformation.
- Photograph your trim before installation. If you rent, dated photos are your proof of prior condition.
What to Look for When Buying
- Weight rating with margin. Choose a bar rated at least 50 lb above your bodyweight. Ratings assume perfect installation — real life is less perfect.
- Grip options. Multiple grip positions (wide, narrow, neutral) let you train back, biceps, and shoulders differently.
- Padding quality. Thick, non-marking pads at every contact point. Thin rubber that leaves black streaks is a red flag in reviews.
- Doorway fit range. Confirm against your actual measurements — not your guess.
- Build quality. Steel construction, solid welds, no wobble when assembled. Read the 2- and 3-star reviews for reports of bending or slipping.
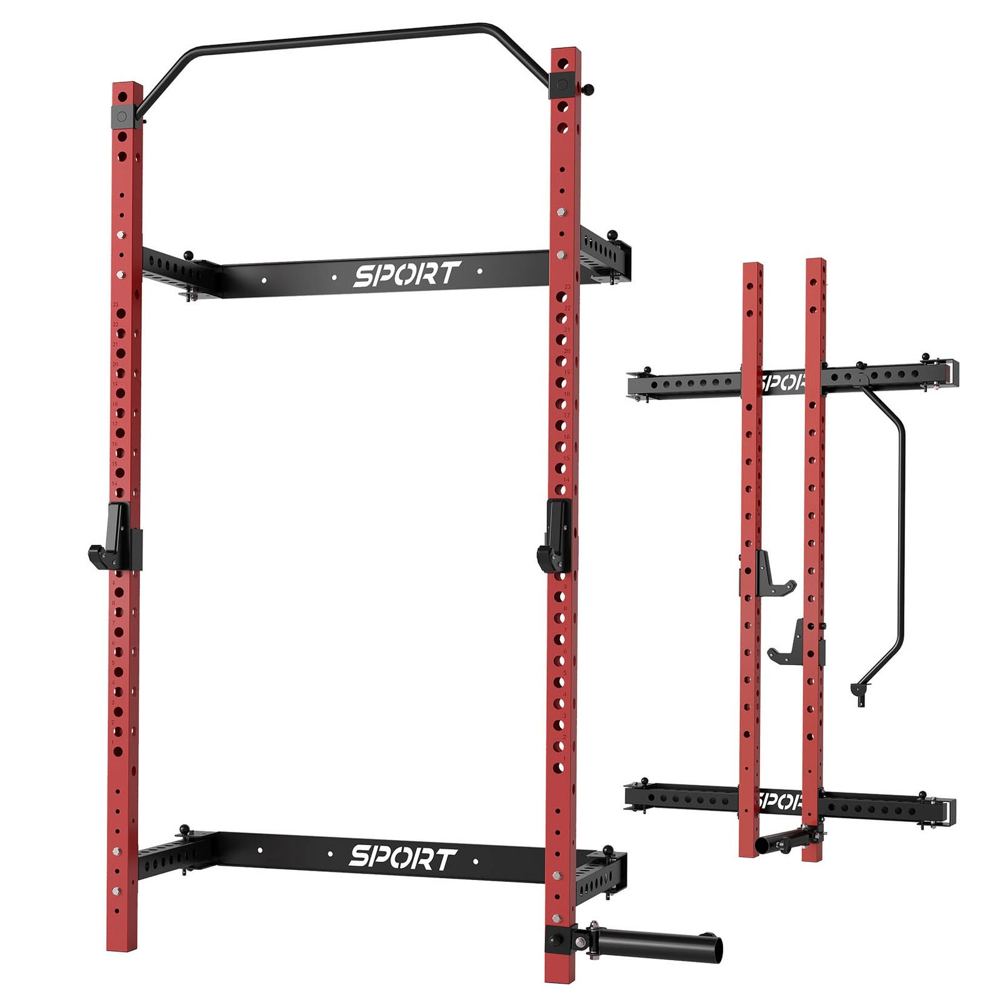
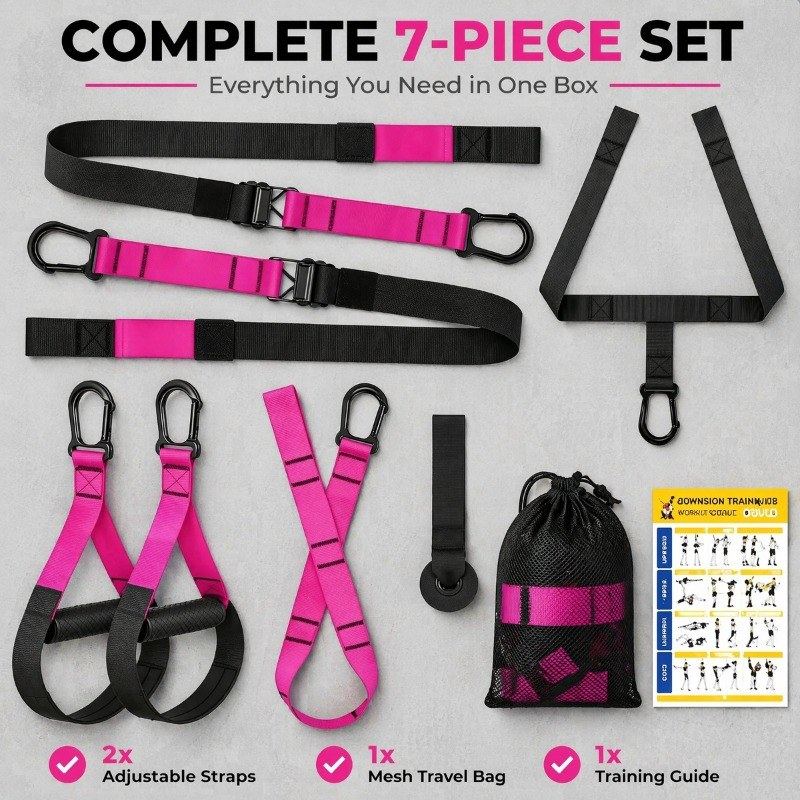
For a permanent home-gym corner, a wall-mounted setup with an integrated pull-up bar — like the foldable squat rack with pull-up bar — removes the doorway question entirely and doubles as a squat and dip station. If pull-ups are still a future goal, a door-anchor resistance kit trains the same pulling muscles with bands until you are ready — our push-up progression for women shows how gradual progressions build real strength.
Using Your Bar Safely (Technique and Progressions)
The dead hang (start here)
Purpose: grip strength, shoulder health, and getting comfortable hanging. Setup: grip the bar shoulder-width, palms away (or facing you for chin-ups — slightly easier on beginners). Technique: hang with shoulders engaged — think "pull your shoulder blades down and back," not dangling loosely. Keep a slight bend in the elbows. Breathing: steady, relaxed breathing — never hold your breath under load. Time: 3–4 hangs of 10–30 seconds. Build to 60 seconds before attempting full pull-ups.
Assisted and negative pull-ups
Purpose: building the strength for a full pull-up without jumping straight to one. Setup: place a sturdy chair or step under the bar. Technique (negatives): step up so your chin is over the bar, then lower yourself as slowly as you can — aim for 3–5 seconds down. That slow lowering builds the exact strength you need. Technique (assisted): keep one foot lightly on the chair and use the minimum leg help to get your chin over the bar. Sets/reps: 3–4 sets of 3–6 negatives or 5–8 assisted reps, 2–3 times per week. Beginner modification: if negatives are too hard, do flexed-arm hangs (chin over the bar, hold as long as you can — even 5 seconds counts).
Full pull-ups
Purpose: the complete upper-body strength move — lats, biceps, shoulders, core. Technique: from a dead hang, pull your chest toward the bar, driving your elbows down toward your ribs. Chin clears the bar. Lower with control — no dropping. Sets/reps: 3–5 sets of as many clean reps as you can (even 1–3 is a genuine achievement at first), 2–3 times per week. Common mistakes: kipping (swinging) before you have strict strength; half reps that never reach chin-over-bar; dropping from the top instead of lowering.
For balanced upper-body development, pair pulling work with pushing and back-accessory work — our back exercises for women and upper-body workout for women complete the program.
Maintenance and Ongoing Safety
- Re-test before every session. Hang with full bodyweight and give a firm tug before your first set. Bars loosen, pads compress, frames settle — the 10-second test catches all of it.
- Check the trim monthly for new dents or paint damage; re-pad as needed.
- Keep it dry. Sweat corrodes hardware over time; wipe the bar down after sessions, especially grip areas.
- Respect the weight limit. It includes dynamic force — kipping and dropping multiply the load.
- One user habit matters most: never let kids swing on it unsupervised. A doorway bar is training equipment, not playground equipment.
FAQ
Q: Will a doorway pull-up bar damage my door frame?
It can — the leverage type presses hard against trim and the wall above the door. The risk drops dramatically if your trim is wide, flat, and sturdy, and if you pad the contact points. Renters with delicate molding should pad generously, remove the bar between sessions, and photograph the trim beforehand.
Q: What is the best type of doorway pull-up bar for renters?
A no-screw leverage bar, since it installs and removes in minutes without drilling. Protect your trim with extra padding, confirm your molding is at least 3–4 inches wide and solid, and check the bar's doorway-width range against your measurements before buying.
Q: How much weight can a doorway pull-up bar hold?
Most leverage bars are rated 250–300 lb, fixed mounts 300 lb and up. Choose a rating at least 50 lb above your bodyweight, and remember ratings assume correct installation — measure, check your frame, and test before every session.
Q: Can beginners use a pull-up bar?
Absolutely — you do not need to do a single pull-up to benefit. Dead hangs build grip and shoulder stability, negatives build the lowering strength, and assisted reps with a chair bridge the gap. Most women go from zero to their first full pull-up in 8–16 weeks of consistent practice, though results vary.
Q: Leverage bar vs screwing one into the wall — which is better?
For renters: leverage, no contest. For homeowners: a screw-mounted bar into studs is more stable, kinder to trim, and holds more weight. One hour of installation buys years of peace of mind.
Q: My door trim is thin and decorative. What are my options?
Skip leverage bars — they will crush decorative molding. Consider a pressure-fit telescoping bar (braces against the inner frame sides), a screw-mounted bar into the studs, or a freestanding/wall-mounted rig. Or train pulling strength with a door-anchor band kit until your setup allows a bar.
Conclusion
A doorway pull-up bar is one of the best value purchases in home fitness — if you buy the right type for your door and treat your frame with respect. Measure first, check your trim and wall type, pad every contact point, and re-test the bar before every session. Start with dead hangs and negatives, progress patiently, and you will earn a pull-up that most gym-goers cannot do. Your door frame, meanwhile, will never know the bar was there.
