Bicycle crunches work the abs and obliques — if your form is right. Step-by-step technique, breathing, rep ranges, and the six mistakes to fix today.
Bicycle Crunches Done Right: Form and Common Errors
The bicycle crunch is one of the most popular ab exercises in the world — and one of the most butchered. Done well, it trains the rectus abdominis and the obliques through a controlled twist, making it a genuinely useful midsection exercise. Done poorly, it becomes a neck-yanking, momentum-swinging ritual that works everything except the muscles it targets.
This guide walks you through the exact form, the breathing, sensible rep ranges, the six most common errors (and how to fix each), and beginner modifications that let you build up honestly.
This guide contains affiliate links. If you buy through them, VÉLORA may earn a commission at no extra cost to you.
What Bicycle Crunches Actually Work
The bicycle crunch combines two motions: a crunch (spinal flexion, working the rectus abdominis down the front of the torso) and a rotation (working the internal and external obliques along your sides). The alternating leg movement also keeps the hip flexors and lower abdominals engaged.
What it does not do: burn fat specifically from your belly. No exercise does that — fat loss is a whole-body process driven by overall activity, nutrition, sleep, and individual factors. The bicycle crunch builds and strengthens the muscles underneath; that is a worthwhile goal on its own.
Equipment
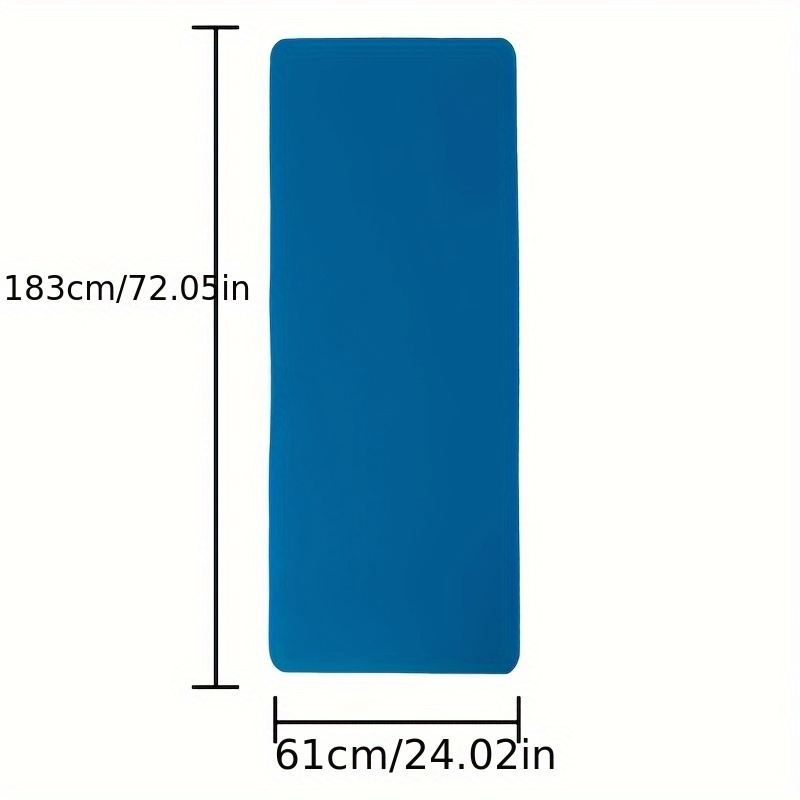
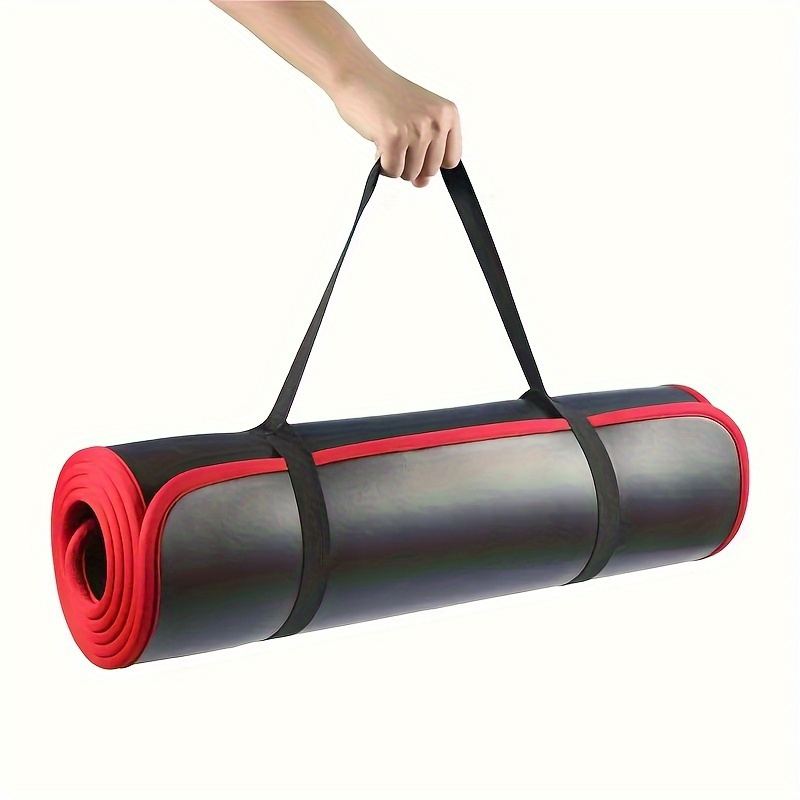
You need a mat or any padded surface. A non-slip mat like the 8mm Thick Yoga Mat keeps your lower back comfortable and your position stable. That's genuinely it — no other equipment required.
Step-by-Step: The Perfect Bicycle Crunch
Starting Position
Lie on your back with your lower back in light contact with the mat — no big arch. Place your fingertips lightly behind your ears (not interlaced behind your head), elbows pointing out to the sides. Lift your legs to a tabletop position: knees bent at 90 degrees, shins roughly parallel to the floor, feet relaxed. Draw your belly button gently inward, as if tightening a belt one notch, and lift your shoulder blades just off the floor.
Before the first rep, check three things: your neck is long and neutral (imagine holding a small peach under your chin), your elbows are wide (not pulled in front of your face), and your lower back still touches the mat.
The Technique
- Rotate and extend: Slowly rotate your torso so your right elbow travels toward your left knee, while your right leg extends out — but stop extending before your lower back lifts off the mat. The power comes from the twist of your ribcage, not from pulling your head forward.
- The meeting point: Your elbow does not need to touch your knee. What matters is a strong, deliberate rotation — think "right ribs toward left hip." Your shoulder blade should lift and turn, not just your arm swinging across.
- The switch: Pause for a beat at the end of each twist, then smoothly switch sides — left elbow toward right knee, left leg extending. The movement should feel like a controlled pedaling motion, hence the name.
- The return: Each "rep" is typically counted as one full cycle (both sides) or as one side. Pick one and stay consistent.
Breathing
Exhale on each twist (each side counts as its own exhale), inhale as you return through center. Continuous, rhythmic breathing keeps the deep core engaged — holding your breath is one of the fastest ways to lose trunk control and strain your neck.
Sets and Reps
- Beginners: 2–3 sets of 8–12 cycles (a cycle = both sides), resting 45–60 seconds between sets.
- Intermediate: 3–4 sets of 12–20 cycles.
- How to progress: When the top of the range feels manageable with clean form for two sessions running, add a set or slow each twist to a two-second rotation before adding reps.
These are ranges, not prescriptions — your joints, history, and recovery needs are individual. Fewer perfect reps always beat more sloppy ones.
The Six Most Common Errors
1. Pulling the Neck
What happens: Hands yank the head forward, and the neck does the crunching instead of the abs.
Fix: Keep your fingertips light — imagine they are just resting there. Stare at the ceiling between twists, and think of lifting your shoulder blades rather than your head. If your neck aches after a set, this was the culprit.
2. Going Too Fast
What happens: Momentum takes over, the "pedaling" becomes a frantic scramble, and the abs check out.
Fix: Slow down until each twist takes about two seconds. Add a one-beat pause at each end. If you can't pause, you're going too fast.
3. Letting the Lower Back Arch
What happens: The extended leg drops too low or too far, the lower back peels off the mat, and the hip flexors and spine take over the work.
Fix: Extend the leg only as far as you can keep your lower back in contact with the floor. For most beginners, that means the extended leg stays fairly high — that's fine and still effective.
4. Elbows Swinging Across (Fake Rotation)
What happens: The elbow swings across the body while the torso barely turns — the arm moves, but the obliques don't.
Fix: Keep the elbows wide and initiate the twist from the ribcage. Think of bringing your ribs toward the opposite hip. A smaller, honest rotation works the obliques far more than a big arm swing.
5. Holding Your Breath
What happens: Tension builds, the face reddens, the neck strains, and the deep core disengages.
Fix: Exhale on every twist, audibly if it helps. Rhythmic breathing is part of the exercise, not an accessory.
6. Doing Hundreds of Reps
What happens: Endurance-style marathon sets with degrading form, usually fueled by the belief that more reps equals a flatter stomach.
Fix: Stay in the rep ranges above. If bicycle crunches feel too easy, slow them down or pair them with other core work — see our Core Workout for Women Beginners. Quality and progressive control beat quantity every time.
Beginner Modifications
If the full bicycle crunch is too much right now, build up honestly — these progressions train the same muscles:
- Feet-down bicycle: Keep both feet on the floor, knees bent. Crunch and rotate as usual without the leg extension. This removes the hardest stability demand.
- High-leg bicycle: Extend the leg higher (closer to the ceiling) rather than low — less leverage, less strain on the lower back.
- Slow single-side sets: Do all reps on one side, rest, then switch. This lets you focus on the rotation quality without the coordination demand of alternating.
- Dead bug first: If your lower back arches no matter what, spend two to three weeks on dead bugs (see our Core Workout for Women Beginners guide) to build the deep-core control the bicycle needs.
Where Bicycle Crunches Fit in Your Week
Bicycle crunches are a core-strength exercise — they produce trunk movement. Pair them with a stability exercise (like a plank or dead bug) in the same session for the complete picture. Two to three core sessions per week, with rest days between, suits most women. A sample 10-minute session:
- Warm-up: 1 minute of marching in place
- Dead bug: 2 sets of 8–10 per side
- Bicycle crunches: 2–3 sets of 10–15 cycles
- Forearm plank: 2 sets of 20–40 seconds
Safety Notes
- Stop if you feel sharp pain in your neck, lower back, or hips. Muscle effort and a deep abdominal burn are normal; pain is information.
- Keep the range honest: a smaller, well-braced twist protects your spine far better than a big, arched one.
- If you are pregnant or postpartum, get clearance from your provider first — supine crunching movements deserve individual guidance then. See our Postpartum Exercise Guide and Exercise During Pregnancy Safety.
- Those with diagnosed disc issues or chronic back pain should check with a physiotherapist before adding spinal-flexion exercises.
FAQ
Q: Are bicycle crunches better than regular crunches?
They train more muscle — the rotation adds the obliques to the rectus abdominis work of a standard crunch. "Better" depends on your goal: bicycles give you more complete midsection training in one exercise, but only if the form is clean. A well-done regular crunch beats a sloppy bicycle every time.
Q: How many bicycle crunches should I do a day?
Don't do them daily. Two to three sessions per week in the rep ranges above, with rest days between, is the honest answer. Your muscles adapt during recovery, not during the workout.
Q: Why does my neck hurt during bicycle crunches?
Almost always because the hands are pulling the head forward (Error #1 above) or you're holding your breath. Lighten the hands, look at the ceiling, and exhale on each twist. If neck pain persists across sessions, switch to a different ab exercise and get the neck checked.
Q: Should my elbow touch my knee?
No — that's a myth that causes most of the form errors in this exercise. The goal is a strong ribcage rotation, not elbow-to-knee contact. Think "ribs toward opposite hip" and let the elbow land wherever the honest rotation puts it.
Q: Can bicycle crunches give me a six-pack?
Visible abdominal definition depends on overall body composition, genetics, nutrition, activity, and many individual factors — not on any single exercise. Bicycle crunches build the muscles; whether they show is a separate matter, and no honest trainer promises a timeline for it.
The Bottom Line
The bicycle crunch earns its popularity when you treat it as a slow, deliberate rotation exercise: ribs toward opposite hip, lower back pinned down, breathing on every twist, neck relaxed. Fix the six errors above, stay in sensible rep ranges, and it becomes one of the most efficient ab exercises you can do on a living-room floor.
