This battle ropes exercises guide covers the essential waves and slams, beginner-friendly technique, and how to choose the right rope length and thickness.
Battle Ropes Guide: Exercises and Buying Tips
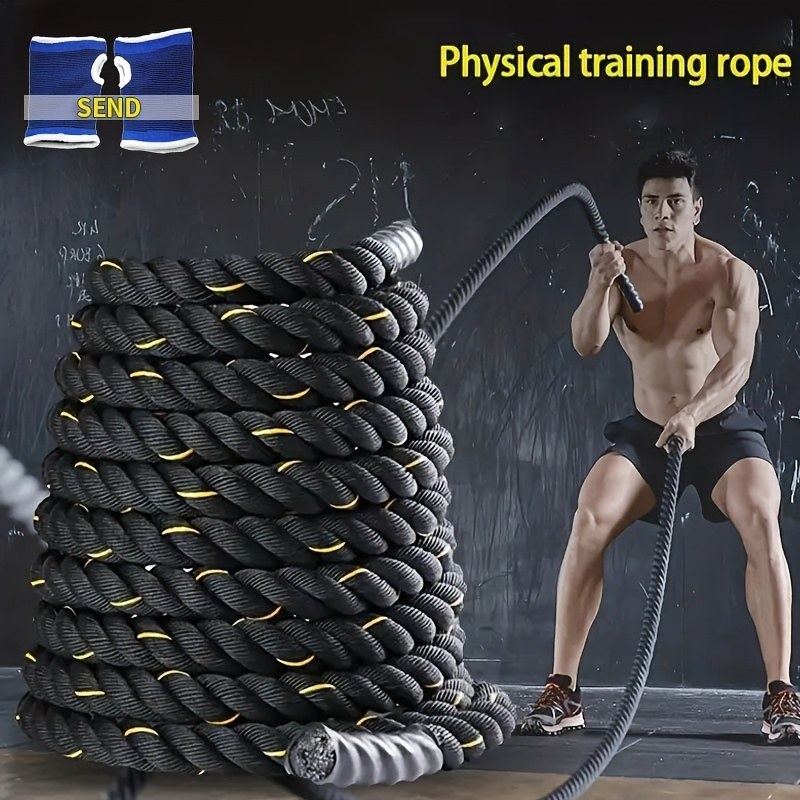
Battle ropes look like pure spectacle — thick cords flying in waves, sweat everywhere, someone working harder than seems possible in ninety seconds. The spectacle is real, but so is the training underneath. Ropes build muscular endurance in the shoulders, arms, and back, train coordination, and push your heart rate up fast. For women training at home or in a small gym space, they are also one of the most joint-friendly ways to do intense cardio: your feet stay planted, so there is no pounding.
This guide covers how ropes actually work, the handful of exercises that matter, and how to pick a rope that suits your space and strength.
This guide contains affiliate links. If you buy through them, VÉLORA may earn a commission at no extra cost to you.
How Battle Rope Training Works
A battle rope is a long, heavy cord anchored at its midpoint — around a post, a tree, a heavy kettlebell, or a door anchor — leaving you with two ends to grip. Moving your arms creates waves that travel down the rope. The longer and thicker the rope, the more resistance every wave takes. The resistance is dynamic: the faster you move, the harder it fights back.
Rope training is mostly intervals: short bursts of hard work (typically 20–60 seconds) followed by rest. It taxes your grip, shoulders, lats, and trunk while your heart rate climbs.
One caveat worth stating plainly: ropes will not spot-reduce belly or arm fat. No exercise does. They support overall fitness and calorie expenditure, and results differ person to person.
Setting Up Safely
You need three things: the rope, an anchor, and clearance. The anchor point should be at roughly hip height or lower, rock solid, and immovable — a squat rack, a sturdy post, a heavy sled. Fold the rope in half at the anchor so both ends are equal length. Stand with feet about shoulder-width apart, knees soft, torso tall, a few feet back from the anchor so the rope rests on the floor in a gentle curve with slight slack.
Hold one end in each hand with a firm, full-hand grip. Shoulders settle down and back. Keep a slight bend in the knees the whole time — an athletic stance.
Clearance: you need roughly the rope's half-length behind you plus a couple of feet in front of the anchor. Outdoors works beautifully.
The Essential Exercises
Five moves cover nearly everything ropes offer. Learn them in order — each builds on the last.
1. Alternating Waves
The foundational rope exercise and the one you will use most.
Starting position: athletic stance, rope ends in each hand, palms facing in or down.
Technique: raise and lower your arms alternately, like revving an engine, sending smooth waves down each side of the rope. The motion comes from the shoulders and arms, but your trunk stays braced and quiet — no swaying side to side. Keep your grip firm but your forearms relaxed; white-knuckling wastes energy.
Breathing: exhale rhythmically with each downward push and never hold your breath.
Beginner modification: slow the tempo and shorten the waves.
Common mistakes: hunching the shoulders toward the ears; gripping so hard your hands cramp.
How much: work 20–30 seconds, rest 30–60 seconds, repeat 4–6 rounds. Over weeks, extend work to 40–60 seconds and shorten rests.
2. Double Waves (Power Slams Down)
Both arms move together — bigger waves, more effort.
Starting position: same stance, both rope ends in hand.
Technique: raise both arms overhead, then drive them down together. Stand tall at the top, athletic hinge at the bottom — let your knees and hips absorb the drive.
Breathing: sharp exhale on every slam.
Beginner modification: smaller amplitude — don't chase the dramatic overhead slam until your shoulders and core are ready.
How much: 15–30 seconds of work per round, 3–5 rounds. These tire you fast — that's normal.
3. Rope Slams with Squat
Combines the slam with a full squat for a total-body interval.
Starting position: rope ends in hand, standing tall.
Technique: as your arms rise overhead, lower into a squat; as you drive the arms down and slam the rope into the floor, extend back up. The squat and slam stay synchronized. Keep your chest lifted and your weight in your heels.
Breathing: exhale on the slam, inhale as you rise.
Beginner modification: quarter-squats instead of full squats, or standing slams only.
Common mistakes: knees caving inward; rushing the squat so depth disappears.
How much: 20–40 seconds work, 30–60 seconds rest, 3–5 rounds.
4. Side-to-Side Waves (Hip Slams)
Trains your obliques and trunk rotation along with the usual suspects.
Starting position: athletic stance, both rope ends in hand.
Technique: keep your arms long and relatively straight, and swing both arms as a unit from one hip to the other, slapping the rope against the floor on each side. Your torso rotates, your hips rotate with it, and your head follows the direction of the swing. The rope should land in a neat arc alternating left and right.
Breathing: exhale on each side-to-side slam.
Beginner modification: reduce the range of motion — swing to just past your hips rather than full side slams.
Common mistakes: twisting only the arms while the torso stays frozen; leaning away from the slam.
How much: 20–30 seconds per side-dominant round, 3–4 rounds.
5. Waves with Alternating Lunges
An advanced combination that adds lower-body demand and balance work.
Starting position: rope ends in hand, standing tall.
Technique: step back into a reverse lunge while continuing alternating waves. The arms don't pause for the lunge. Torso stays upright, front knee tracks over the toes; push through the front heel to return to standing. Alternate legs each round.
Breathing: steady, rhythmic breathing — don't try to sync breath to both the arms and legs; just breathe continuously.
Beginner modification: skip this one until your alternating waves are solid for 40 seconds straight. Master the two skills separately first.
Common mistakes: stopping the waves to "focus" on the lunge; lunging too deep and losing posture.
How much: 20–30 seconds per round, 3–4 rounds.
A Simple Beginner Rope Session
New to ropes? Try this 15-minute introduction:
- Warm up (4 minutes): 60 seconds marching in place, 60 seconds arm circles and shoulder rolls, 60 seconds bodyweight squats, 60 seconds easy alternating waves with the rope.
- Alternating waves — 20 seconds work / 40 seconds rest, 4 rounds.
- Double waves — 20 seconds work / 40 seconds rest, 3 rounds.
- Cool down (3 minutes): easy arm swings, cross-body shoulder stretches, standing lat stretch, 30 seconds per side.
Do this once or twice a week for 2–3 weeks. When 20 seconds of work feels easy, stretch work intervals to 30 seconds before adding new exercises. For context on sensible weekly frequency, see how often women should work out, and HIIT for beginners for interval structure.
Buying Tips: Choosing the Right Rope
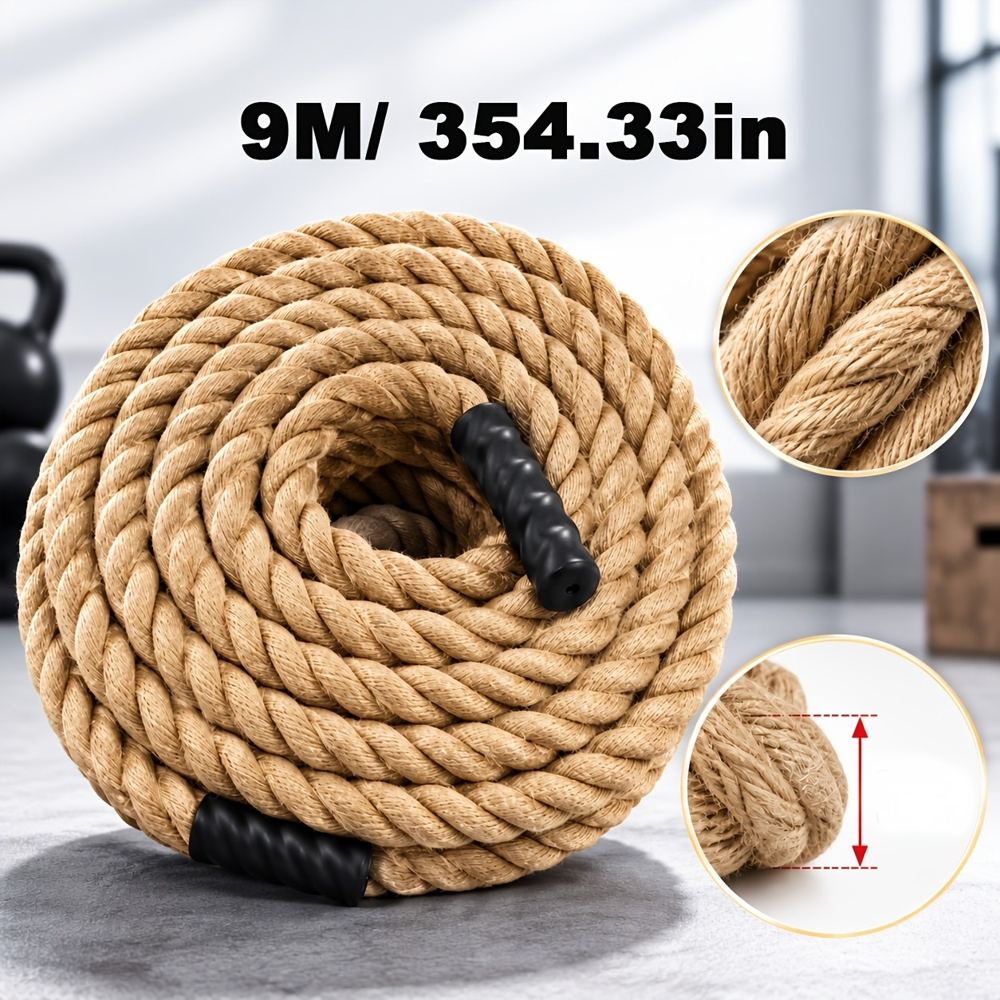
Ropes are specified by diameter (thickness) and length. These two numbers decide how the rope feels and how much space you need.
| Rope spec | Best for | Space needed | Effort level | |---|---|---|---| | 25 mm (1 in) × 6 m (20 ft) | Beginners, home setups, lighter conditioning | ~10 ft of floor | Moderate | | 38 mm (1.5 in) × 9 m (30 ft) | Most home users, all-around training | ~15 ft of floor | Challenging | | 50 mm (2 in) × 9–15 m (30–50 ft) | Experienced users, strength-focused | 15–25 ft of floor | Very hard |
A few honest buying notes:
- Start thinner. A 1-inch (25 mm) rope is the right call for most women starting out. The 25 mm × 6 m Anti-Slip Battle Rope is a practical entry point: short enough for a garage or garden, and the anti-slip weave matters once your hands sweat.
- Material matters. Look for braided polyester or polypropylene with heat-sealed ends. Protective sleeves at the anchor end add real lifespan.
- Length is about space. Longer ropes are heavier and harder, but they need more room. A 30-foot rope in a 10-foot space is a tripping hazard. Measure your floor first.
- Handles and adjustability. Sturdy, comfortable handles reduce grip fatigue. An adjustable-weight battle rope with sturdy handles lets you adjust the loading — handy when two people with different strength share one rope.
- Anchoring. If you can't anchor to something fixed, loop the rope around a heavy object you can't budge — never around something that might move.
For heavier commercial-style use, a thick non-slip rope in the 38–50 mm range, such as a heavy-duty non-slip battle rope, holds up well to repeated high-intensity sessions.
Common Mistakes to Avoid
- Death-gripping. A relaxed-but-firm grip lasts ten rounds; a white-knuckle grip lasts one.
- Shrugging. Shoulders creep toward the ears as fatigue builds. Reset them between rounds.
- Holding your breath. Rhythmic breathing is what lets you last past 30 seconds.
- Skipping the warm-up. Cold shoulders don't like explosive overhead slams.
- Going all-out on day one. Rope soreness hits the lats and forearms hard 24–48 hours later. Start at about 70 percent effort and build.
Safety Notes
- Check your anchor before every session — tugs in both directions, hard. A rope that comes free mid-slam is dangerous.
- Keep the floor clear and non-slip. Sweat plus smooth concrete is a fall risk; train on rubber or a mat when possible.
- Stop for sharp shoulder pain, wrist pain, dizziness, or chest discomfort. Muscle burn is normal; joint pain is a stop signal.
- If you are pregnant, postpartum, managing a shoulder or wrist injury, or have a heart condition, get your provider's go-ahead before doing high-intensity rope intervals.
FAQ
Q: How long should a battle rope workout be?
For most people, 10–20 minutes of true interval work is plenty. Ropes are intense by design — the quality of your waves in rounds five and six matters more than adding more rounds. Beginners should start with 10–12 minutes total including warm-up.
Q: Can I do battle rope exercises at home?
If you have about 10–15 feet of open floor and a solid anchor point, yes. Shorter ropes (6 m) suit apartments and garages. A rubber mat under the rope helps with noise and floor protection.
Q: Do battle ropes build muscle or just cardio?
Both, but in a specific way: they build muscular endurance and upper-body conditioning rather than maximal strength. Many lifters use ropes as a conditioning finisher after their main workout — our guide on how to structure a workout shows where finishers fit.
Q: How thick should my battle rope be?
Start at 25 mm (1 inch) if you're new to ropes or training at home. Move to 38 mm (1.5 inch) once you can do 6–8 rounds of 40-second intervals comfortably. Thicker 50 mm ropes are for experienced, strength-focused users.
Q: Will battle ropes make my arms bulky?
No. Ropes build endurance, coordination, and conditioning — visible muscle growth from rope training is modest and gradual. Getting "bulky" takes years of heavy progressive lifting plus a deliberate surplus; ropes alone won't do it.
Conclusion
Battle ropes deliver honest, intense conditioning in very little time — waves for rhythm and endurance, slams for power. Start with a thinner rope and short intervals, learn the five core exercises in order, and let your work capacity grow week by week.
