Balance yoga poses for stability at any age: 8 beginner-friendly standing poses with setup, technique, breathing, progressions, and safety tips for steady feet.
Balance Yoga Poses to Improve Stability at Any Age
Balance is a skill, not a gift. It improves with practice at any age — whether you are wobbling through tree pose for the first time or determined to stay steady on your feet at 70. Yoga offers some of the most practical balance training there is: standing poses that strengthen the small stabilizing muscles of the feet, ankles, legs, and core, while teaching the focus that keeps you upright.
This guide gives you eight beginner-friendly balance poses, ordered from easiest to hardest, with full setup instructions, technique cues, breathing guidance, modifications, and safety notes. It also covers how to train balance wisely over time — and when to use support.
A quick note on expectations: balance training genuinely helps most people become steadier, but progress is gradual and individual — there are no promised outcomes or fixed timelines. And balance is one piece of fall prevention, not the whole plan; strength training, vision checks, and home safety matter too.
This guide contains affiliate links. If you buy through them, VÉLORA may earn a commission at no extra cost to you.
Why Balance Deserves Its Own Practice
Balance is what keeps you upright when life gets uneven — stepping off a curb, carrying groceries, reaching for a high shelf. It relies on three systems working together: your inner ear (vestibular), your eyes, and proprioception (your body's sense of where it is in space). Yoga balance poses train all three, plus the muscular strength that backs them up.
For women especially, balance training earns its place in any routine: it strengthens the ankles and hips, engages the deep core, and builds the body awareness that makes every other movement safer. Our guide to balance exercises for women covers the broader training picture; this article focuses on the yoga side.
Setting Up for Safe Practice
- Practice near a wall or sturdy chair. Stand an arm's length from support so a fingertip can catch you — using a wall is smart training, not cheating.
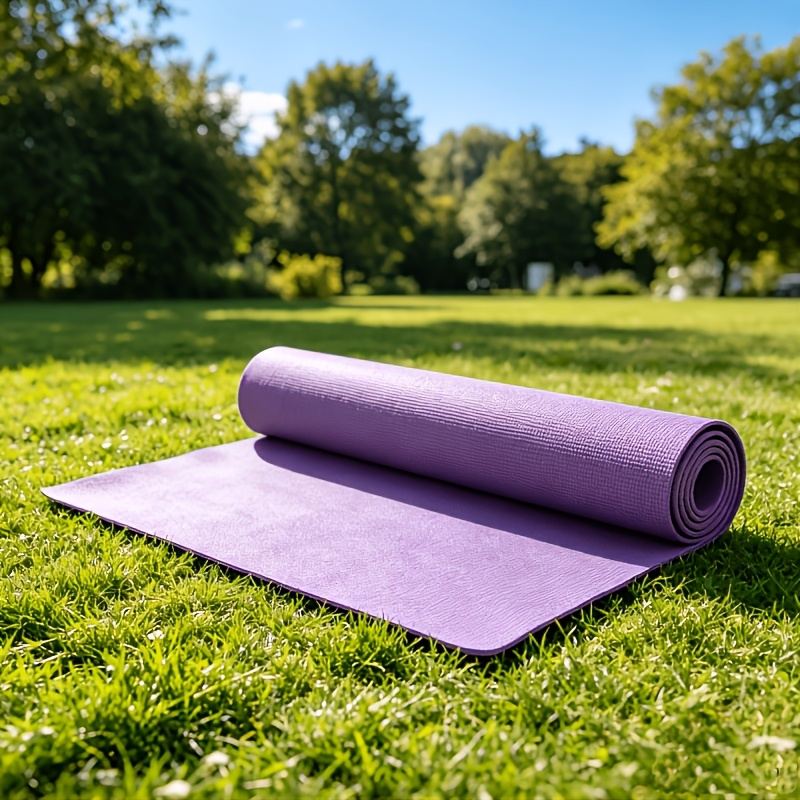
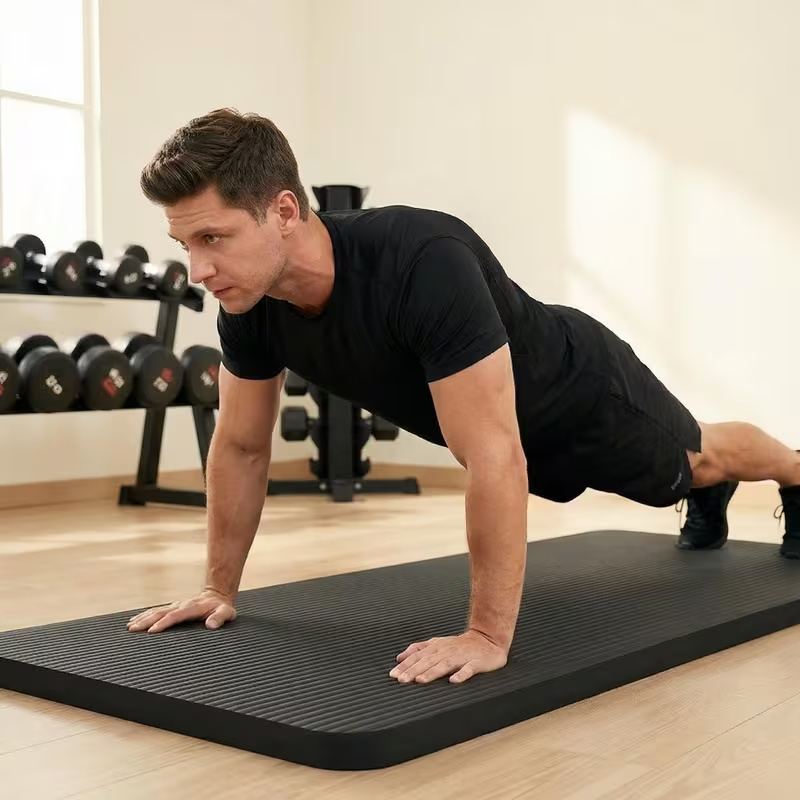
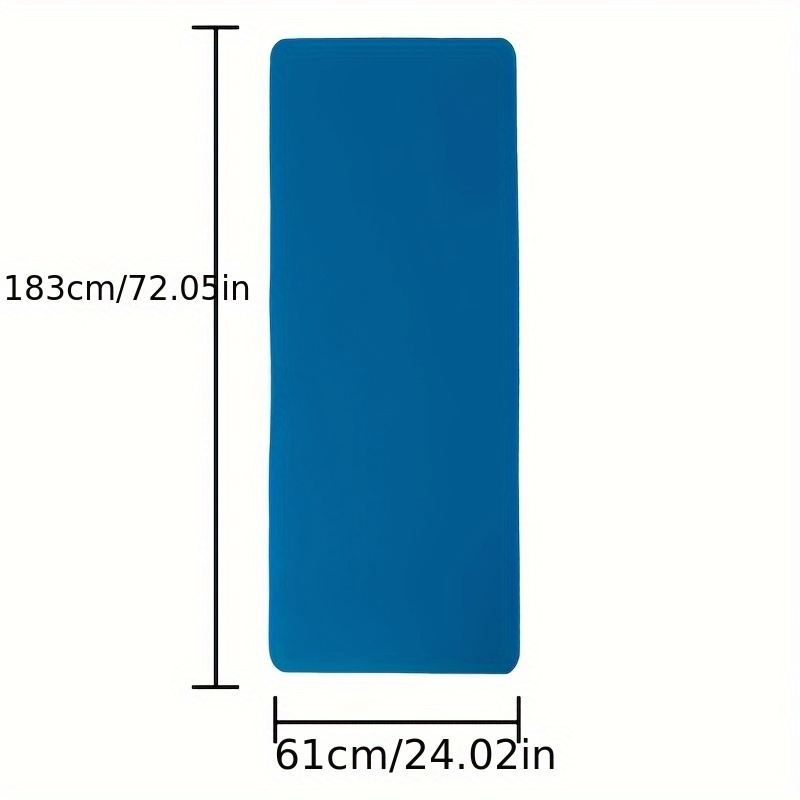
- Use a stable, grippy surface. A non-slip 8mm yoga mat on a hard floor is ideal. Go barefoot so your feet get full feedback.
- Warm up first. Spend 2–3 minutes on ankle circles, calf raises, and gentle marching in place.
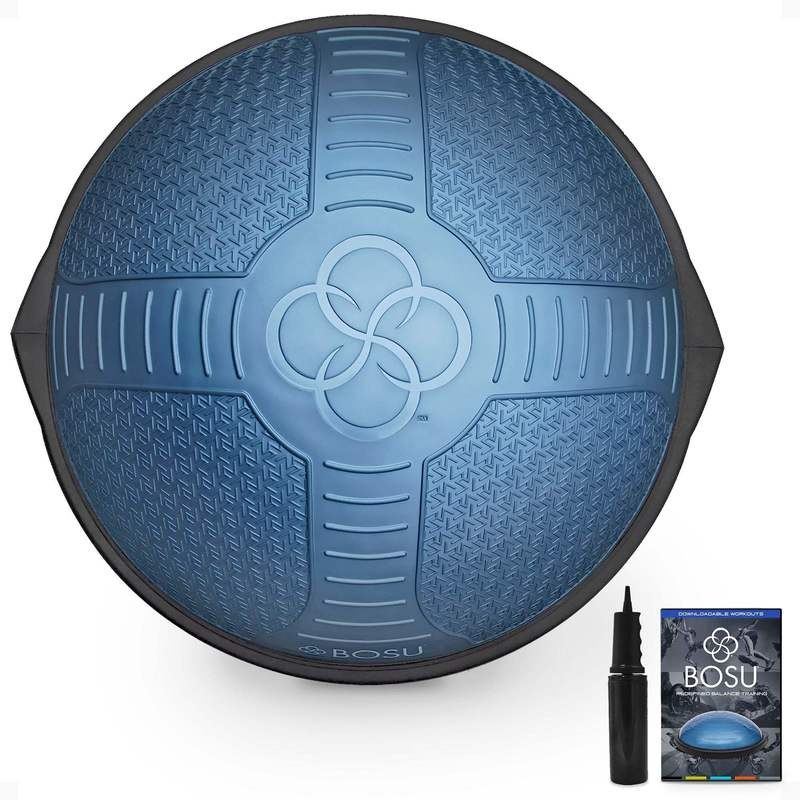
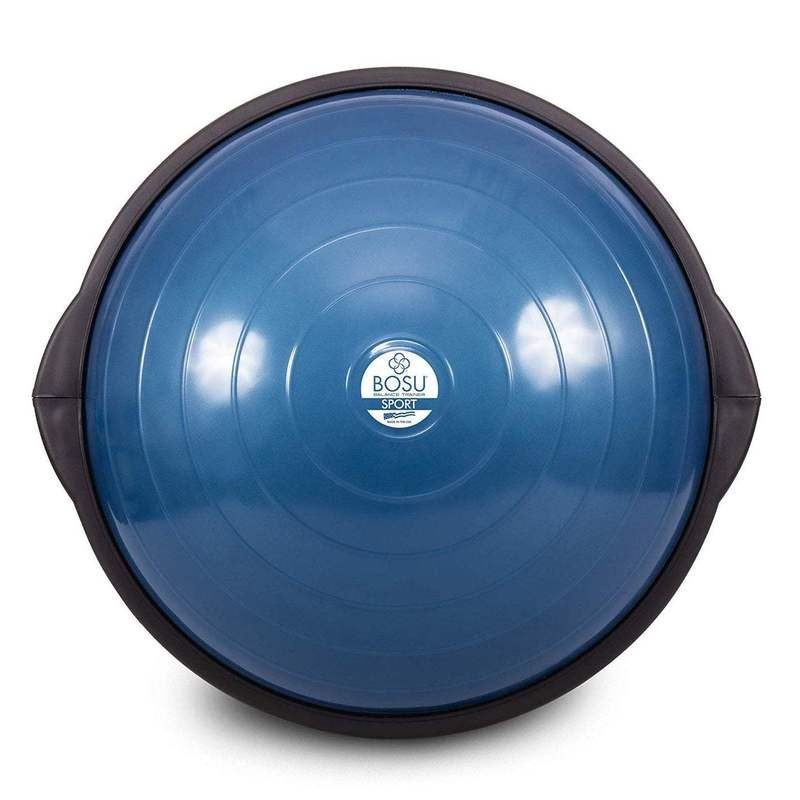
- Add challenge tools later. Once floor balance feels solid, a home balance trainer or the travel-size 50cm balance ball trainer adds instability for intermediate progression.
The 8 Poses, Easiest to Hardest
Hold each pose for the ranges given. Practice 3–4 poses per session, 2–3 times per week, and work down the list as earlier poses become comfortable.
General Form Rules for Every Pose
- Purpose: strengthen stabilizers, train proprioception, build focus.
- Breathing: slow, steady breathing through the nose. Never hold your breath — breath-holding is the fastest way to wobble.
- Gaze (drishti): fix your eyes on one still point at eye level or on the floor. Moving eyes = moving body.
- Sets/reps ranges: 2–3 holds of 20–60 seconds per side for each pose.
- Beginner modifications: always start with a fingertip on a wall or chair back. Lighten the pose (bend the standing knee, keep the lifted foot low).
- Common mistakes: gripping with the toes (spread them instead), locking the standing knee (keep a soft bend), holding the breath, looking around the room.
- Safety: clear the area of sharp edges and clutter. Stop and use support if you feel dizzy. If you have an inner-ear condition, recent ankle injury, or severe osteoporosis, check with your provider before single-leg work.
1. Mountain Pose with Heel Lifts (Tadasana Variation)
Starting position: Stand tall, feet hip-width apart, arms relaxed. Technique: Press evenly through all four corners of each foot. Slowly lift both heels, balancing on the balls of your feet, hold for a few seconds, and lower with control. Why it matters: Builds calf and ankle strength — the foundation of every other balance pose. Beginner modification: Keep fingertips on the wall. Lift heels only an inch at first.
2. Tree Pose (Vrksasana)
Starting position: Stand tall, weight even on both feet. Technique: Shift your weight onto the left foot. Turn the right knee out and place the sole of the right foot against the left inner ankle, calf, or thigh — never against the knee joint. Press the foot into the leg and the leg into the foot. Bring your hands to your heart or overhead. Breathing: Long exhales help settle the sway. Beginner modification: Keep the lifted foot at the ankle, toes resting on the floor like a kickstand. Fingertip on the wall. Common mistakes: Pressing the foot into the knee joint; hiking the hip of the standing leg.
3. Warrior III Preparation (Hands on Chair)
Starting position: Stand behind a sturdy chair, hands resting lightly on its back. Technique: Shift weight to the left foot. Hinge forward at the hips, extending the right leg straight behind you, until your torso and back leg form a long line. Keep the standing knee soft and the hips level. Beginner modification: Keep the hands firmly on the chair and the back leg low — a small lift still trains balance. Common mistakes: Drooping the lifted leg or twisting the hips open.
4. Standing Big Toe Hold (Utthita Hasta Padangusthasana, Supported)
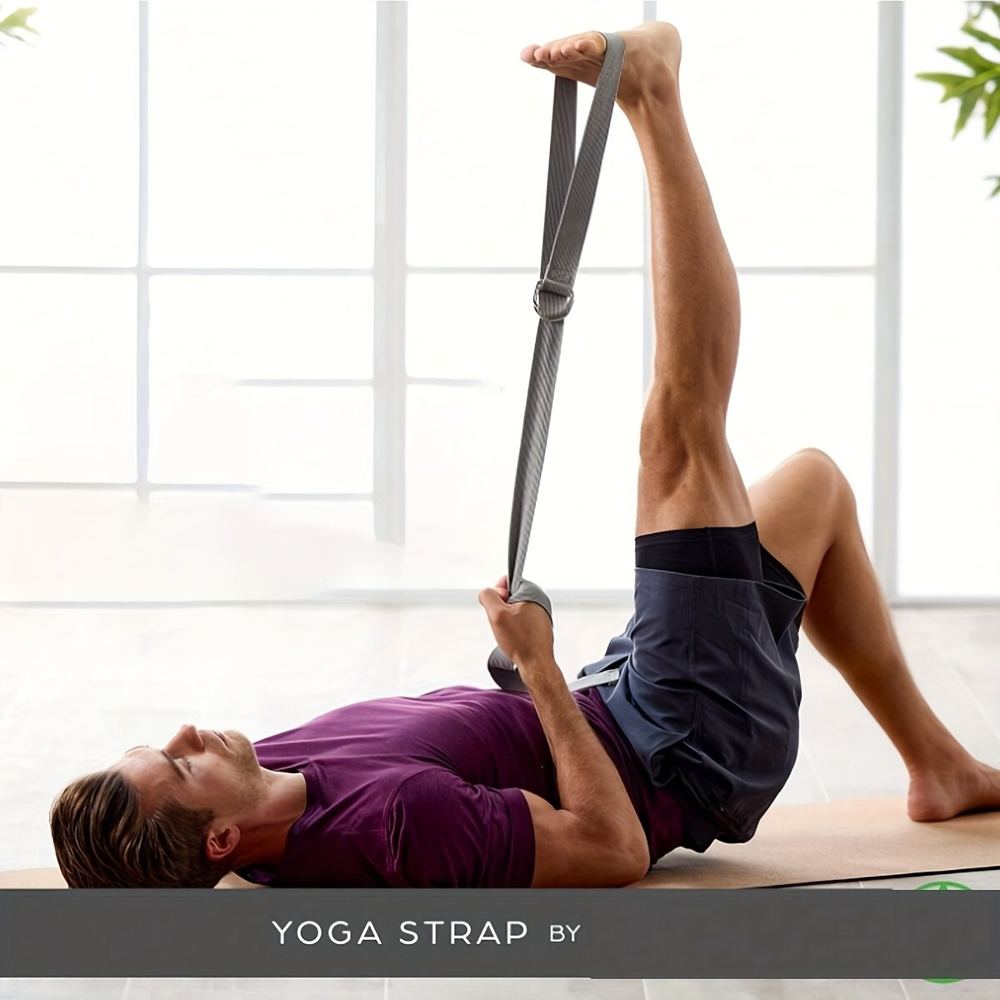
Starting position: Stand near a wall, weight on the left foot. Technique: Lift the right knee to hip height. Hold the right big toe with the right hand (or loop a strap around the foot), then slowly extend the leg forward. Keep the standing leg strong and the torso tall. Beginner modification: Keep the knee bent rather than extending the leg. Use a wall for the free hand. Common mistakes: Rounding the back to reach the leg. Leaning away from the lifted leg.
5. Eagle Arms and Legs (Garudasana)
Starting position: Stand tall, slight bend in the knees. Technique: Cross the right thigh over the left; if comfortable, hook the right foot behind the left calf. Cross the arms at the elbows and press the palms together (or backs of hands). Sit the hips back slightly and hold. Beginner modification: Skip the foot hook — just cross the thighs. Keep the arms in a simple hug instead of the full wrap. Common mistakes: Holding the breath — the wrap restricts breathing, so breathe deliberately into the back ribs.
6. Dancer's Pose (Natarajasana, Supported)
Starting position: Stand near a wall, weight on the left foot. Technique: Bend the right knee and hold the right foot or ankle with the right hand. Press the foot into the hand and lift it behind you as the torso tips gently forward — the foot and chest move in opposite directions like a bow. Extend the left arm forward for counterbalance. Beginner modification: Keep the torso upright and just lift the foot behind you without tipping forward. Wall support for the free hand. Common mistakes: Cranking the shoulder to grab the foot; arching the lower back instead of lifting the leg. Safety: Skip this if you have shoulder impingement that flares in the arm-back position.
7. Half Moon Pose (Ardha Chandrasana, with Block or Wall)
Starting position: Stand near a wall, weight on the left foot, right hand toward the floor or a block. Technique: Hinge forward and lift the right leg to hip height behind you, opening the chest to the right. Stack the right hip over the left. Your body forms a "T" with one hand reaching down and the other reaching up. Beginner modification: Do it with your back against the wall — the wall catches your hips, back, and heel. Common mistakes: Collapsing into the standing hip. Letting the lifted leg droop. Looking down instead of up or sideways.
8. Standing Splits Preparation
Starting position: Stand tall, weight on the left foot. Technique: Fold forward, hands to the floor or blocks, and slowly lift the right leg high behind you while the torso hangs. The standing leg stays straight but not locked; the lifted leg reaches up and back. Beginner modification: Keep the hands on blocks and the lifted leg at hip height. This is an advanced pose — arriving here after months of the earlier poses is normal and fine. Common mistakes: Forcing height in the lifted leg while the standing hip collapses. Holding the breath.
How to Structure a Balance Session
| Phase | Time | What to do | | --- | --- | --- | | Warm-up | 3 min | Ankle circles, calf raises × 10–15, marching in place | | Practice | 12–15 min | 3–4 poses, 2–3 holds of 20–60 sec per side, rest 30 sec between | | Cool-down | 3 min | Standing forward fold, gentle calf stretch, shake out the legs |
Train balance 2–3 times per week. Short, frequent sessions beat occasional long ones.
Progressing Your Balance
- Reduce support gradually. Fingertip on the wall → hand hovering near the wall → no wall. Each step is real progress.
- Close your eyes — carefully. Once a pose is solid with eyes open, try brief eyes-closed holds with a wall within reach. This trains proprioception intensely.
- Add instability. Step onto the flat side of a balance trainer for poses 1–3 only, with support nearby. The dome side comes much later, if ever — and "later" is fine.
- Lengthen the holds. Work from 20 seconds toward 60 before attempting the next harder pose.
- Strengthen the base. Calf raises, single-leg deadlifts, and glute work make every balance pose easier. Pair this practice with a beginner home workout plan or our exercises for women over 50 guide for the strength side.
Common Mistakes
- Skipping support out of pride. The wall does not make the pose less effective — it makes more practice possible.
- Practicing only your good side. Imbalances between sides are normal, but always train both.
- Rushing through poses. Balance improves from sustained holds with good focus, not from collecting poses.
- Training on a tired body. Balance is worse when fatigued. Practice fresh, not at the end of an exhausting workout.
FAQ
Q: I'm in my 60s and have never done yoga. Is balance yoga safe for me?
Generally yes, with support. Start with poses 1–3 using a wall or sturdy chair, and clear the space around you. If you have osteoporosis, vertigo, an inner-ear condition, or a recent injury, talk to your provider first — they can tell you which movements to favor and which to skip.
Q: How long until my balance improves?
Many people notice steadier single-leg stands within 3–6 weeks of practicing 2–3 times weekly, but there is no fixed timeline — age, baseline fitness, medications, and consistency all play a role. Think of balance like a language: regular short practice compounds.
Q: Should I practice balance every day?
Short daily practice is fine for balance — it does not tax the muscles the way strength training does. Even 5 minutes of tree pose and heel lifts most days adds up. Just keep sessions gentle and supported.
Q: Why do I wobble more on one side?
Almost everyone has a steadier side. It usually reflects small strength or mobility differences between the legs. Give the weaker side a little extra attention — an extra set, not an extra struggle — and the gap typically narrows.
The Bottom Line
Balance is trainable at any age, and yoga is one of the most pleasant ways to train it. Start with heel lifts and tree pose near a wall, practice a few times a week, and progress down the list as each pose steadies. There is no rush and no grade — just the quiet satisfaction of standing taller, steadier, and more sure-footed than last month.