"Yoga for flexibility beginners: the best poses for tight hamstrings, hips, shoulders, and back, with safe technique, breathing cues, and realistic expectations."
Yoga for Flexibility: Poses That Loosen Tight Muscles
"I can't do yoga, I'm not flexible" is the most common — and most backwards — reason people avoid yoga. Flexibility is not the entry ticket; it is the destination. Yoga is simply one of the most time-tested ways to get there: sustained, breath-linked stretches that gradually lengthen tight muscles and teach your nervous system that deeper ranges of motion are safe.
This guide covers the poses that deliver the most flexibility benefit for beginners, organized by the areas where most women feel tightest: hamstrings, hips, shoulders and chest, and the back. For each pose you get the setup, technique, breathing cues, hold times, and beginner modifications.
A quick honesty note: flexibility improves slowly, over weeks and months of consistent practice — and it varies enormously between individuals. No pose, program, or product can guarantee a specific result or timeline. What yoga reliably offers is gradual, genuine improvement in how freely your body moves.
This guide contains affiliate links. If you buy through them, VÉLORA may earn a commission at no extra cost to you.
The Ground Rules of Flexibility Work
Before the poses, five principles that make everything else work:
- Warm up first. Cold muscles resist stretching. Move gently for 2–3 minutes before the deeper poses.
- Hold, don't bounce. Sustained holds of 30–60 seconds let muscles relax into the stretch.
- Breathe into the tension. Slow exhales signal the nervous system to release. If you are holding your breath, you are pushing too hard.
- Mild tension, never sharp pain. The stretch should feel like a pleasant pull — a 4 or 5 out of 10. Sharp or joint pain means back off immediately.
- Both sides, every time. Whatever you do on the right, do on the left.
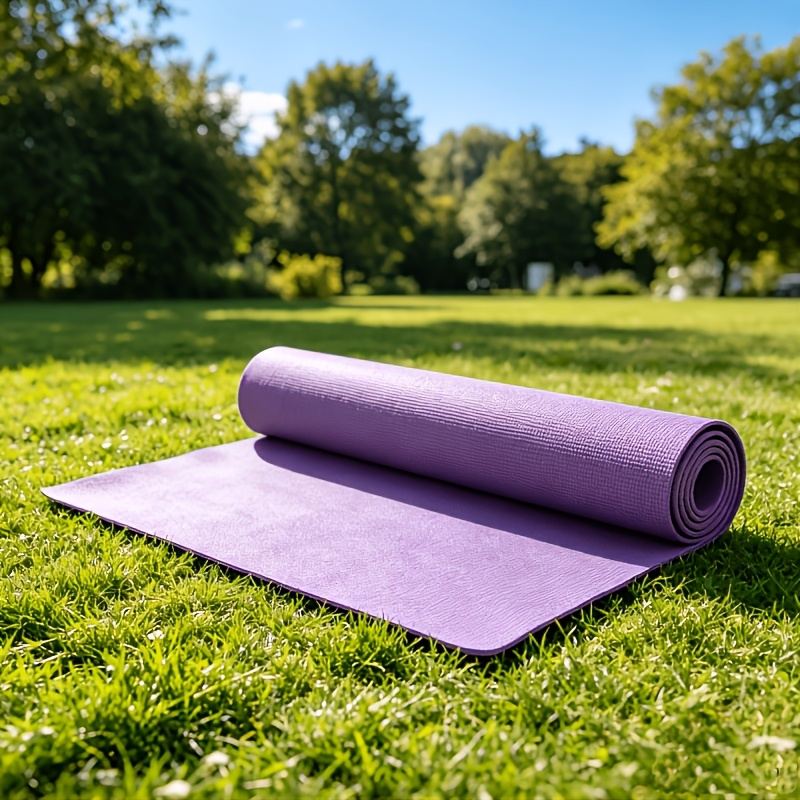
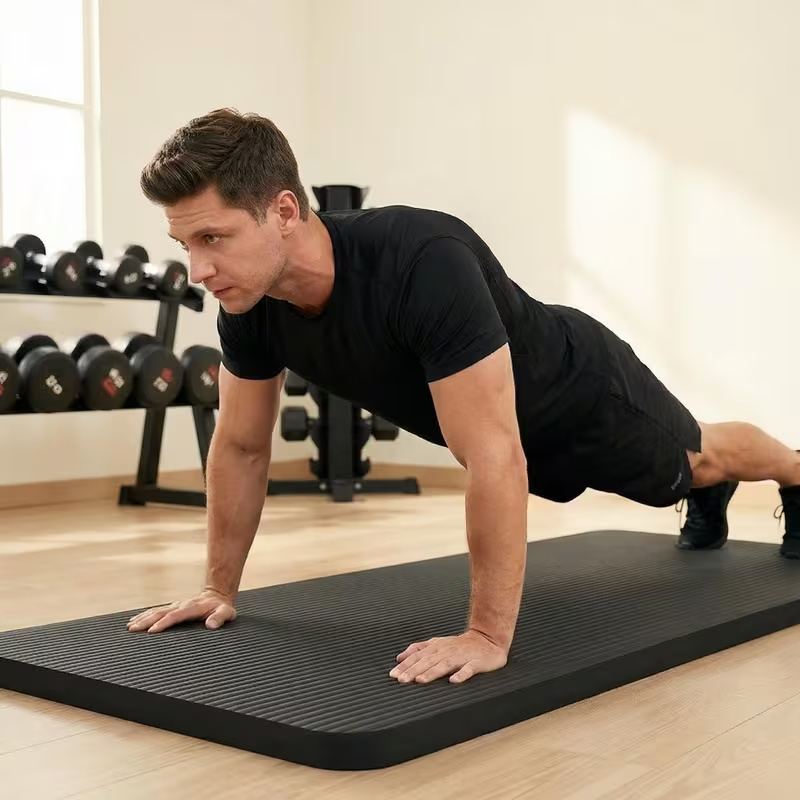
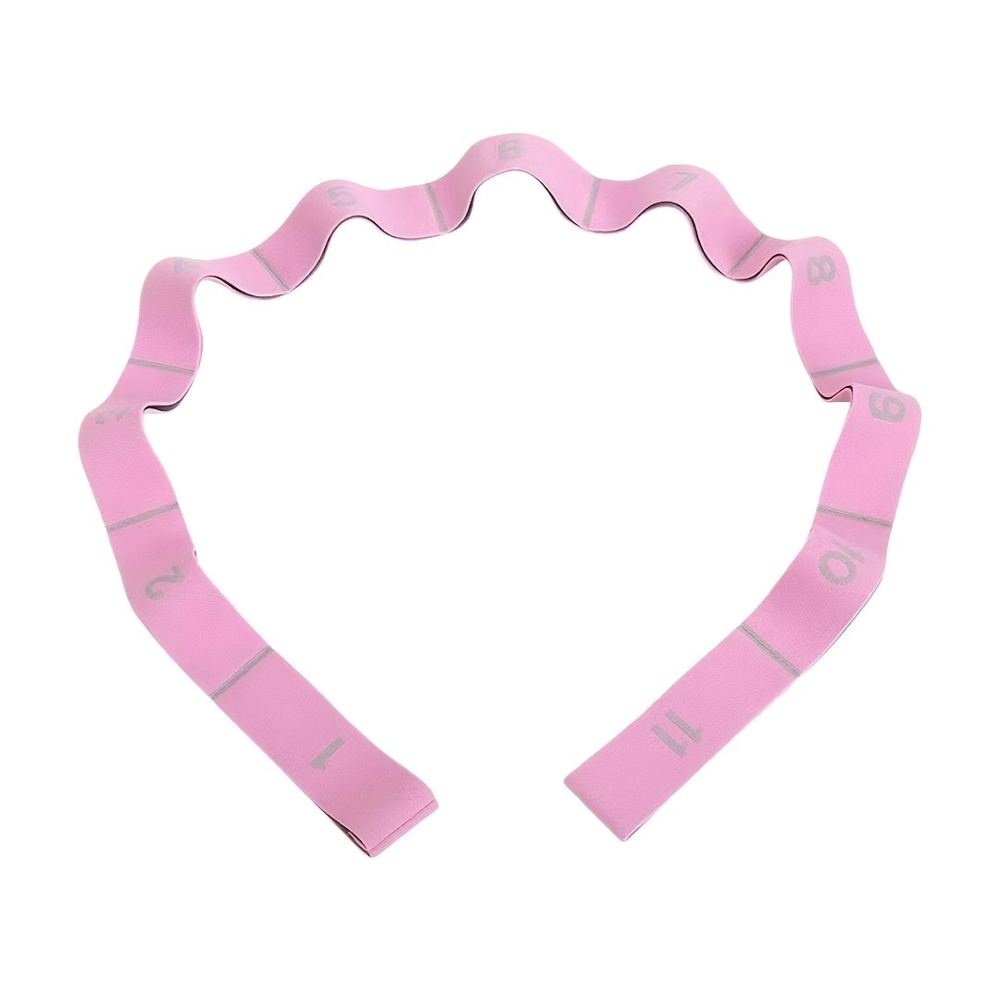
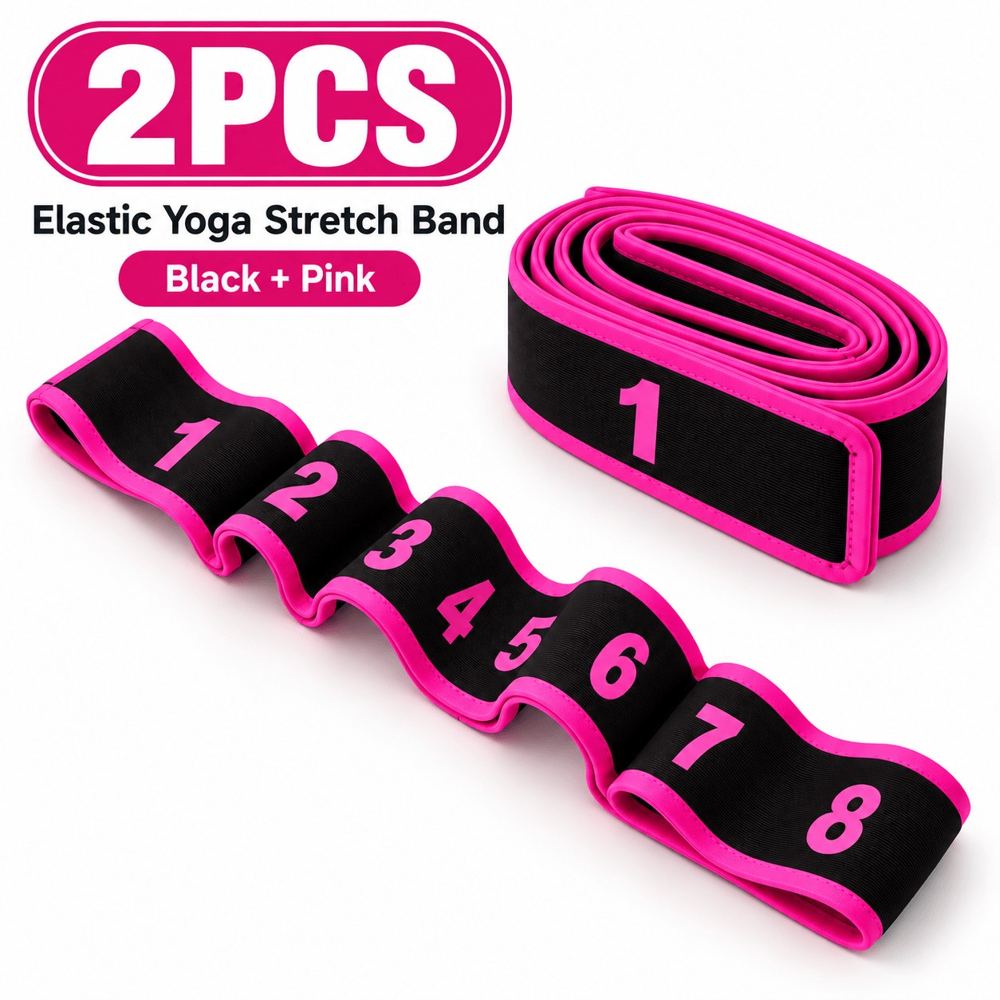
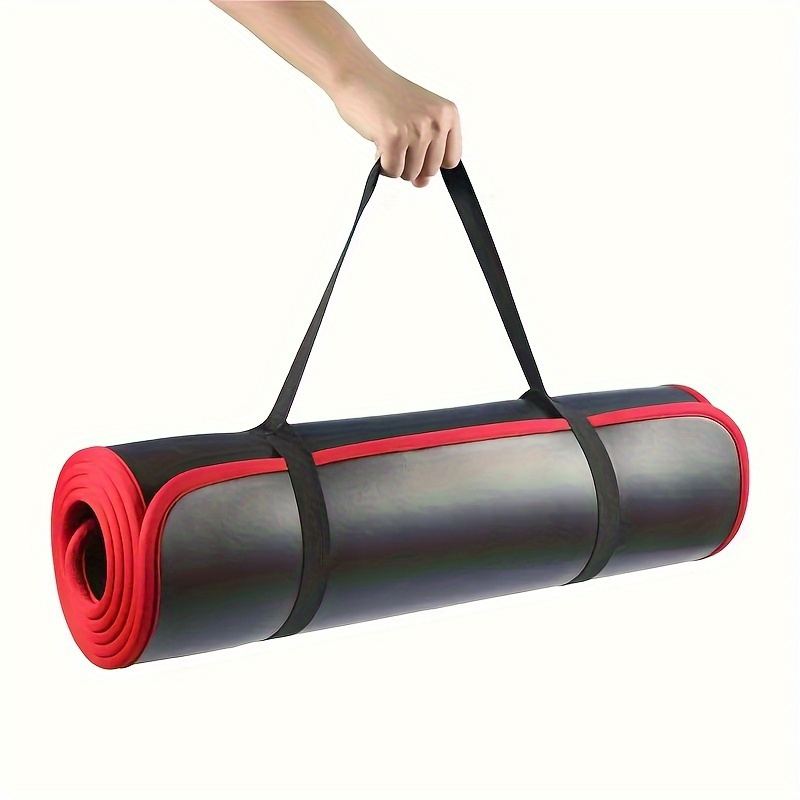
Helpful props: a strap is the single best flexibility aid for beginners — it extends your reach without compromising form. The 8-loop yoga stretching straps give you multiple hand positions for any flexibility level, and the 8mm non-slip yoga mat protects knees and sit bones during floor poses.
Hamstrings: The Backs of the Thighs
Tight hamstrings are the number-one complaint among beginners, and they affect everything from touching your toes to how your lower back feels when you sit.
1. Standing Forward Fold (Uttanasana)
Starting position: Stand with feet hip-width apart. Technique: Hinge at the hips — push your hips back as your torso folds forward — and let your head hang heavy. Bend your knees as much as you need. Rest your hands on your shins, the floor, or a strap looped under your feet. Breathing: Inhale to lengthen the spine slightly, exhale to fold a fraction deeper. Hold 45–60 seconds. Beginner modification: keep knees deeply bent and rest your torso on your thighs. Common mistake: rounding the lower back while forcing the knees straight, which loads the spine instead of stretching the hamstrings.
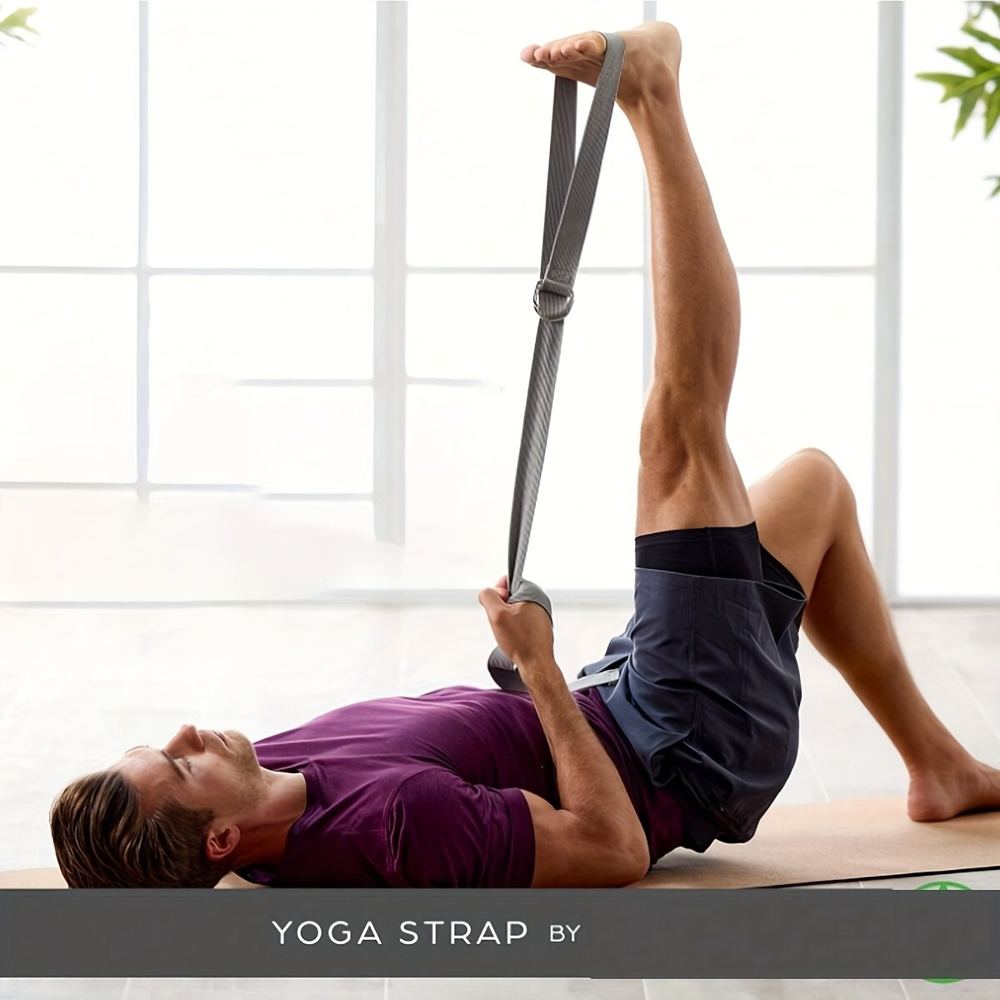
2. Reclined Hand-to-Big-Toe Pose (with strap)
Starting position: Lie on your back, one knee bent with the foot flat. Technique: Loop a strap around the ball of the other foot and extend that leg toward the ceiling, holding the strap with both hands. Keep the lower back resting on the floor. Gently draw the leg closer until you feel the hamstring stretch. Hold 45–60 seconds per leg. Why the strap matters: it lets you keep the leg straight and the back flat simultaneously, which most beginners cannot do unaided. Common mistake: pulling the leg with the arms while the lower back lifts off the floor — shorten the strap grip instead.
Hips: The Seated Body's Tightest Joint
Hours of sitting shorten the hip flexors (front of the hip) and tighten the outer hips and glutes. These three poses address all of it.
3. Low Lunge (Anjaneyasana)
Starting position: From a kneeling position, step the right foot forward, knee over ankle, and lower the left knee to the mat (pad it with a folded towel). Technique: Sink the hips forward and down, tucking the tailbone slightly, until you feel a stretch at the front of the left hip. Lift the arms overhead or rest hands on the front thigh. Hold 45–60 seconds per side. Breathing: exhale as you settle deeper into the hips. Beginner modification: keep hands on the front thigh rather than reaching overhead. Safety: if the back knee is uncomfortable even padded, place a folded blanket under it.
4. Pigeon Pose (Eka Pada Rajakapotasana) — Simplified
Starting position: From all fours, bring your right knee forward behind your right wrist and slide the right foot toward the left hand, then extend the left leg straight behind you. Technique: If your right hip doesn't reach the floor, slide a cushion or folded towel under it — this is not cheating, it is correct form. Stay upright or fold forward over the front leg. Hold 1–2 minutes per side; the outer hip releases slowly. Common mistakes: forcing the front shin parallel to the mat (let the foot rest wherever it lands comfortably); collapsing onto the hip without support. Safety: any pinching in the front of the hip or pain in the knee means come out and use the low lunge instead.
5. Figure-Four Stretch (Supine)
Starting position: Lie on your back, cross your right ankle over your left knee. Technique: Thread your hands behind the left thigh and gently draw it toward your chest until you feel the stretch deep in the right outer hip and glute. Hold 45–60 seconds per side. Purpose: the same outer-hip release as pigeon, in a back-friendly position with zero knee stress — the best option for anyone with knee sensitivity. Beginner modification: if you can't reach the thigh, loop a strap behind it.
Shoulders and Chest: Undoing the Hunch
Desk work, phone use, and carrying bags all round the shoulders forward. These poses open the chest and the fronts of the shoulders.
6. Doorway Chest Stretch (Yoga-Style)
Starting position: Stand in a doorway, forearms on the doorframe with elbows at shoulder height. Technique: Step one foot through the doorway and lean gently forward until you feel the stretch across the chest and front shoulders. Hold 30–45 seconds. Vary it: elbows higher targets the upper chest, elbows lower targets the mid-chest. Common mistake: shrugging the shoulders toward the ears; keep them drawn down and back.
7. Cow Face Arms (Gomukhasana Arms)
Starting position: Sit or stand tall. Technique: Reach your right arm overhead and bend the elbow so the hand drops between your shoulder blades; bring the left arm behind your back from below and try to clasp the fingers — or hold a strap between the hands if they don't meet. Hold 30–45 seconds per side, then switch which arm is on top. Purpose: stretches the triceps, rotator cuff, and chest simultaneously. Beginner modification: the strap is the modification — the stretch works regardless of the gap.
Back: The Spine Loves Gentle Movement
8. Cat-Cow Flow
Starting position: Hands and knees, wrists under shoulders, knees under hips. Technique: Inhale — drop the belly, lift the chest and tailbone. Exhale — round the spine, tuck chin and tailbone. Move slowly, one full breath per position, for 8–10 cycles. Purpose: the single best spinal mobility exercise for beginners; it moves every segment of the spine through its comfortable range. Common mistake: rushing through it — slow down and feel each vertebra participate.
9. Child's Pose (Balasana)
Starting position: Kneel, knees wide, big toes touching. Technique: Fold forward, reaching your arms long in front of you, forehead resting on the mat (or a cushion). Let the whole back release. Stay 1–2 minutes, breathing into the back of the ribcage. Purpose: a gentle stretch for the entire back body plus a resting pose you can return to any time. Beginner modification: stack fists or a cushion under the forehead if it doesn't reach the floor.
10. Sphinx Pose
Starting position: Lie face-down, forearms on the floor, elbows under shoulders. Technique: Press gently through the forearms to lift the chest, keeping the shoulders drawn back. Hold 45–60 seconds, breathing easily. Purpose: a gentle backbend that counteracts hours of forward folding. Safety: this should feel like a mild, pleasant arch — if it pinches in the lower back, lower down or slide the elbows slightly forward.
Flexibility Poses at a Glance
| Area | Poses | Hold Time | Key Prop | | --- | --- | --- | --- | | Hamstrings | Forward fold, reclined leg stretch | 45–60 sec | Strap | | Hips | Low lunge, pigeon, figure-four | 45 sec–2 min | Cushion/towel | | Shoulders & chest | Doorway stretch, cow-face arms | 30–45 sec | Strap, doorway | | Back | Cat-cow, child's pose, sphinx | 45 sec–2 min | Cushion |
How Often and How Long Until I Notice a Difference?
For flexibility specifically, short and frequent beats long and occasional: 15–20 minutes, 3–4 times per week, covering all four areas each session, is a realistic range that produces noticeable change over 6–12 weeks for most people. Individual variation is huge, though — age, genetics, and how tight you start all matter, and there is no fixed timeline. Track progress functionally: can you reach a little further, sit a little taller, move a little more freely? Those are the real milestones.
After your session: tight muscles often appreciate gentle recovery work. A portable fascia massage gun on a low setting over the hamstrings and glutes after stretching can ease next-day soreness — keep it on muscle, never on joints or the spine.
Common Mistakes
- Stretching cold. The deepest poses done without any warm-up invite strain. Move gently for a few minutes first.
- Chasing the deepest version. Your edge — where you feel a 4-out-of-10 pull — is the productive place, wherever it is.
- Forgetting to breathe. Held breath equals braced muscles equals no release. If you catch yourself holding it, ease off until the breath flows.
- Expecting linear progress. Flexibility fluctuates day to day with sleep, stress, and activity. A "tight day" is normal, not failure.
Safety Notes
Yoga flexibility work is safe for most people when the pain-free rule is respected: stretch sensation yes, sharp or joint pain no. Be cautious with hamstring stretches if you have sciatica — keep knees slightly bent and avoid aggressive forward folding. Anyone with osteoporosis should avoid deep spinal flexion (rounded forward folds); favor the extension poses like sphinx instead, and check with a doctor first. Pregnant practitioners should avoid deep twists, prone (face-down) poses, and overstretching — relaxin loosens joints, so stretch to 70% of your max — and our pregnancy exercise safety guide has the full picture. Stop any pose that causes numbness, tingling, or pain that lingers after you release.
FAQ
Q: How long should I hold each stretch for flexibility?
For lasting flexibility gains, 30–60 seconds per stretch is the standard range — long enough for the muscle to relax and release. Two to four rounds per muscle group per session is plenty. Longer holds (up to 2 minutes) suit the hips, which release slowly.
Q: Should stretching hurt?
No. A pulling sensation in the muscle belly is normal and expected. Sharp pain, pinching in a joint, numbness, or tingling are not: stop and adjust. Aggressive stretching causes the muscle to guard and tighten — the opposite of what you want.
Q: Can I become flexible if I'm over 40 / have never been flexible?
Yes. Adults of any age can improve flexibility with consistent practice — change may simply come more gradually than it does for a teenager. Many women start yoga in their 40s, 50s, and beyond and make remarkable progress. Our exercises for women over 50 guide addresses age-specific considerations.
Q: Do I need to be warmed up before these poses?
A brief warm-up genuinely helps — 2–3 minutes of gentle movement raises tissue temperature and makes every stretch that follows more effective and safer. Never skip it before the deeper hip and hamstring poses.
The Bottom Line
Flexibility is built pose by pose, breath by breath: forward folds and strap-assisted leg stretches for the hamstrings; lunges, pigeon, and figure-four for the hips; doorway stretches and cow-face arms for the shoulders; cat-cow, child's pose, and sphinx for the back. Hold each 30–60 seconds, stay pain-free, and practice 3–4 times a week. You don't need to start flexible — you just need to start.