Yin yoga for beginners explained simply: what it is, how it differs from other yoga, seven gentle long-held poses with cues, and how to build a relaxing practice.
Yin Yoga for Beginners: Slow Poses for Deep Relaxation
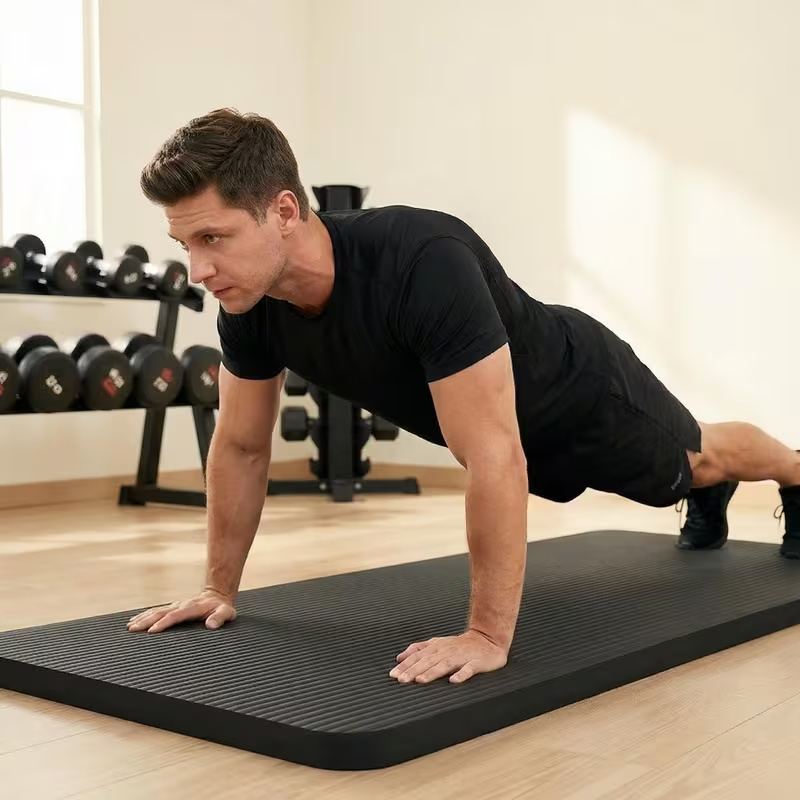
Most yoga classes move. Yin yoga waits. In a yin practice you settle into a handful of simple floor-based poses, relax your muscles, and stay there for two to five minutes at a time. No flow, no standing balance sequence — just you, a mat, and time.
For beginners, that simplicity is the whole appeal. Yin is low-impact, beginner-friendly, and genuinely relaxing in a way faster styles are not always. This guide explains what yin yoga is and gives you a complete seven-pose sequence you can do tonight.
A note of honesty first: yin will not "detox" you, and no practice can promise specific outcomes on a fixed timeline. What it reliably offers is a structured way to slow down and stretch gently. Flexibility and relaxation improve gradually with regular practice — results vary from person to person.
This guide contains affiliate links. If you buy through them, VÉLORA may earn a commission at no extra cost to you.
What Is Yin Yoga?
Yin yoga is a slow, meditative style of yoga built around passive, floor-based poses held for long periods — typically 2–5 minutes each, sometimes longer for experienced practitioners. The word "yin" comes from the yin-yang concept: yin is the receptive, cooling, inward quality, in contrast to the active, heating "yang" energy of faster flows like vinyasa or power yoga.
Unlike yang styles, yin targets the body with relaxed muscles rather than engaged ones. You fold into a pose, find the first point of gentle resistance, and then stop trying. Props — folded blankets, cushions, or a strap — support you so you can hold a long, mild stretch without muscular effort. Compared with faster styles like vinyasa (flowing, active, brief holds) or restorative yoga (fully supported rest with no stretch at all), yin sits in the middle: slow, sensation-rich, and deeply calming.
What You Need
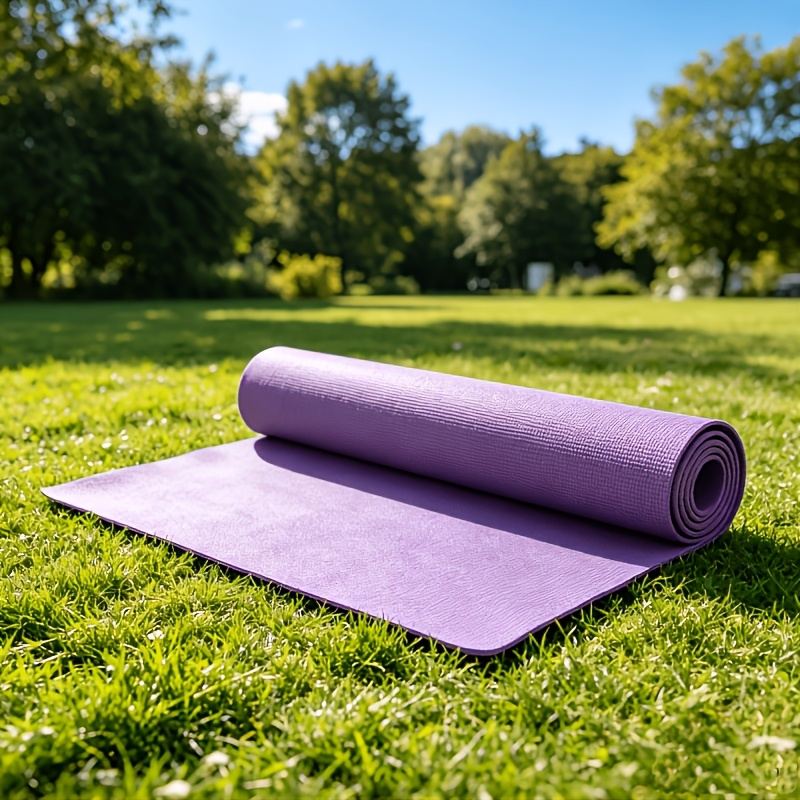
Very little — which is part of the charm. You will want:
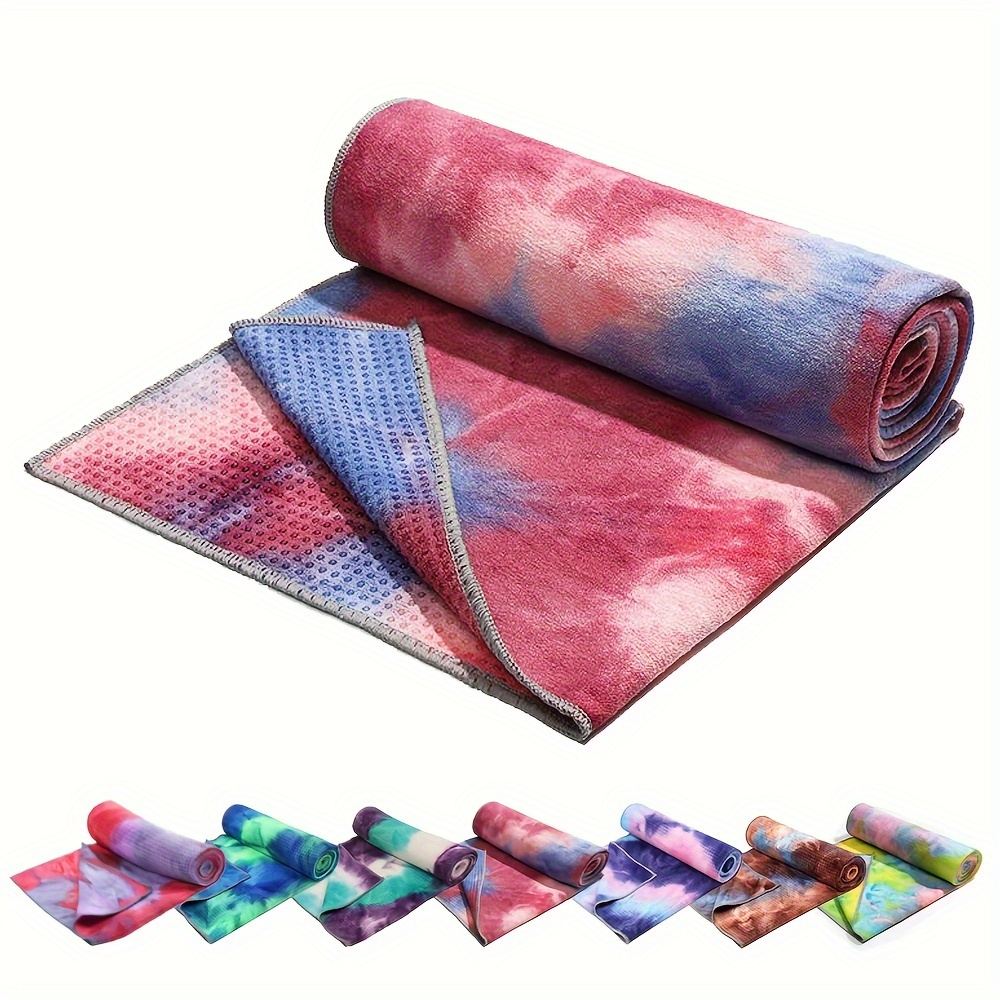
The 7-Pose Beginner Yin Sequence
This sequence takes about 30 minutes. Hold each pose 2–5 minutes per side (2 minutes is perfectly fine for your first sessions).
How to Practice Each Pose
For every pose below:
- Purpose — what the pose offers.
- Starting position — how to set up.
- Technique — how to settle in.
- Breathing — slow, natural breathing; never force the breath. Aim for a comfortable rhythm where the exhale is slightly longer than the inhale.
- Sets/duration range — one hold per side of 2–5 minutes.
- Beginner modifications — props and adjustments.
- Common mistakes — what to watch for.
- Safety — when to ease off.
1. Supported Child's Pose
Purpose: Gentle relaxation of the back, hips, and shoulders; a calming starting pose. Starting position: Kneel on your mat, knees wide, big toes touching, and place a folded blanket or bolster lengthwise in front of you. Technique: Fold forward and drape your torso over the blanket. Turn your head to one side. Let your arms rest wherever they fall naturally. Close your eyes and let your body weight do the work. Beginner modification: Place a folded blanket between your calves and thighs if your knees feel compressed. Common mistakes: Forcing the forehead to the floor — the blanket should meet you, not the other way round. Holding tension in the shoulders. Safety: If you have a knee injury or recent knee surgery, skip this or keep the knees very close together. Stop if you feel pinching in the knees.
2. Butterfly (Baddha Konasana)
Purpose: Gentle opening of the inner thighs and hips. Starting position: Sit tall, soles of the feet together, knees falling open to the sides. Technique: Slide your feet a comfortable distance from your body — farther away means less intensity. Fold forward gently from the hips, resting your head on stacked fists or a cushion. Relax the thigh muscles completely. Beginner modification: Sit on a folded blanket to lift the hips. Place cushions under the knees if they float high. Common mistakes: Pushing the knees down toward the floor. Bouncing. Safety: Ease out if you feel sharp sensation in the inner knees or groin. Mild stretch is fine; pain is not.
3. Sphinx
Purpose: Gentle compression and extension of the lower back. Starting position: Lie face down, legs extended behind you, elbows under your shoulders. Technique: Rest your forearms on the mat and let your belly soften. Keep the buttocks relaxed — this is not a backbend you "do," it is one you rest in. Gaze slightly forward and down. Beginner modification: Move the elbows slightly forward of the shoulders to reduce the back extension. Common mistakes: Clenching the glutes or pushing up too high. Tensing the neck. Safety: If you have significant disc issues or acute back pain, approach this very gently or skip it. Mild compression is normal; sharp or radiating pain means come out immediately.
4. Reclined Twist
Purpose: Relaxation of the spine, obliques, and outer hips. Starting position: Lie on your back, knees bent, feet flat. Technique: Drop both knees to the right while keeping both shoulders on the mat. Extend your left arm out to the side and turn your head left if your neck is comfortable. Rest a cushion under the top knee if it floats. Breathe into the left side of the ribcage. Repeat on the other side. Beginner modification: Use more props — cushions under and between the knees make the twist almost effortless. Common mistakes: Forcing the shoulder to stay down at the cost of a strained neck. Safety: Keep the twist mild. Pregnant practitioners should avoid deep closed twists; check with your provider about any supine twisting.
5. Supported Fish
Purpose: Gentle opening of the chest and the front of the shoulders — a counterpose to desk posture. Starting position: Place a folded blanket horizontally across the mat where your shoulder blades will rest. Technique: Lie back so the blanket supports your upper back, head resting on the mat behind it. Extend your arms out to the sides, palms up, or rest them alongside your body. Let the chest open and the shoulders melt downward. Beginner modification: Use a lower blanket stack at first. Bend the knees with feet flat if the lower back feels pinched. Common mistakes: Craning the neck back — the head should rest comfortably, chin slightly tucked. Safety: If you feel tingling in the hands or arms, lower the prop height or bend the elbows slightly.
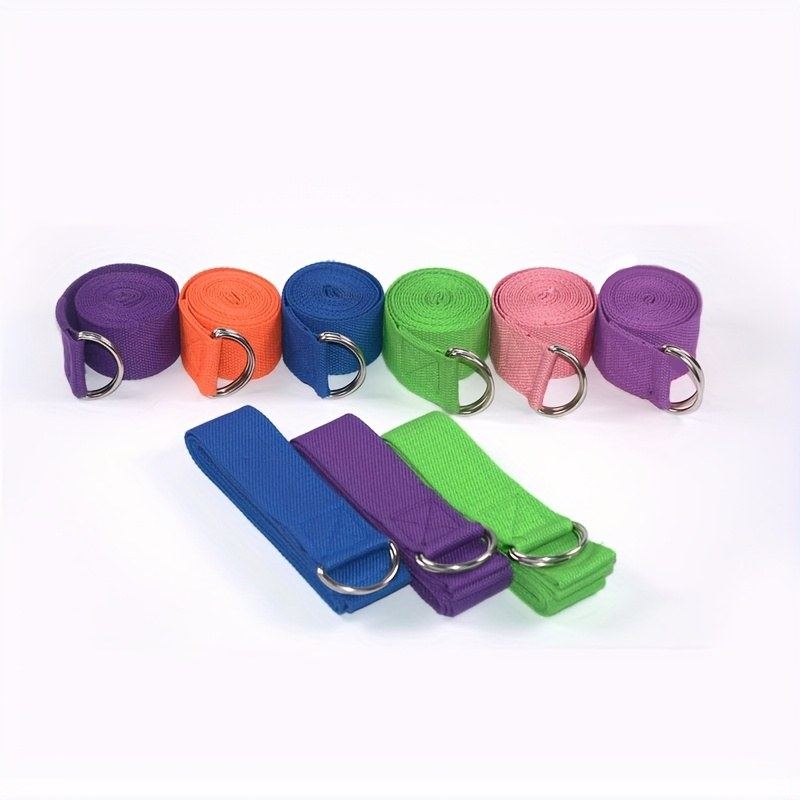
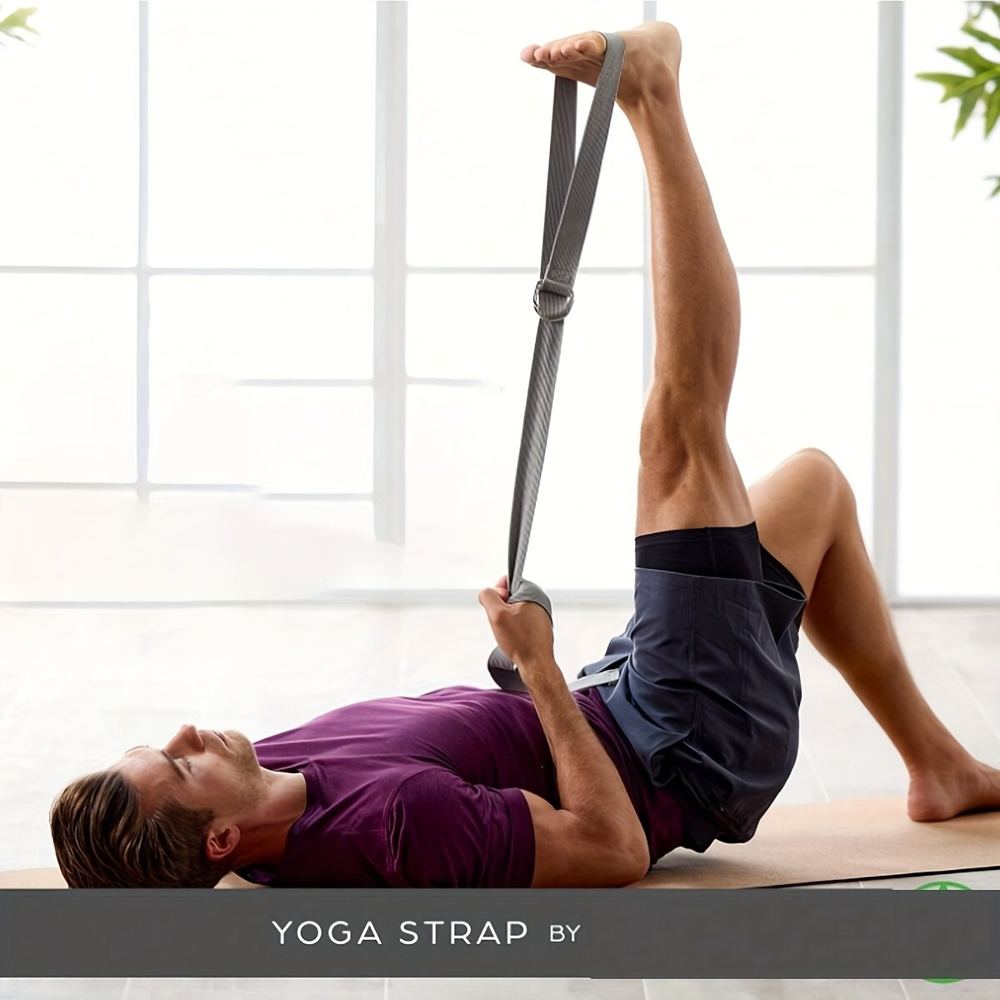
6. Seated Forward Fold (with Strap)
Purpose: A long, gentle stretch of the hamstrings, calves, and back. Starting position: Sit with legs extended in front of you. Loop a yoga strap around the balls of your feet, holding one end in each hand. Technique: Sit tall, then fold forward from the hips to the first point of gentle resistance. Let the strap take the load — do not pull yourself deeper with arm strength. Relax the neck and let the head hang. Beginner modification: Sit on a folded blanket. Bend the knees slightly if the hamstrings are very tight. Common mistakes: Rounding the back aggressively to "reach" the toes. Holding the breath. Comparing your fold to anyone else's. Safety: Keep a soft bend in the knees if you have a history of hamstring strain. Stop if you feel sharp pulling behind the knee.
7. Legs Up the Wall (Viparita Karani)
Purpose: A restful inversion that many find deeply calming at the end of a session. Starting position: Sit sideways next to a wall, then swing your legs up as you lie back. Technique: Rest your legs against the wall, arms by your sides, palms up. Close your eyes. Stay for 3–5 minutes, breathing slowly. To come out, bend the knees and roll to one side. Beginner modification: Place a folded blanket under the hips. Keep the legs slightly wider if the inner thighs cramp. Safety: If you have uncontrolled high blood pressure, glaucoma, or are pregnant, skip inversions or check with your provider first. Come out if you feel dizzy or head pressure.
A 20-Minute Beginner Yin Session
| Order | Pose | Hold per side | | --- | --- | --- | | 1 | Supported Child's Pose | 3 min | | 2 | Butterfly | 3 min | | 3 | Sphinx | 2–3 min | | 4 | Reclined Twist | 3 min each side | | 5 | Supported Fish | 3 min | | 6 | Seated Forward Fold (strap) | 3 min | | 7 | Legs Up the Wall | 3–5 min |
Total: roughly 25–30 minutes. Sit quietly for a minute afterward before getting up.
How to Progress
- Extend the holds. When 3 minutes feels comfortable, try 4, then 5. Longer holds are the core progression in yin.
- Practice more often, not harder. Two to three gentle sessions per week beats one marathon session. For scheduling ideas, see our low-impact workouts for women guide.
Expect the benefits to be subtle and cumulative — easier evenings, a calmer mind before bed, gradually less stiffness. They arrive over weeks of consistent practice, and they vary from person to person.
Common Mistakes
- Treating yin like a stretch competition. Going to your maximum range defeats the purpose. Yin works at about 50–70% of your deepest stretch — the "first point of resistance," not the last.
- Tensing the muscles in the pose. If you are bracing, you have gone too deep. Back off until you can genuinely relax.
- Skipping props. A cushion under the knee is the difference between a relaxing hold and an aching one.
- Holding your breath. Long holds with shallow breathing feel like endurance. Slow, easy breathing is the whole practice.
FAQ
Q: Is yin yoga good for complete beginners?
Yes — it is one of the most beginner-friendly styles. The poses are simple, everything is done seated or lying down, and there is no strength or coordination prerequisite. The main challenge is patience: staying still for several minutes can feel unfamiliar at first, and that is completely normal.
Q: How often should I do yin yoga?
Two to three sessions per week is a practical starting point, and a short sequence most evenings works well as a wind-down ritual. Because yin is gentle, it pairs nicely with more active training days as recovery.
Q: Do I need special props, or can I improvise?
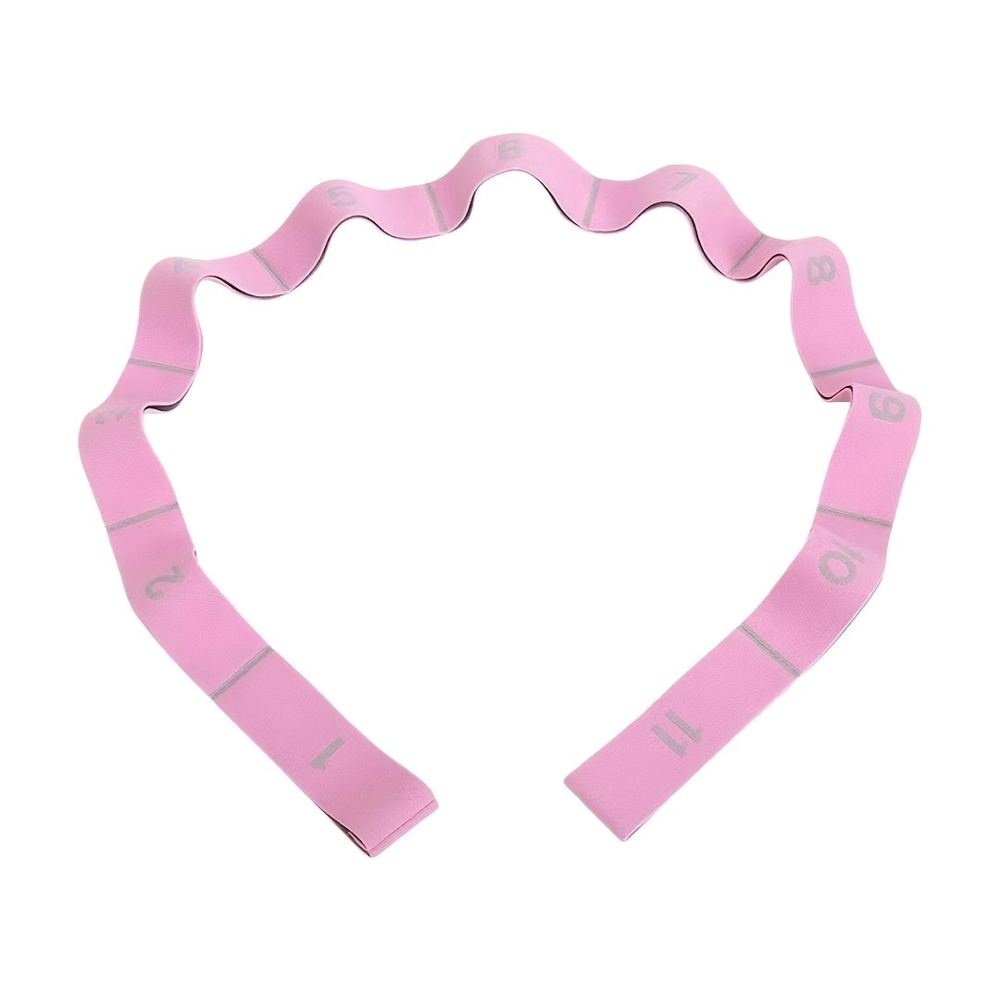
Improvise freely. Firm cushions, folded blankets, and a bathrobe belt or scarf instead of a strap all work. Dedicated props simply make the setup easier and more repeatable, which matters if you plan to practice regularly.
The Bottom Line
Yin yoga asks for very little — a mat, a few props, and half an hour — and gives back a rare thing: genuinely unhurried time with your body. Start with the seven poses above, hold them at half your maximum effort, breathe slowly, and let consistency do the quiet work. The deepest pose in yin is not the one you push into; it is the one you finally relax into.