One strap system, full-body strength. This suspension trainer workout guide covers safe setup, the essential moves with form cues, and a sample 30-minute session.
Suspension Trainer Guide: Full-Body Training at Home
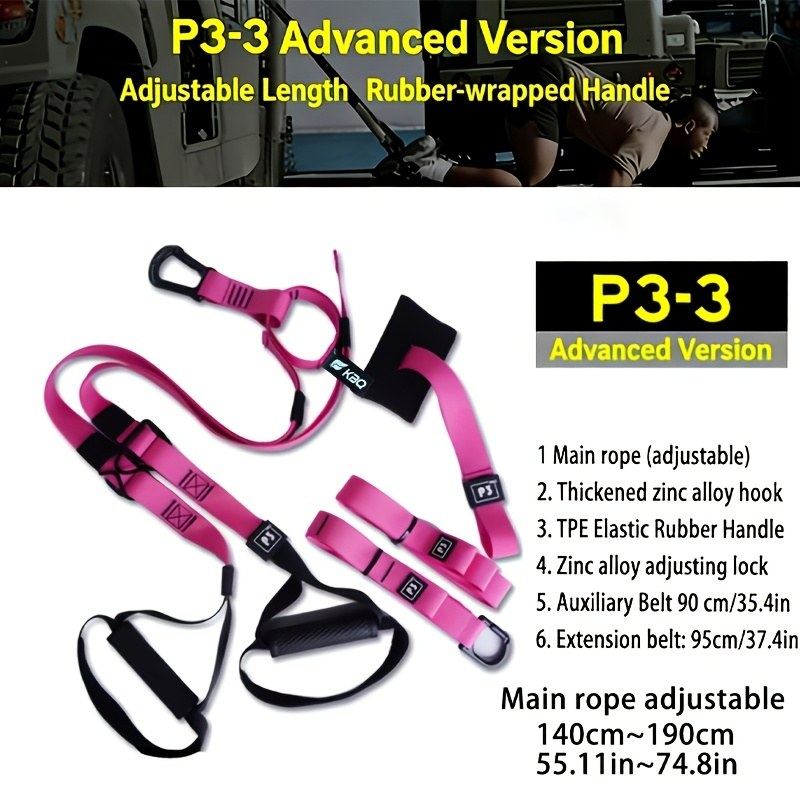
Two straps, two handles, and a door. That is genuinely all a suspension trainer needs to train your entire body — chest, back, legs, arms, and core — in a corner of your living room. Suspension trainers use your bodyweight as the resistance and your body angle as the weight selector: step closer to the anchor to make a move harder, step back to make it easier. It is the most elegant home-gym concept ever designed, and it has stayed popular for a reason.
This guide contains affiliate links. If you buy through them, VÉLORA may earn a commission at no extra cost to you.
How a Suspension Trainer Works
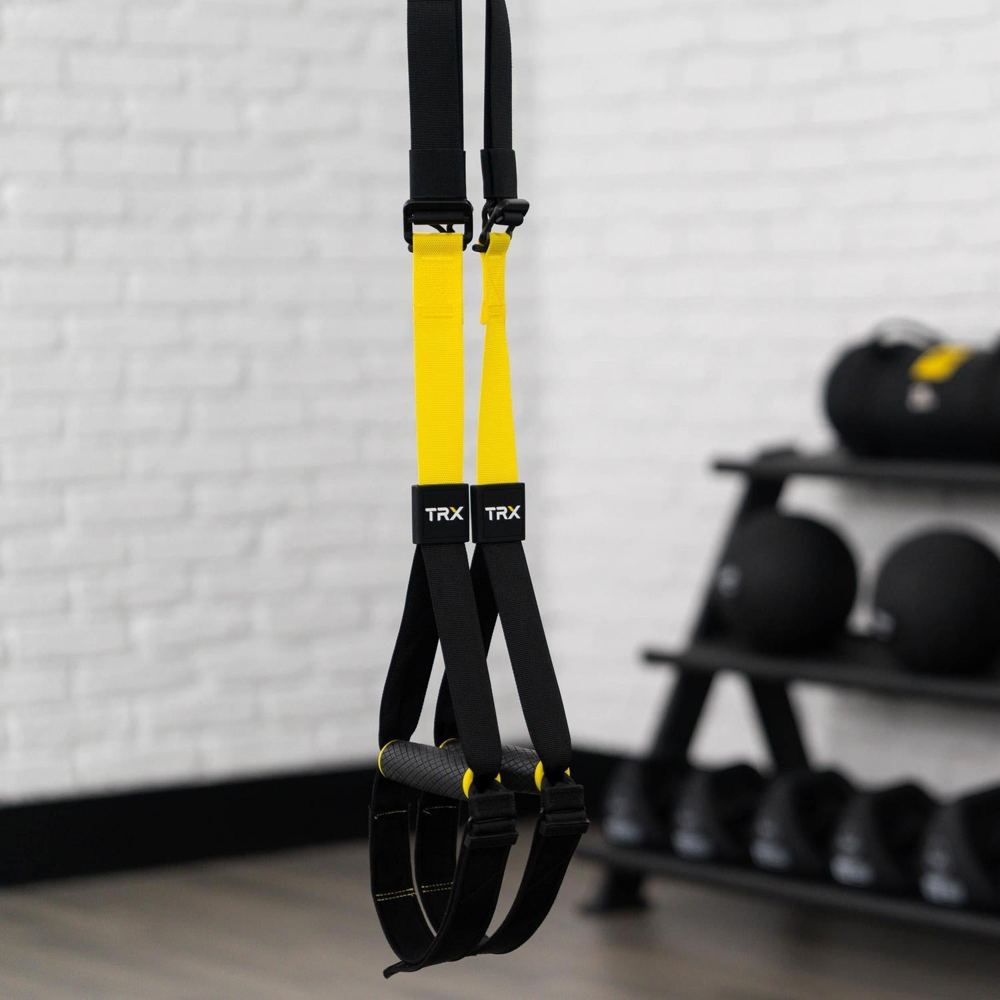
The system is simple: adjustable straps hang from a fixed anchor (a door, a beam, a sturdy tree branch), ending in two handles or foot cradles. You hold the handles or place your feet in the cradles and perform exercises while part of your body is suspended.
The genius is the angle-based resistance. Stand more upright and the move is easy; lean further away from the anchor and the same move becomes hard. You never change weights — you change your position. That means every exercise scales instantly, your core works in every move because you are stabilizing against straps that shift, and the load stays joint-friendly since you control it with body position.
The honest caveat: a suspension trainer is only as good as its anchor. A door that is not solid, or an anchor you have not tested, is the one real danger of this tool. We cover safe setup below — do not skip it.
Setting Up Safely
Choosing your anchor
The classic home anchor is a sturdy interior door, using the included door anchor — a fabric loop that sits on the opposite side of the door. Before your first workout:
- The door must be solid and close securely. Hollow-core doors can flex; if your door feels flimsy, do not use it. A solid-core door or a door that locks is ideal.
- Hang it on the hinge side, not the handle side. The door anchor sits on the opposite side of the door from you, with the strap coming over the top near the hinges — hinges bear load far better than latches.
- Close the door fully and, if possible, lock it. This prevents anyone from opening it mid-set.
- Test with bodyweight first. Before any exercise, lean back with your full weight and give a few firm pulls. The anchor should not budge, creak, or shift. Test again after adjusting strap length.
- Give yourself space. You need roughly 6–8 feet of clear floor in front of the door, with nothing breakable within arm's reach.
Adjust strap length with the buckle: mid-length (handles at waist height) for standing moves like rows and presses, shortened for overhead work, fully lengthened for foot-in-cradle exercises. The adjustable suspension trainer strap adjusts in seconds this way.
Outdoor options — a sturdy tree limb, a park pull-up bar, a solid beam — work beautifully too, as long as they easily hold several times your bodyweight. Always even the straps: hold both handles and let them hang — they should be level. Uneven straps twist your body through every rep.
The Essential Moves (Technique Guide)
Train 2–3 times per week, full body each session. For every move below: exhale on the effort phase, inhale on the return. Move slowly — two counts out, two counts back.
1. Suspension row (back and biceps)
Purpose: upper-back strength and posture — the antidote to desk shoulders. Setup: face the anchor, straps at mid-length, lean back with arms straight, body in a straight plank line from head to heels. Technique: pull your chest toward your hands, squeezing your shoulder blades together. Pause, then lower with control until your arms are straight. Keep your body rigid — no sagging hips, no shrugging shoulders. Difficulty control: feet closer to the anchor = harder; walk your feet back = easier. Sets/reps: 2–3 sets of 8–15. Beginner modification: stand nearly upright and master the shoulder-blade squeeze before adding lean.
2. Suspension chest press (chest, shoulders, triceps)
Purpose: pushing strength to balance the row. Setup: face away from the anchor, straps at mid-length, lean forward with hands at chest height, body straight. Technique: lower your chest between your hands (elbows at roughly 45 degrees), then press back up. Keep your core braced — this is secretly a plank too. Difficulty control: feet further from the anchor = harder. Sets/reps: 2–3 sets of 8–15. Beginner modification: start nearly upright; if push-ups are still a work in progress, see our push-up progression for women.
3. Assisted squat (legs and glutes)
Purpose: leg strength with built-in balance support. Setup: face the anchor, straps at mid-length, slight lean back. Technique: sit back into a squat, letting the straps assist your balance. Use just enough arm help to keep form clean — knees tracking over toes, chest up. Drive through your heels to stand. Sets/reps: 2–3 sets of 10–20. Progression: use less arm help over weeks, then try single-leg assisted squats.
4. Hamstring curl (foot cradles — posterior chain)
Purpose: hamstrings and glutes, the muscles behind everything. Setup: lie on your back, heels in the foot cradles, straps fully lengthened, hips on the floor, arms at your sides. Technique: lift your hips into a bridge, then curl your heels toward your glutes. Extend with control — the lengthening phase is where the magic happens. Sets/reps: 2–3 sets of 8–12. Beginner modification: keep hips on the floor for the first weeks (curls without the bridge).
5. Suspended plank (core)
Purpose: deep core stability. Setup: hands on the floor under shoulders, feet in the cradles, body straight. Technique: hold, breathing steadily behind a moderate brace. The straps' instability forces your entire trunk to work — 20 honest seconds here beats a minute of sloppy floor planks. Sets/time: 2–3 holds of 20–40 seconds. Beginner modification: knees on the floor, feet in cradles — same instability, less load.
6. Y-fly or T-fly (shoulders and upper back)
Purpose: rear shoulders and mid-back — posture muscles most routines miss. Setup: face the anchor, straps at mid-length, slight lean back, arms straight. Technique: with straight arms, raise them into a Y (overhead) or T (out to the sides), squeezing the shoulder blades. Lower slowly. Sets/reps: 2–3 sets of 8–12. Beginner modification: stay very upright — these small muscles fatigue fast.
A Sample Full-Body Session
Run this 2–3 times per week with a rest day between — about 30 minutes total:
- Warm-up (5 min): march in place, arm circles, bodyweight squats, hip circles
- Suspension rows — 3 × 10–12
- Assisted squats — 3 × 12–15
- Suspension chest press — 3 × 8–12
- Hamstring curls — 2 × 8–10
- Suspended plank — 2 × 30 seconds
- Y-flys — 2 × 10
Rest 45–90 seconds between sets. When you can complete every set at the top of the rep range with clean form, increase difficulty by changing your angle. For more no-equipment structure around your strap days, our full-body workout at home with no equipment makes a great alternating-day program.
Suspension Trainer vs Other Home Equipment
| | Suspension trainer | Dumbbells | Resistance bands | |---|---|---|---| | Space needed | A door + 6–8 ft of floor | A corner or rack | Almost none | | Whole-body coverage | Excellent — all planes | Excellent — with enough weights | Good — limited for legs | | Resistance adjusts how | Body angle, instantly | Change weights (pause) | Change band (pause) | | Core engagement | Built into every move | Only in some moves | Moderate | | Travel-friendly | Packs into a pouch | No | Yes | | Price range | Low–moderate, one purchase | Moderate–high for a set | Low |
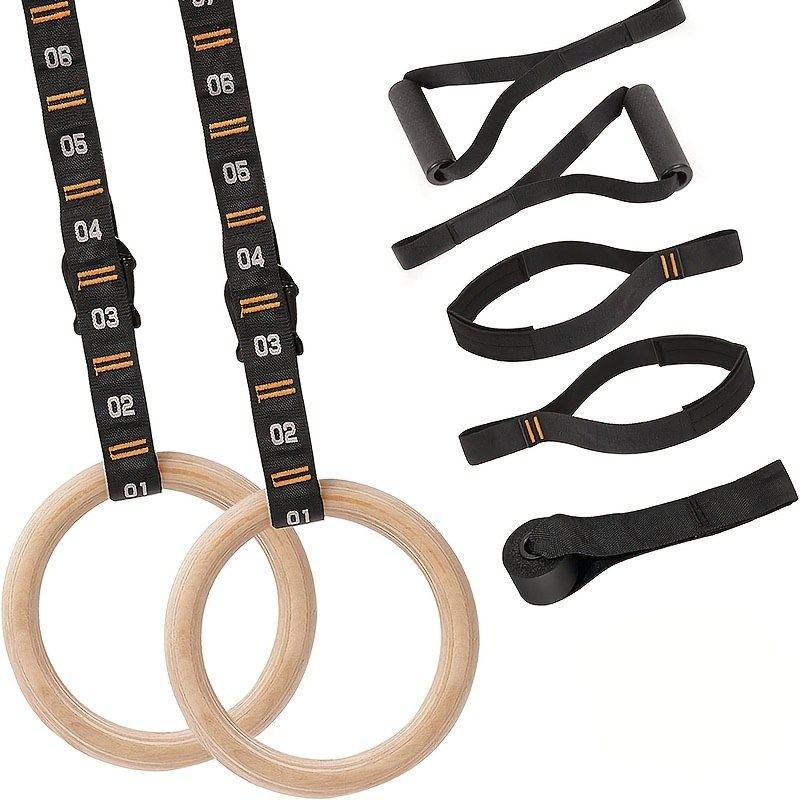
The suspension trainer's standout traits: infinite instant adjustability, constant core demand, and true portability. Its limitation is that very heavy leg work (think heavy squats) is hard to replicate — pairing straps with dumbbells covers everything. The complete suspension kit with rings adds gymnastic rings for more upper-body variety if you outgrow the basics.
Common Mistakes
- Skipping the anchor test. Every session, every anchor, every time.
- Sagging through the middle. In rows and planks, a sagging lower back means your core has checked out — shorten the lever and re-brace.
- Shrugging the shoulders. In rows and flys, keep shoulders down and away from your ears.
- Going too hard too soon. Strap soreness hits stabilizers you did not know you had. Start with two sessions in week one and modest angles.
- Rushing reps. The straps reward control — fast, bouncy reps are how form breaks down.
Safety Notes
- Always verify the anchor before each workout — doors get opened, straps loosen, hardware wears.
- Keep the area clear: no furniture edges, pets, or kids within your movement radius.
- Stop for sharp pain, dizziness, or any feeling of the anchor shifting.
- If you are pregnant, postpartum, or managing an injury or health condition, get your provider's go-ahead before suspended training — the instability element is the part to discuss.
- Results vary, as with any training. Consistency over months is what builds strength — no strap system changes that, and anyone promising otherwise is selling something.
FAQ
Q: Can you build muscle with just a suspension trainer?
Yes — especially in the first 1–2 years of training. Progressive overload works through body angle and volume, and the constant stabilization demand recruits a lot of muscle. For most women training at home, straps plus consistency build real, visible strength.
Q: Is a suspension trainer good for beginners?
It is one of the best beginner tools there is, precisely because difficulty adjusts instantly — you are never stuck with a weight that is too heavy. Start upright, master the movement patterns, and lean further as strength grows.
Q: How much space do I need?
About 6–8 feet of clear floor in front of your anchor point, plus enough height for the straps to hang (a standard door works). That is less space than a yoga mat's worth of width in most rooms.
Q: Door anchor vs wall mount — which is better?
A door anchor is free, portable, and plenty secure on a solid, lockable door. A wall or ceiling mount is more permanent and removes all door-related worry — worth it if you train daily and own your space. Test either one with full bodyweight before every session.
Q: How often should I use it?
Two to three full-body sessions per week with rest days between is the sweet spot. On off days, walk — active recovery keeps you consistent without overtraining.
Q: Will suspension training help my posture?
Often, yes — rows, flys, and the constant core demand directly counter rounded-shoulder desk posture. But posture also depends on off-the-mat habits: how you sit, sleep, and carry your bag matter as much as any exercise.
Conclusion
A suspension trainer is the rare piece of fitness gear that does exactly what it promises: a full-body gym that hangs on your door, scales to any level in seconds, and travels in a pouch. Set the anchor up safely and test it every time, start with upright angles and clean form, and follow a simple 2–3 day full-body routine. Give it eight to twelve weeks of consistency, and you will understand why these straps have outlasted every fitness fad since they appeared — results vary, but the method is sound, and the door to your home gym was already there.
