A snapped band is a safety hazard, not just an annoyance. Learn how to clean, store, and inspect resistance bands — and the exact warning signs that mean retire it now.
Resistance Band Care: Make Your Bands Last Longer
Resistance bands are wonderfully simple — until one snaps mid-rep and whips back at you. That failure is almost never random. Bands give plenty of warning before they let go: small nicks, fading color, a surface that turns sticky, a band that doesn't quite snap back like it used to. Learn to read those signs, give your bands basic care, and they'll stay safe and effective for a long time.
This guide covers how to clean, store, and inspect every type of band — tube bands with handles, flat loop bands, and fabric-covered bands — plus the exact retirement signs that mean a band's workout days are over. Because a band's job is to be stretched under tension near your face and body, this is genuinely a safety topic, not just a longevity one.
This guide contains affiliate links. If you buy through them, VÉLORA may earn a commission at no extra cost to you.
Why Bands Wear Out
A resistance band's working life is measured in stretch cycles. Every rep stretches the material and lets it recover; over hundreds and thousands of cycles, the elastic compounds fatigue. Three things accelerate that aging dramatically:
- UV light and heat. Sunlight and heat break down latex and rubber fast. A band left on a sunny windowsill or in a hot car ages in weeks what would take months in a drawer.
- Sweat and body oils. The salts and oils in sweat degrade latex and rubber surfaces, making them sticky, then brittle.
- Mechanical damage. Nicks from fingernails, stretching over sharp door-anchor edges, stepping on bands with shoes, or storing them stretched — each creates weak points where tears start.
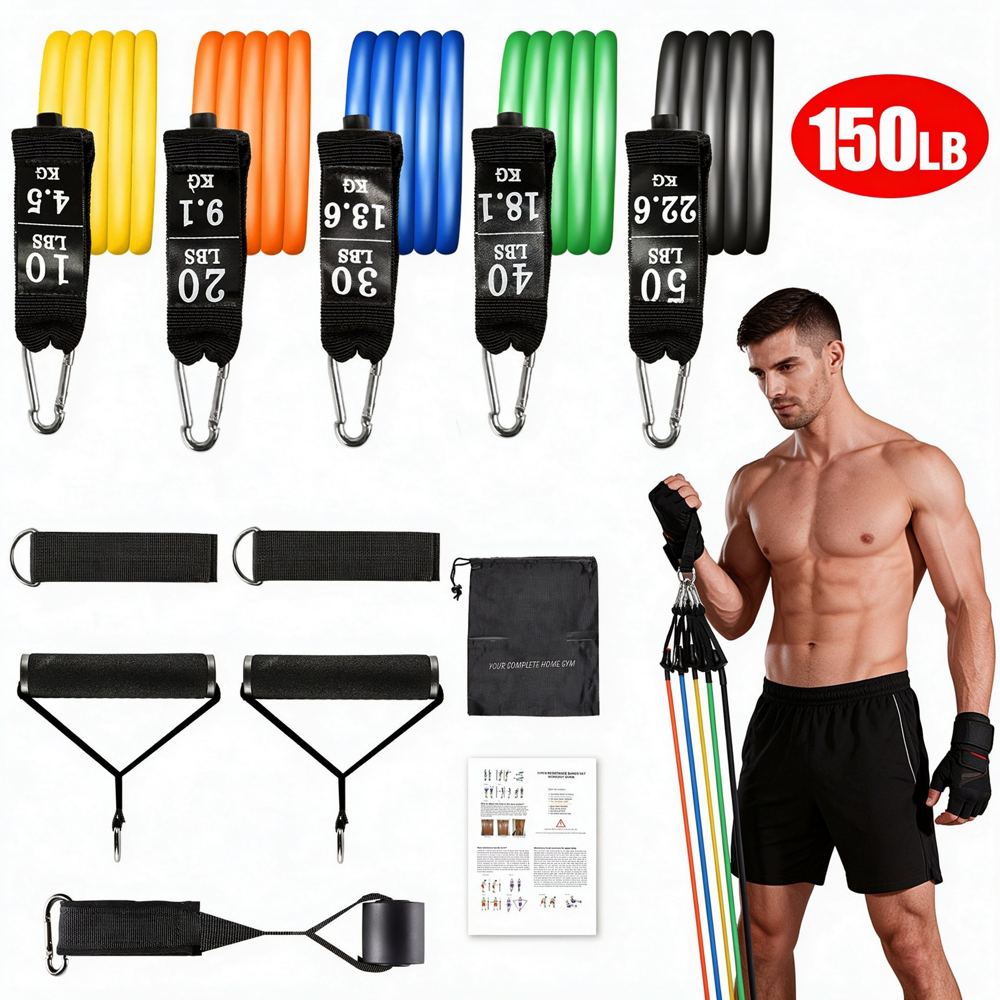
Good care doesn't make a band immortal, but it easily doubles or triples its safe working life. Sets with multiple tension levels, like the 11-piece resistance band set with handles and door anchor, let you rotate bands across workouts, which spreads the wear.
The Retirement Signs: When a Band Is Done
This is the most important section in this guide. Retire a band immediately — don't use it "one more workout" — if you see any of these:
| Warning sign | What it means | Action | |---|---|---| | Nicks, cuts, or small tears | The band's cross-section is compromised; tears propagate under tension | Retire immediately | | Discoloration or fading | UV or chemical degradation of the material | Retire if faded unevenly or combined with other signs | | Sticky or tacky surface | Latex/rubber breakdown — material is degrading | Retire; cleaning won't reverse it | | Loss of snap / stays stretched | Elastic fatigue — the band no longer returns to length | Retire; resistance is now unreliable | | Thinning or translucent spots | Material wearing thin at a stress point | Retire immediately | | Cracked or frayed fabric cover | Fabric bands: cover failing, inner elastic exposed | Retire | | Loose or damaged handles/anchors | Connection point failing on tube bands | Retire the band or replace the attachment |
A snapped band under tension can cause welts, bruises, and eye injuries. The cost of replacing a band is trivial next to that. When in doubt, throw it out.
The 30-Second Pre-Workout Inspection
Make this a habit every time you pick up a band, before the first rep:
- Look down the full length of the band for nicks, cuts, discoloration, or thin spots.
- Feel the surface — it should be smooth and dry, not sticky or tacky.
- Stretch it gently to about half extension and watch it return. It should snap back crisply to its original length. If it returns slowly or stays slightly elongated, it's fatigued.
- Check handles, carabiners, and door anchors for cracks, fraying, or loose stitching.
This takes half a minute and catches nearly every failure before it happens. Pair it with safe technique — our safe resistance band use guide covers anchoring and body positioning that also reduces band stress.
Cleaning Your Bands
After every workout: wipe the band with a damp cloth to remove sweat and oils. That's it — this one step does more for band longevity than anything else.
Deeper clean (monthly or as needed): wash in lukewarm water with a drop of mild dish soap, using a soft cloth. Rinse with clean water and pat dry with a towel, then let the band air-dry fully before storing. Never use hot water, bleach, or harsh cleaners on bands.
Latex bands: every couple of months, a very light dusting of talc-free powder or cornstarch keeps latex surfaces from sticking to themselves in storage. Use sparingly — you're preventing self-adhesion, not coating the band.
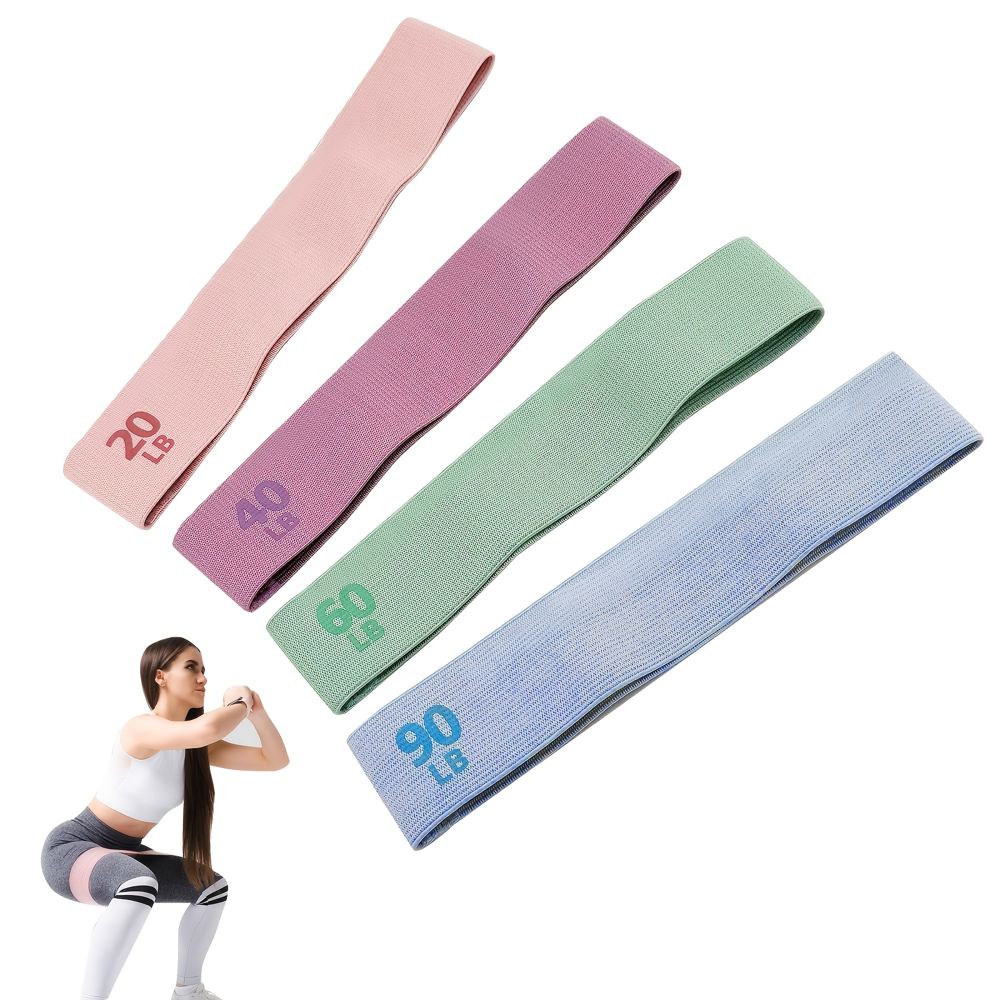
Fabric-covered bands (like the resistance bands with weight indicators): the fabric cover protects the inner elastic but also traps sweat. Hand-wash gently in cool soapy water, rinse well, and air-dry completely. Never machine-wash or tumble-dry fabric bands — the heat and agitation damage the inner elastic.
Storing Bands the Right Way
How you store bands matters as much as how you clean them:
- Cool, dark, dry. A drawer, a closet shelf, or a storage bag in a climate-controlled room. Not the garage in summer, not a sunny windowsill, not a car trunk.
- Unstretched. Never store bands looped around a door anchor, stretched over a hook, or tied in knots. Constant tension fatigues the material even when you're not working out.
- Untangled and separated. Bands left in a knotted pile develop kinks and weak spots. Coil them loosely or hang them on wide, smooth pegs — never on nails or sharp hooks that nick the surface.
- Away from sharp objects. Keep bands away from keys, tools, and anything with an edge. Even a small nick becomes a tear under tension.
If your set came with a carry bag, use it — that's what it's for. The 5-level latex-free band set is a good example of a set designed for grab-and-go storage between sessions.
Care by Band Type
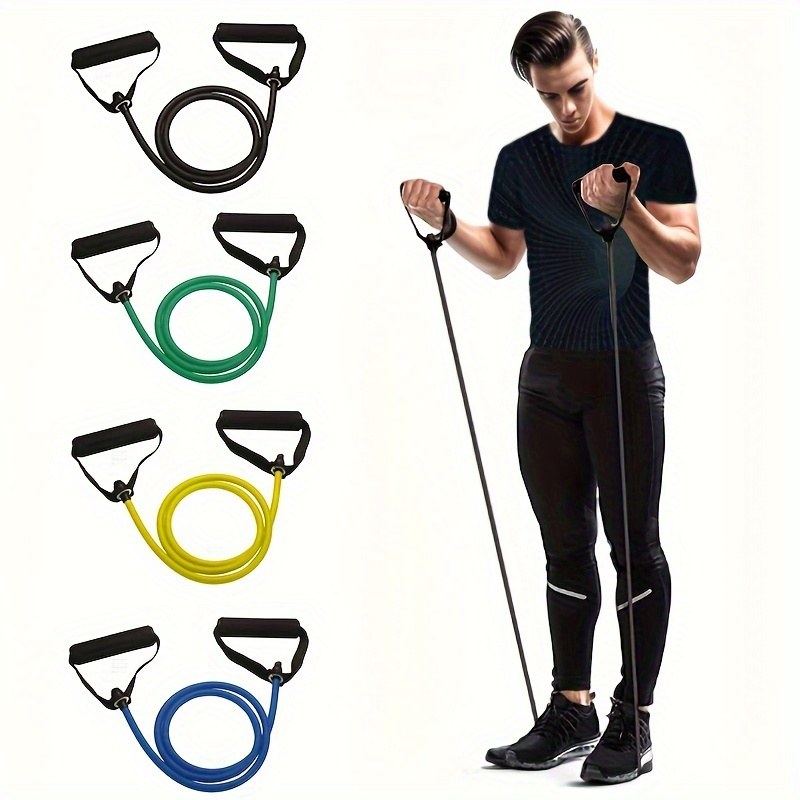
Tube bands with handles: inspect where the tube meets the handle and carabiner — this junction takes the most stress. Wipe handles after use; that's where sweat concentrates. Replace the whole unit if either connection shows wear.
Flat loop bands (mini bands): inspect the inner surface where they contact skin and shoes — wear shows there first. Powder lightly if latex; store flat or loosely coiled.
Fabric loop bands: the fabric cover protects the inner elastic but traps sweat — hand-wash gently in cool soapy water, rinse well, and air-dry completely. Never machine-wash or tumble-dry. When a fabric band starts rolling, losing grip, or feeling easier at the same stretch, the elastic is going.
Figure-8 and specialty bands: inspect the sewn center junction carefully — stitching failure here is the common failure mode. Retire at the first sign of loose threads.
Not sure which type suits your training? Our types of resistance bands guide breaks down the options, and resistance bands vs dumbbells helps you decide how bands fit your program.
Extending Band Life in Your Training
Small training habits add up to significantly longer band life:
- Rotate your bands. If you own a multi-level set, spread work across the levels instead of hammering one favorite band every session.
- Anchor thoughtfully. Door anchors belong on the hinge side of the door, strap flat — never folded over a sharp edge. Pad rough anchor points with a towel if needed.
- Don't overstretch. Most bands are designed for roughly 2–2.5x their resting length. If you need more resistance, step up a band level instead of maxing out a lighter one.
- Keep bands off gritty floors during foot exercises, or wear clean, smooth-soled shoes — tread edges abrade the surface.
- Warm up first. A few gentle stretches before working sets is kinder to cold, stiff material (and to you).
Safety Notes
- Never use a band showing any retirement sign from the table above. A damaged band is not "probably fine."
- Protect your eyes. When a band is anchored and under tension near face height, consider the snap-back path. If a band lets go, it travels toward the anchor — keep your face out of that line.
- Anchor securely. Test every anchor with a firm pull before starting your set. A door that opens mid-set turns the anchor into a projectile.
- Don't wrap bands around your neck or use them in ways the manufacturer doesn't intend.
- Supervise children and pets around bands — to them, it's a fascinating stretchy toy; to you, it's stored tension.
- Stop and inspect if a band makes an unusual sound, feels different mid-set, or slips at the anchor. Unusual behavior is a warning.
FAQ
Q: How long do resistance bands last?
It depends on the material, frequency of use, and care. With regular use (3–4 sessions a week) and basic cleaning and proper storage, quality bands typically last many months to a couple of years. Heavy daily use, sun exposure, or neglected sweat shortens that considerably. Inspect regularly and let the retirement signs — not the calendar — decide.
Q: Can I repair a torn resistance band?
No — not safely. Tape, glue, or knots create a weak point that will fail under tension, often worse than the original tear because it gives false confidence. A torn band is a retired band. Replace it.
Q: Why did my band get sticky?
Stickiness means the latex or rubber is breaking down — usually from sweat, oils, heat, or age. Light powdering can reduce the tacky feeling temporarily, but it doesn't reverse the degradation. A sticky band is on its way out; start planning its replacement and inspect it extra carefully in the meantime.
Q: Are fabric bands safer than latex bands?
Fabric bands are more resistant to nicks and UV damage, and they don't get sticky — but their inner elastic still fatigues, and a worn fabric band can fail too. "More durable" doesn't mean "inspect less." The same retirement logic applies: loss of snap, rolling, or noticeably reduced resistance means it's done.
Q: How should I travel with resistance bands?
Coil them loosely in their bag, keep them in your carry-on or packed clothes (away from heat in a car trunk), and keep them out of direct sun at your destination. A band set is one of the best travel workout tools there is — it just needs the same storage respect on the road as at home.
Q: My band smells like rubber. Is that a problem?
A mild rubber smell on a new band is normal and fades with airing out. A strong, chemical, or worsening smell on an older band — especially combined with stickiness or discoloration — signals material breakdown. Air it out; if the smell persists with other warning signs, retire it.
Conclusion
Resistance band care comes down to three habits: wipe them down after use, store them cool, dark, and unstretched, and inspect them for 30 seconds before every workout. The payoff is bands that stay safe and consistent for their full working life — and the confidence that the thing stretched under tension near your body isn't about to surprise you. Respect the retirement signs, replace without hesitation, and your bands will take care of you for a long, productive time.
