How to use resistance bands safely: inspection checks, anchoring done right, form rules that prevent snaps, and what to do if a band breaks mid-set.
How to Use Resistance Bands Safely (and Avoid Snaps)
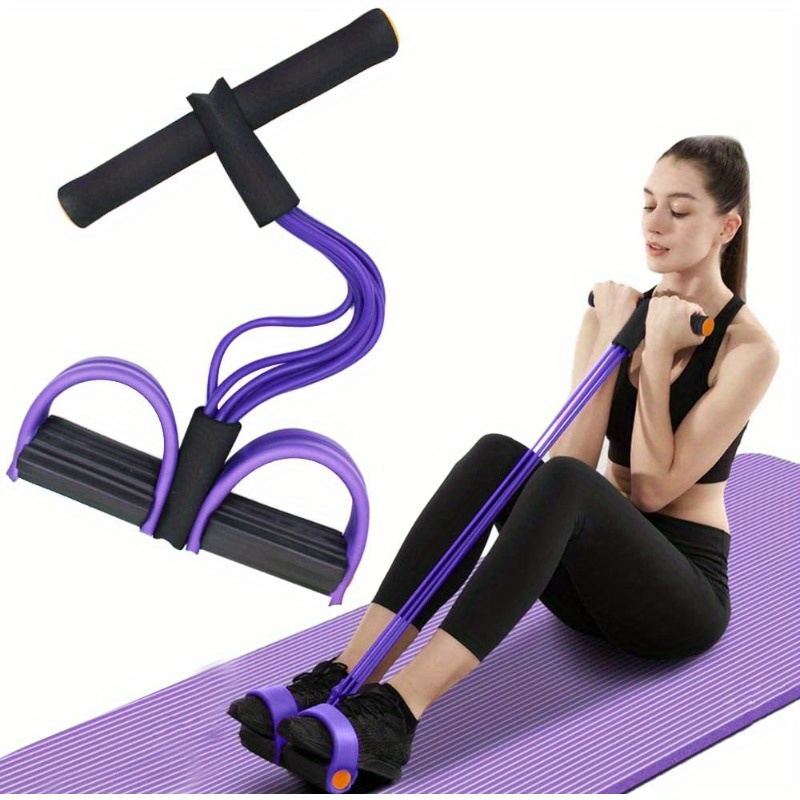
Resistance bands are wonderfully safe training tools — until they are not. A band that snaps mid-rep can whip back toward your face, and an improvised anchor that gives way turns a chest press into an accident. The good news is that nearly every band mishap comes from a short list of preventable causes: a damaged band that should have been retired, an anchor that was never secure, or a stretch taken far past the band's limit. None of these require expertise to avoid. They require a two-minute inspection habit and a few firm rules.
This is the safety-first companion to choosing bands. If you are still deciding which type to buy, our guide to the best resistance bands for women covers that; once you own them, everything below keeps your training uneventful in the best way.
This guide contains affiliate links. If you buy through them, VÉLORA may earn a commission at no extra cost to you.
The Inspection Ritual: Before Every Session
Make this non-negotiable: before every workout, give each band you will use a 30-second check. Latex bands almost always warn you before they fail — the people who get surprised are the people who stopped looking.
- Run it through your hands. Stretch the band to about half its working length and look along it. You are checking for nicks, small cuts, cracks, thinning spots, or any place where the color looks faded or chalky.
- Check the ends and connections. For tube bands, inspect where the tubing meets the handles, carabiners, and any welded or tied joints. Fraying, stretching, or looseness at a connection is a retirement notice. Sets like the Six-Tube Resistance Band set have multiple tubes and clips — check every clip you attach.
- Look for discoloration and stickiness. Latex that has gone gummy, powdery, or unevenly colored has degraded, often from sun or heat exposure. It is weaker than it looks.
- Sniff-test the stretch. If a band has lost its snap — stretching without returning crisply — its elasticity is going. Retire it.
The rule is simple: if you would not trust it with your eyes closed, do not trust it at all. Bands are inexpensive; replacing a suspect band costs a few dollars, while a snap mid-set costs far more. Keep one spare band of your most-used level so retiring a worn one never feels like a sacrifice.
| Check | How | How often | | --- | --- | --- | | Surface damage (nicks, cracks, thinning) | Stretch to half length, scan visually and by feel | Before every session | | Handles, clips, and connection points | Tug and twist each connection; look for fraying | Before every session | | Discoloration, gumminess, lost elasticity | Compare to a newer band if unsure | Weekly | | Anchor point security | Pull-test the anchor before loading it | Every time you set it up | | Storage conditions | Cool, dry, dark drawer; never stretched or knotted | Ongoing |
Anchoring Rules: The Most Dangerous Part Is the Door
Most band accidents involve the anchor, not the band. A tube band looped around a door handle that turns, a band tied to a wobbly chair leg, a loop hooked over a rough fence post — all of these fail in predictable ways. Follow these rules:
- Use a proper door anchor. The flat strap that slides into a closed door, with a loop on the training side, is the correct tool. Place it on the hinge side of a solid, closed door — never on the handle side, where it can slip, and never on a door that could open toward you mid-set. Tell anyone in the house that the door is in use, or lock it.
- Anchor at the right height for the exercise. Chest press: anchor at chest height behind you. Rows: anchor at chest height in front of you. Overhead work: anchor low and press upward. Wrong height means the band pulls you off-balance.
- Nothing with rough edges. Brick, concrete, unfinished wood, and metal burrs abrade latex with every rep. If you must anchor outdoors, wrap the band in a towel or use a purpose-made anchor strap.
- Anchor away from your face line. Position yourself so that if the band or anchor failed, the recoil path does not run straight at your eyes. This is why door anchors at chest height for pressing movements deserve extra care: step slightly to the side of the direct line where you can.
- Test before you load. Give the anchored band a firm pull — harder than your working tension — before your first set. If anything shifts, creaks, or slips, reset it.
Form Rules That Prevent Snaps
How you handle the band matters as much as its condition. Bands fail when they are overstretched, nicked by jewelry or nails, or released under tension.
- Never stretch a band past about 2.5 times its resting length. Most quality bands are designed for roughly this range. If you need more resistance, use a heavier band or double up — not a longer stretch.
- Control the return. The eccentric (return) phase is where many snaps happen, because people let the band yank their hands back. Take 2–3 seconds to return under control, every rep. This also builds more strength.
- Grip properly. Wrap the band around your hand or use the handles; do not pinch it between fingertips, which concentrates force on a small area. Remove rings and bracelets, and trim nails that could nick latex.
- Keep bands off the floor during sets. Stepping on a band mid-exercise or dragging it across rough flooring creates the nicks that become breaks. Step onto foot-anchored bands cleanly and deliberately.
- Breathe. Exhale on the effort, inhale on the return. Never hold your breath through a band set.
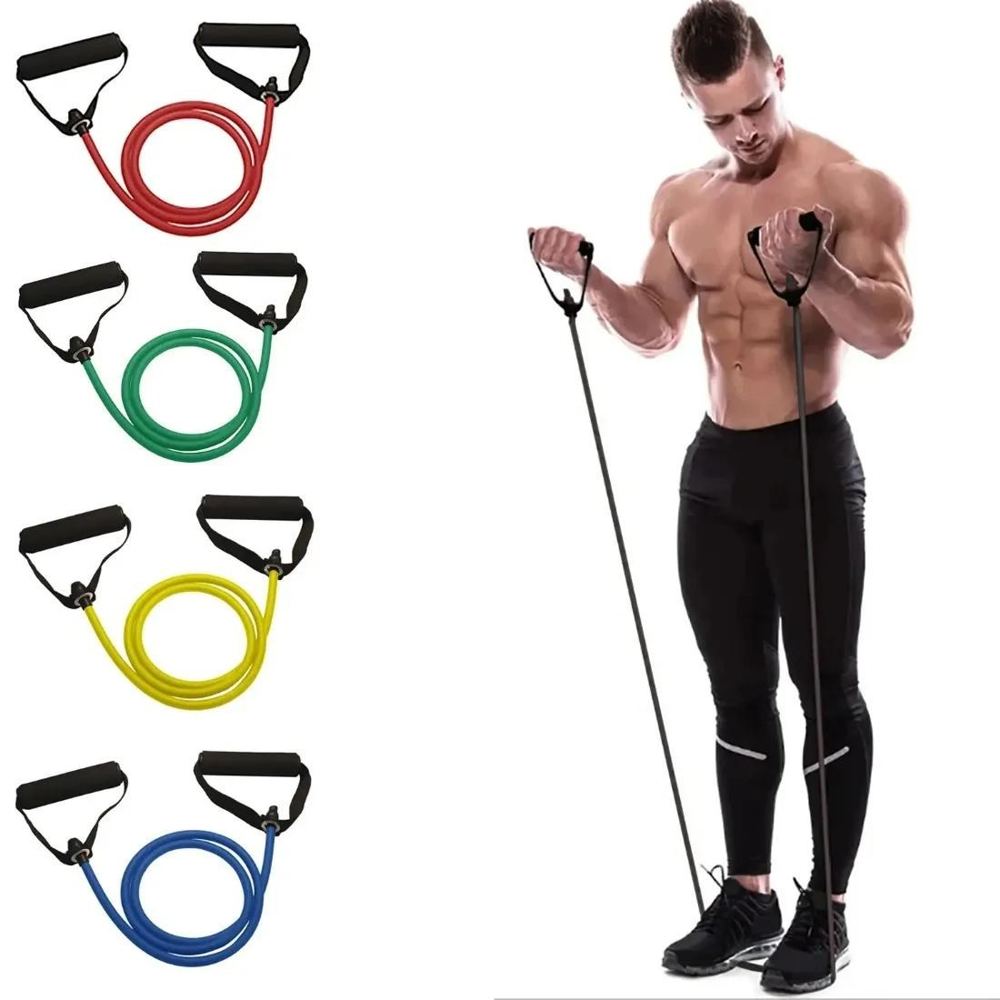
What to Do If a Band Breaks Mid-Set
Even with perfect habits, bands are consumables and eventually fail. If it happens:
- Let go and protect your face. Turn your head away and bring a forearm up. The recoil is fast; do not try to catch the band.
- Check yourself. Most snaps cause a startling sting and maybe a welt. If a band hits your eye or face hard, or you notice swelling, vision changes, or a cut that will not stop bleeding, seek medical care promptly.
- Stop using that band — and inspect its siblings. If one band in a set failed from age, the others bought at the same time may be close behind. Check them all.
- Do not knot it back together. A knotted band is a weakened band with a stress point exactly where you do not want one. Retire it.
Storage: How Bands Die Slowly
Sunlight and heat are latex's worst enemies. A band left on a sunny windowsill or in a hot car degrades far faster than one kept in a drawer — UV and heat break down the material invisibly until the day it gives way. Store bands in a cool, dry, dark place: a drawer, a gym bag in a closet, a box under the bed. Never store them stretched around objects or tied in knots, which create permanent weak points. Keep them away from sharp objects, and do not toss them loose into a bag with keys or rough-edged gear.
Fabric bands are more forgiving but still deserve dry, dark storage and an occasional check of stitching and inner grip lining. Treat your bands like the precision tools they are, and they will return the favor with months of reliable training.
A Safe Starter Workout: 6 Moves
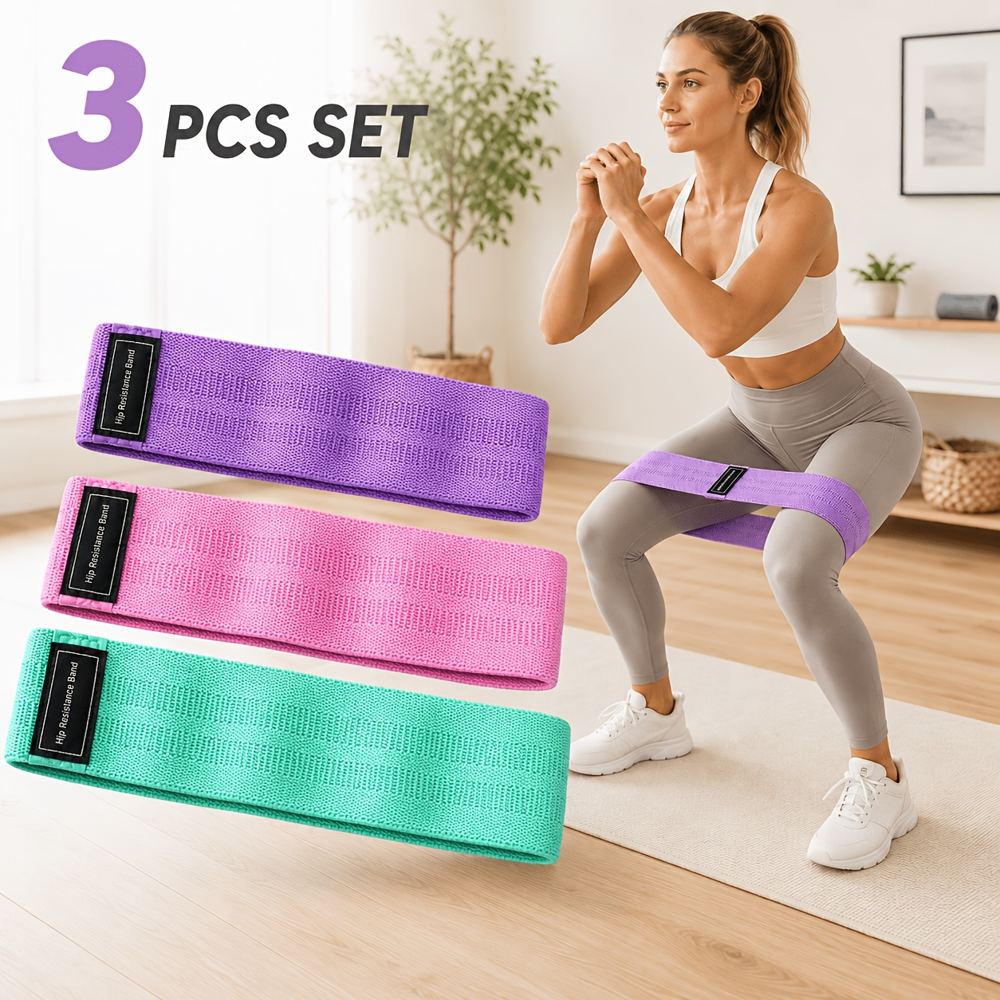
Put the safety rules into practice with this gentle full-body session. Use light bands — a 3-pack of yoga resistance bands covers the lower-body moves, and a handled set like the Temu Resistance Bands with Handles Home Gym Set covers the upper-body ones. Inspect every band first, anchor with a proper door strap, and keep every rep controlled.
- Banded glute bridge. Loop a band above your knees, lie on your back, knees bent. Press knees gently outward against the band as you lift your hips. 8–15 repetitions. Beginner option: no band until the movement feels natural.
- Standing chest press. Anchor a tube band at chest height behind you, handles in hands, step forward until there is light tension. Press forward, controlling the return for 2–3 seconds. 8–12 repetitions.
- Seated or standing row. Anchor at chest height in front of you. Pull handles to your ribs, squeezing shoulder blades together. 8–12 repetitions.
- Banded squat. Stand on a loop band with feet hip-width, hold the top of the loop at shoulder height. Sit back into a squat, keeping tension — do not let the band snap you up. 8–12 repetitions.
- Lateral walk. Mini loop above knees, quarter-squat stance, step sideways keeping tension on the band. 8–10 steps each direction. Small steps beat big wobbly ones.
- Pallof press (anti-rotation). Anchor at chest height to your side, hold the handle at your chest, and press straight out — resist the band's pull on your torso. 6–8 repetitions per side. This is core training at its best.
Rest 45–60 seconds between exercises. Two rounds is plenty for the first few weeks. For a complete beginner routine built around this kind of work, our beginner home workout plan for women lays out four progressive weeks. And if you are deciding between bands and weights as your main tool, our resistance bands vs dumbbells comparison will help you choose.
FAQ
Q: Can a resistance band really snap and hurt me?
It is uncommon with inspected, properly used bands, but it can happen — usually with old, sun-damaged, or overstretched bands, or failed anchors. The inspection ritual and anchoring rules above reduce the risk to very low. A sting or welt is the typical worst case; eye strikes are the serious risk, which is why recoil-line positioning matters.
Q: How do I know when to throw a band away?
Retire any band with nicks, cracks, thinning, discoloration, gumminess, frayed connections, or lost snap. When in doubt, throw it out.
Q: Is it safe to anchor bands to a door?
Yes — with a proper door anchor strap, on the hinge side of a solid closed door, tested before loading. Never loop a band directly around a door handle or knob, and never use a door that might open toward you mid-set. Lock it or warn the household.
Q: Should beginners use the lightest band?
Start light, yes — especially for the first 2–3 weeks while you learn control of the return phase. Move up when you can complete your full rep range with clean, controlled form and could do a few more. Form quality is the safety feature; weight is secondary.
Q: Can I leave bands in my car or garage gym?
A climate-controlled garage is fine; a hot car in summer is not. Heat and UV degrade latex quickly and invisibly. Store bands cool, dark, and dry, and if they have been baking somewhere hot, inspect them extra carefully before trusting them again.
Conclusion
Band safety is not complicated — it is a habit. Inspect before every session, anchor like it matters (because it does), never overstretch, control every return, and retire bands at the first sign of wear. Do those five things and resistance bands remain what they should be: one of the safest, most versatile, most joint-friendly tools in home fitness. The two minutes of inspection are the cheapest insurance your training will ever have.
