This Pilates ring exercises guide shows you how to use a magic circle — setup, technique, breathing, and 8 effective moves for arms, core, and inner thighs.
Pilates Ring Guide: How to Use a Magic Circle
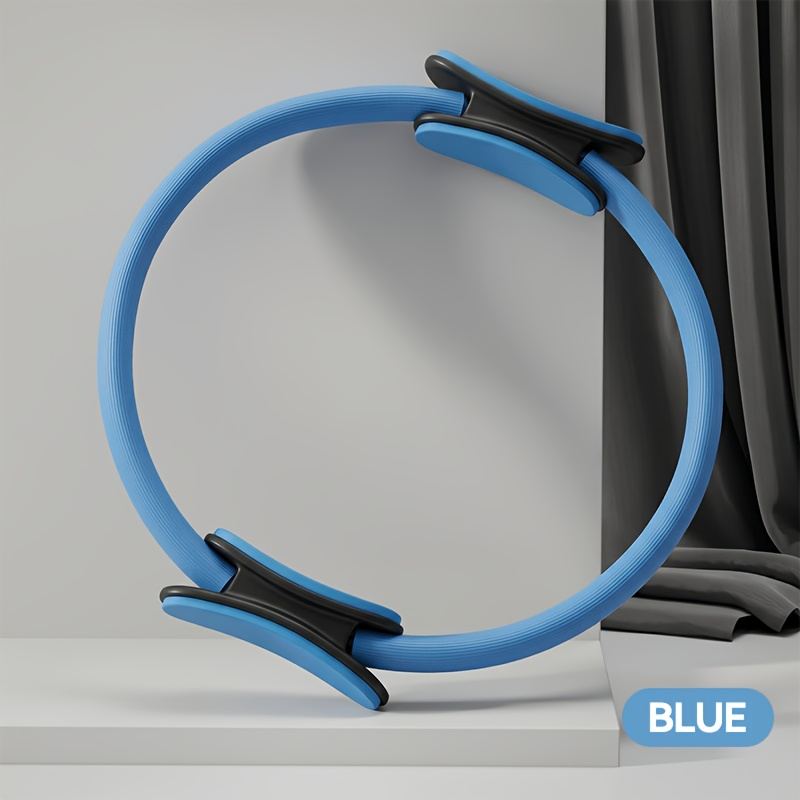
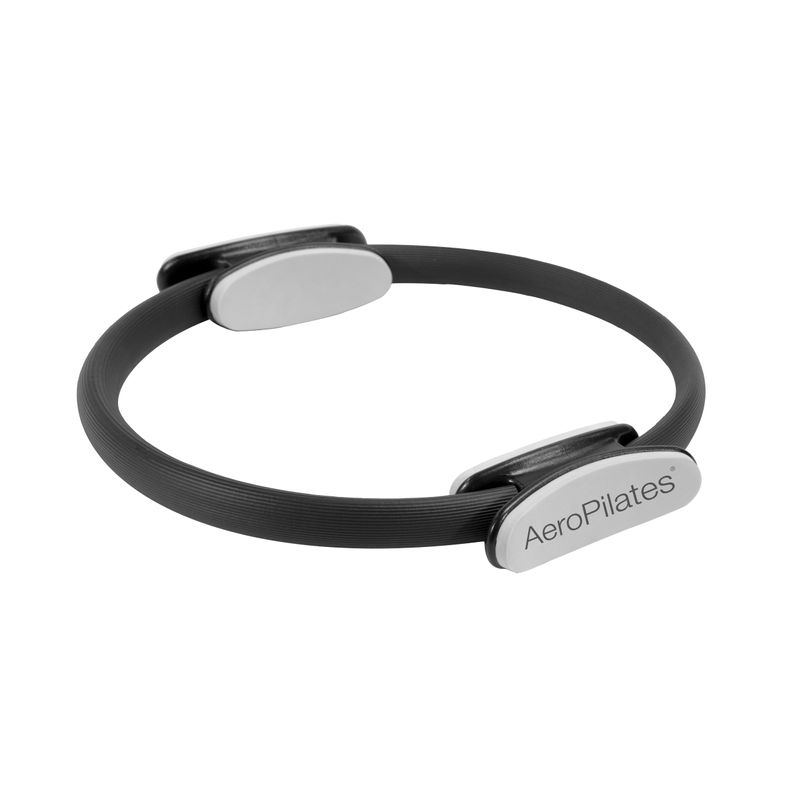
The Pilates ring — also called the magic circle — is one of the most underrated pieces of home fitness equipment ever made. It is a flexible metal or composite ring, about 35–38cm across, with padded grips on opposite sides. It costs little, weighs almost nothing, stores in a drawer — and when you squeeze it, it gives your muscles something real to work against.
Joseph Pilates himself invented it, and it has survived nearly a century because it works. The ring adds gentle, targeted resistance to classic Pilates moves and gives your hands something to press that teaches your core to stabilize. This guide covers how to choose one, how to hold it, and eight effective exercises with full setup and technique.
This guide contains affiliate links. If you buy through them, VÉLORA may earn a commission at no extra cost to you.
Choosing Your Ring: Size and Resistance
Most magic circles come in one standard size (about 14–15 inches / 35–38cm diameter), which suits most adults. A 15-inch ring with padded handles is the versatile default most people should start with.
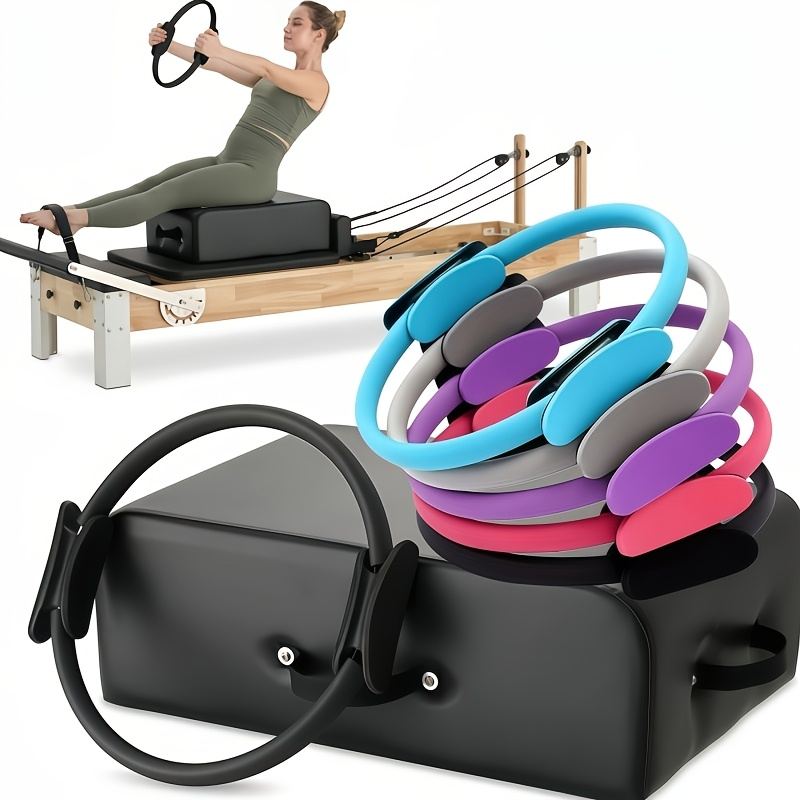
Resistance varies by model: some rings are firm and barely flex, others bend easily. Beginners usually do better with a medium, forgiving ring — you want to feel your muscles working, not fight the equipment. Padded handles matter more than you would think; they protect your palms during presses and your inner thighs and ankles during squeezes.
For the rest of your home setup, see our best Pilates equipment for home guide.
How to Hold and Position the Ring
The ring has two padded grips opposite each other. You will use it in two fundamental ways:
Squeezing (compression): Place the ring between two body parts — palms, inner thighs, ankles — and press inward. The ring resists, your muscles work. This is the most common use, though you can also press the grips outward to engage the outer thighs and upper back.
Three rules apply to every exercise below:
- Squeeze with control, release with control. Never let the ring snap back — the release phase (eccentric) is half the exercise.
- Keep breathing. Exhale on the effort (the squeeze), inhale on the release. Holding your breath spikes tension everywhere except the target muscles.
- Start light. Use about 50–60% of your max squeeze for the first week. The small stabilizing muscles the ring targets fatigue faster than you expect.
Warm-Up (3–5 Minutes)
Before picking up the ring, wake up your body: march in place for a minute, do 8–10 cat-cow spinal waves, and 10 glute bridges. You should feel warm and mobile, not tired.
The 8 Exercises
1. Inner-Thigh Squeeze (Lying)
Purpose: Strengthens the adductors (inner thighs) while teaching pelvic stability — a classic for a reason.
Setup: Lie on your back, knees bent, feet flat and hip-width apart. Place the ring between your knees, just above the joint, pads against your inner thighs. Arms rest by your sides, palms down.
Technique: Inhale to prepare. Exhale and squeeze the ring gently — think 60% effort — while keeping your hips level and your lower back in its natural curve (don't flatten it forcefully into the floor). Hold the squeeze for 3–5 seconds, breathing normally. Inhale and release slowly over 3 counts. Repeat for 10–15 reps, 2–3 sets.
Beginner modification: Keep feet flat and do fewer reps (6–8). Skip the hold; just squeeze and release smoothly.
Common mistakes: Holding your breath or letting your knees cave inward. Keep knees tracking straight over your ankles.
2. Standing Chest Press
Purpose: Works the chest, front shoulders, and — when done right — the deep core that keeps you from swaying.
Setup: Stand tall, feet hip-width apart, soft knees. Hold the ring at chest height with a pad in each palm, elbows pointing slightly down and out.
Technique: Inhale. Exhale and press your palms together to compress the ring, keeping your ribs knitted down (don't let them flare). Draw your navel gently toward your spine. Hold 2–3 seconds, then release over 3 counts. Do 10–12 reps, 2–3 sets.
Beginner modification: Press at 50% effort and keep sets to 8–10 reps.
Common mistakes: Shrugging the shoulders toward the ears or arching the lower back. Stand against a wall if you catch yourself swaying.
3. Side-Lying Leg Press
Purpose: Targets the outer thigh and gluteus medius — the muscles that stabilize your pelvis when you walk.
Setup: Lie on your side, head resting on your bottom arm, legs stacked and extended in line with your torso. Place the ring just above your ankles, one pad against each inner ankle.
Technique: Engage your core so your torso doesn't rock. Inhale, then exhale as you press your top ankle down into the ring (the bottom leg provides the resistance surface). You will feel the outer hip of the top leg working. Hold 2 seconds, release slowly. Do 8–12 reps per side, 2 sets.
Beginner modification: Bend the bottom knee for a wider, more stable base.
Common mistakes: Rolling the torso forward or back — imagine your back is against a wall. Keep the movement small and controlled.
4. Seated Ring Twist
Purpose: Obliques and rotational control, with the ring adding resistance feedback.
Setup: Sit tall, feet hip-width apart. Hold the ring at chest height, arms extended forward, pads in your palms.
Technique: Inhale to prepare, drawing your navel in. Exhale and rotate your torso to the right, pressing the ring gently as you turn — the press keeps your chest engaged so the rotation comes from your waist. Inhale back to center. Exhale to the left. That's one rep. Do 8–10 total reps, 2 sets.
Beginner modification: Keep feet flat and rotate only as far as you can without the hips shifting.
Common mistakes: Rushing the rotation, holding the breath, or letting the arms do all the work while the torso stays stiff.
5. Glute Bridge Squeeze
Purpose: Glutes and hamstrings plus inner thighs in one efficient move.
Setup: Lie on your back, knees bent, feet flat hip-width apart, ring between your knees. Arms by your sides.
Technique: Exhale, squeeze the ring lightly, and lift your hips until your body forms a straight line from shoulders to knees. Squeeze your glutes at the top for 2 seconds — keep squeezing the ring throughout. Inhale and lower slowly, vertebra by vertebra. Do 10–12 reps, 2–3 sets.
Beginner modification: Lift only halfway, or skip the ring for the first week and add it once the bridge feels solid.
Common mistakes: Overarching the lower back at the top (think ribs down, pelvis slightly tucked), or pushing through the toes instead of the heels.
Safety note: If you feel pinching in the lower back, reduce the height of the lift. The top position should feel like strong glutes, not a compressed spine.
6. Roll-Up Assist
Purpose: Uses the ring as a gentle aid for the classic Pilates roll-up, helping you articulate through the spine.
Setup: Sit tall, legs extended, feet flexed. Hold the ring overhead with arms extended, pads in palms.
Technique: Inhale, reaching the ring toward the ceiling. Exhale and begin rolling back — tuck your chin, round through the spine, pressing the ring lightly as you curl. Roll back only as far as you can control (halfway is fine to start), then inhale. Exhale and roll back up, pressing the ring forward as you rise. The light press gives your arms a job and keeps your shoulders engaged. Do 6–8 reps, 2 sets.
Beginner modification: Bend your knees slightly, or place the ring on your thighs and press down into it instead of holding it overhead.
Common mistakes: Using momentum to fling yourself up, or holding the breath through the hardest part.
7. Standing Arm Circles with Ring
Purpose: Shoulder mobility and endurance with light resistance — surprisingly challenging.
Setup: Stand tall, feet hip-width apart. Hold the ring overhead with straight (not locked) arms, pads in palms, and press it lightly so there's mild tension.
Technique: Keeping the light press, draw slow circles with the ring — about the size of a dinner plate — 8–10 times in each direction. Breathe naturally. Keep your ribs down and avoid shrugging. Do 1–2 sets per direction.
Beginner modification: Make smaller circles and keep the press very light.
Common mistakes: Letting the lower back arch as the arms go overhead — engage your core and keep the movement in the shoulders.
8. Prone Chest Lift Press
Purpose: Back extensors and posture muscles, with the ring adding upper-back engagement.
Setup: Lie face down, forehead resting on the mat (turn your head to one side if that's more comfortable). Extend your arms forward, holding the ring with pads in palms, arms slightly wider than shoulders.
Technique: Inhale. Exhale and lift your chest a few inches off the mat while pressing the ring lightly — think of drawing your shoulder blades together. Keep your neck long (gaze at the floor, not forward). Hold 2–3 seconds, lower slowly. Do 8–10 reps, 2 sets.
Beginner modification: Keep the lift very small — even an inch of lift with good form works.
Common mistakes: Craning the neck up or holding the breath. If your lower back feels compressed, reduce the lift height.
Putting It Together: A 20-Minute Ring Session
- Warm-up: 3–5 minutes (above)
- Inner-thigh squeeze: 2 sets of 10–15
- Glute bridge squeeze: 2 sets of 10–12
- Standing chest press: 2 sets of 10–12
- Side-lying leg press: 2 sets of 8–12 per side
- Seated ring twist: 2 sets of 8–10
- Roll-up assist: 2 sets of 6–8
- Cool-down: gentle full-body stretching, 5 minutes
Do this 2–3 times per week. When all sets feel easy, add a third set before increasing squeeze intensity.
Caring for Your Ring
Wipe the pads with a damp cloth after sweaty sessions and let the ring air-dry. Store it where it won't get crushed under heavy equipment, and replace the ring if the pads crack or peel rather than training on exposed edges.
FAQs
What is a Pilates magic circle used for? It adds gentle resistance to Pilates exercises. You squeeze it between your palms, knees, or ankles to intensify inner-thigh, arm, chest, and core work, or press it outward to target outer thighs and upper back. It also works as a form cue — pressing it teaches your stabilizing muscles to engage.
Is the Pilates ring good for beginners? Yes — it is one of the most beginner-friendly props available. The resistance is light, the movements are simple, and the ring itself guides your form. Start with 50–60% squeeze effort and the modifications listed above.
Can the magic circle help with posture? The ring strengthens the muscles that support good posture — deep core, upper back, glutes, and inner thighs. Like any training tool, it supports posture as part of a consistent routine; results vary and no single tool fixes posture on its own.
What size Pilates ring should I buy? The standard 14–15 inch ring suits most adults. If you are very petite, a 12-inch ring may feel more manageable. When in doubt, choose the standard size with padded handles — it is the most versatile option.
Does the magic circle build muscle? It builds muscular endurance and tone in the targeted muscles — inner thighs, arms, chest, glutes, and deep core — through light-to-moderate resistance and high control. It won't build significant muscle mass the way heavy strength training does, but for functional strength and stability, it is genuinely effective when used consistently.
Conclusion
The magic circle earns its place in the small club of fitness tools that are cheap, portable, and actually effective. Eight exercises, twenty minutes, two to three times a week — a complete practice for inner thighs, arms, glutes, and deep core with nothing more than a Pilates ring and a mat.
