Yoga props for beginners explained — what blocks, straps, and bolsters do, how to choose them, and how to use them to make poses safer and more comfortable.
Yoga Props for Beginners: Blocks, Straps and Bolsters Explained
Walk into any yoga class and you will see blocks, straps, and bolsters stacked along the wall — and if you are new, it is tempting to assume they are for other people. They are not. Props are not training wheels for the inflexible. They are tools that let every body practice with better alignment, less strain, and more comfort. A block under your hand in triangle pose does not cheapen the pose — it makes the pose possible with a straight spine, which is the actual point.
This guide explains the three essential props — blocks, straps, and bolsters — plus the supporting cast of blankets and towels: what each one does, how to choose the right size and material, and exactly how to use them in common poses.
This guide contains affiliate links. If you buy through them, VÉLORA may earn a commission at no extra cost to you.
Why Props Help (Especially Beginners)
Yoga poses assume a range of motion most beginners — and plenty of experienced practitioners — do not have yet. Without props, beginners typically force themselves into the full shape with compromised alignment, or skip the pose entirely. Props offer the third option: practice the pose's intention — the stretch, the opening, the stability — at your current range.
Concretely, props help you maintain alignment (a block brings the floor closer so your spine stays long), reduce strain (a strap bridges the gap in forward folds), support rest (a bolster under the knees turns lying poses into genuine recovery), and build confidence. Experienced practitioners use props constantly — knowing when to reach for a block is a sign of a maturing practice, not a struggling one.
Yoga Blocks
Blocks are the most versatile prop you will own: foam (light, soft, inexpensive), cork (denser, grippier), or wood (firmest). For beginners, foam or cork in the standard size (about 23 × 15 × 10 cm) covers nearly everything. Each block offers three usable heights depending on which face sits on the floor — start at the tallest and work down over weeks as mobility improves. That built-in progression is part of what makes blocks so useful. Buy two, not one; most uses are bilateral.
How to use them
Triangle pose. Place a block inside your front foot and rest your lower hand on it instead of reaching for the floor. This keeps your chest open and spine long — the purpose of the pose — rather than collapsing sideways to touch down.
Half moon. A block under the standing-side hand gives you the stability to open hips and chest without toppling. Start at the tallest setting, a few inches in front of the standing foot.
Seated poses. Sit on a block in cross-legged pose so your knees drop to or below hip level. This single change lets the spine stack upright instead of slumping — transformative for tight hips.
Standing forward fold. Rest your hands on two blocks to keep the back flat while the hamstrings gradually lengthen.
Chest opener. Lie back over a block between the shoulder blades for a gentle supported backbend that counteracts desk posture.
Common mistakes: using the lowest height out of pride and rounding the spine anyway — start tall; placing the block too far away so you strain to reach it.
Yoga Straps
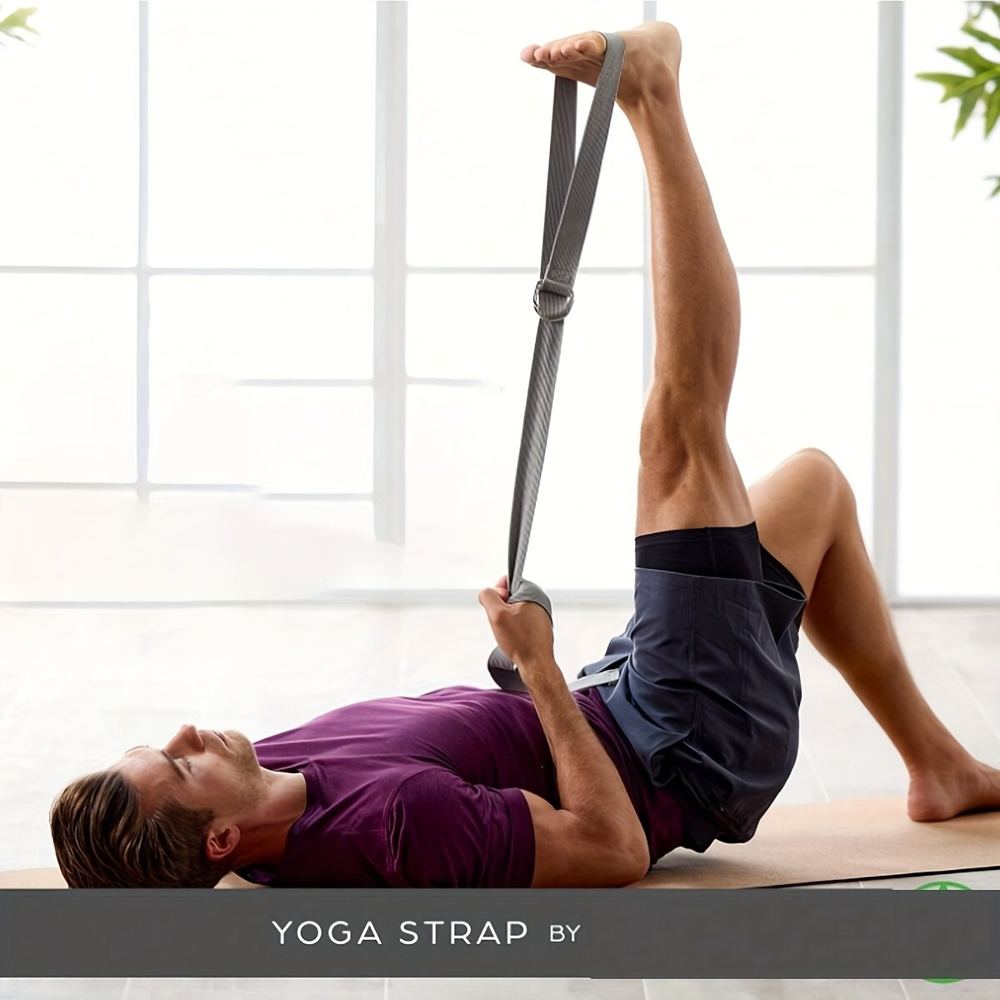
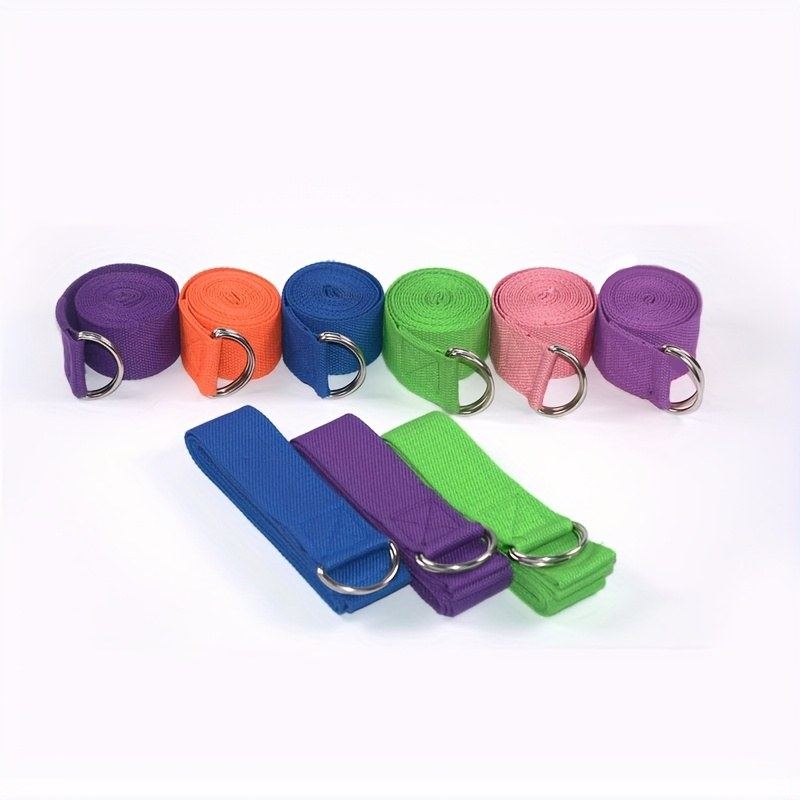
A strap is a long, non-stretchy belt — usually cotton or nylon with a buckle — that extends your reach. Standard lengths run about 1.8 m (6 ft) to 2.4 m (8 ft); taller users should choose the longer one. The Durable Nylon Yoga Strap with Metal D Ring adjusts smoothly and the metal buckle holds its setting through a whole practice.
How to use them
Seated forward fold. Loop the strap around the soles of your feet and hold the ends, sitting tall. You get the hamstring stretch with a long spine — the strap does the reaching so your back does not have to.
Shoulder opener. Hold the strap wide overhead and slowly draw it behind you with straight arms. Widen or narrow your grip to adjust intensity — excellent for rounded desk-work shoulders.
Extended hand-to-big-toe. A strap around the foot lets you extend the leg fully while standing tall, rather than hunching to hold the toe.
Reclined leg stretches. Lying on your back, loop the strap around one foot and extend the leg upward — a deep, safe hamstring stretch with zero lower-back strain.
Common mistakes: substituting a stretchy resistance band (the give defeats the purpose); gripping so close that the shoulders shrug — keep them soft and down.
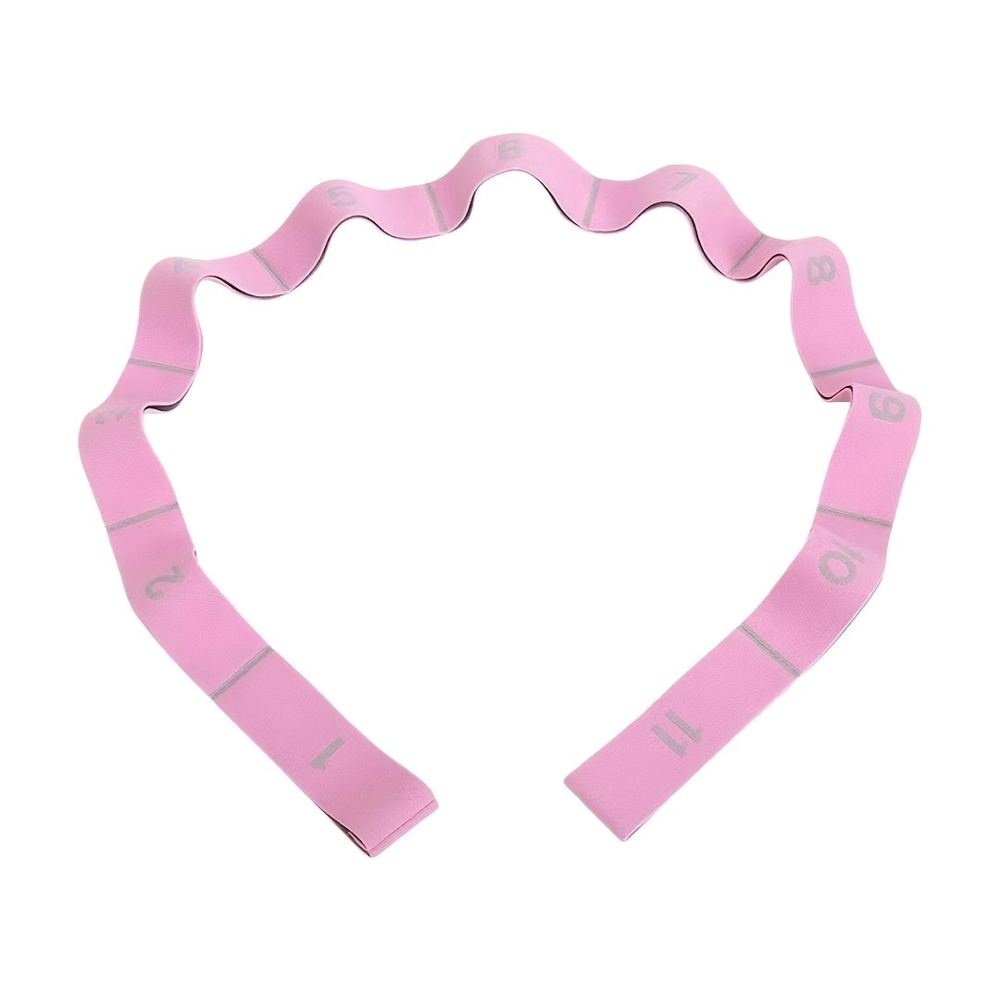
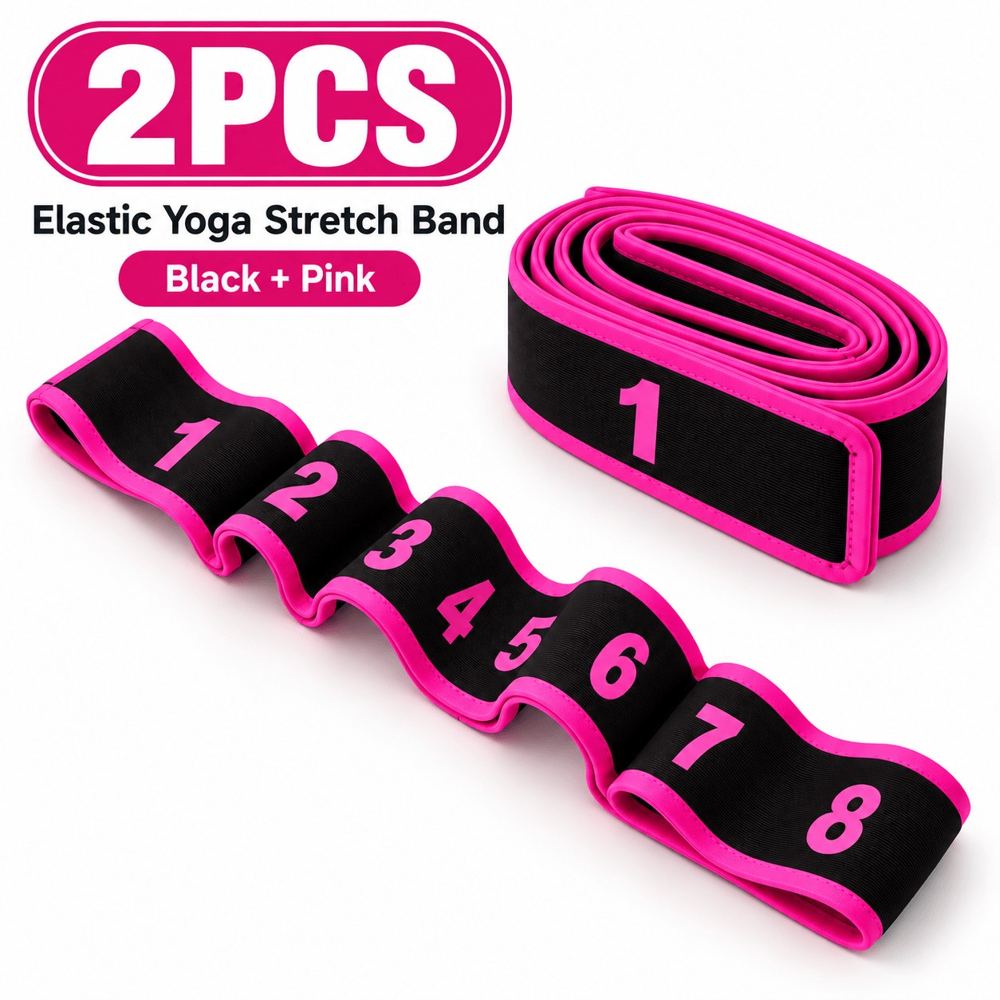
Looped straps are worth knowing about: the 2pcs 8-Loop Yoga Stretching Straps have sewn loops along their length, so you can hook hands or feet at fixed points without a buckle — handy for leg stretches and Pilates-style work where you want quick, repeatable positioning.
Bolsters
A bolster is a firm, elongated cushion — round or rectangular — that supports your body weight in resting and restorative poses. Where blocks create space and straps create reach, bolsters create support so muscles can fully switch off.
Supported child's pose. Hug a bolster lengthwise under your torso — forehead resting on it. The support lets back and shoulders release completely, dramatically more restful than the unsupported version.
Reclined bound angle. Lie back over a bolster along the spine, soles of the feet together, knees falling open (blocks under the knees if they float). Five minutes here after a long day is genuinely restorative.
Savasana. A bolster under the knees releases the lower back; one under the ankles eases tired legs.
No bolster yet? A firm bed pillow or tightly rolled blanket works as a stand-in, though dedicated bolsters hold their shape better under sustained weight.
Blankets, Towels, and Your Mat
A folded blanket under the knees softens kneeling poses; under the sitting bones, it tilts the pelvis forward for comfortable seated folds. A non-slip yoga towel over the mat adds grip and light knee padding.
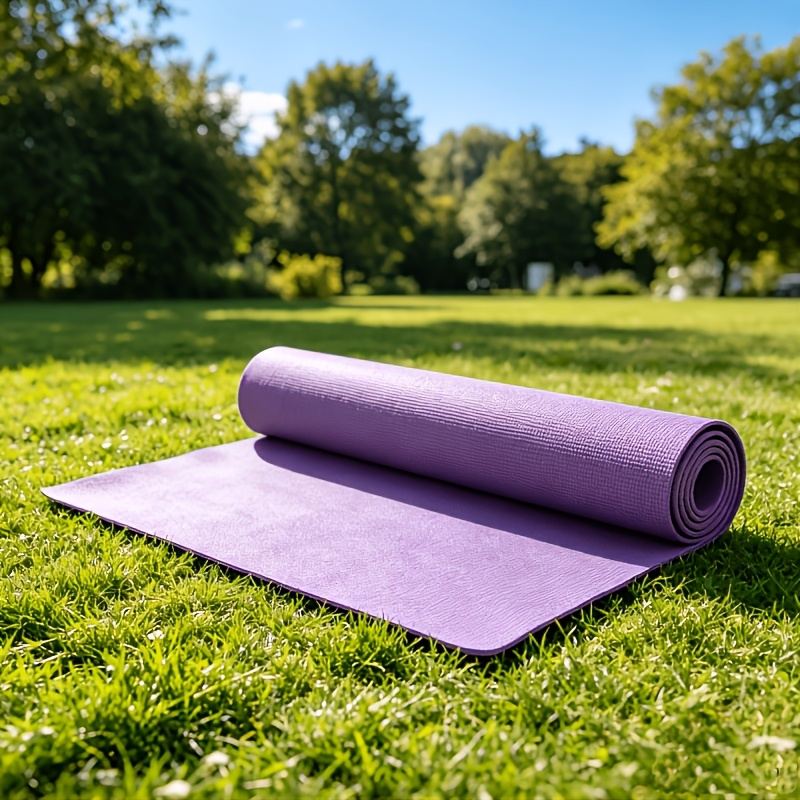
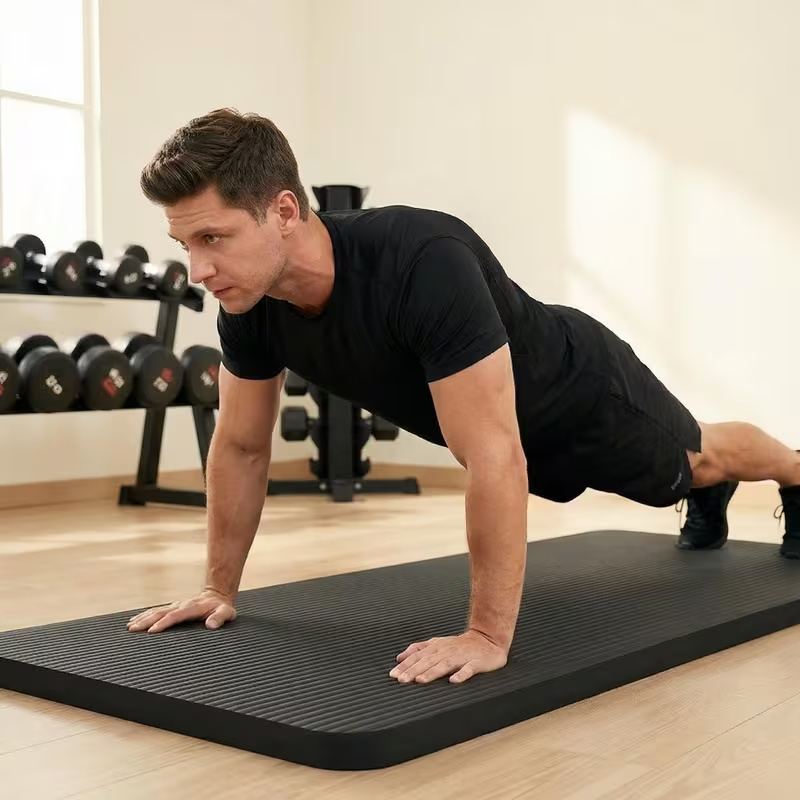
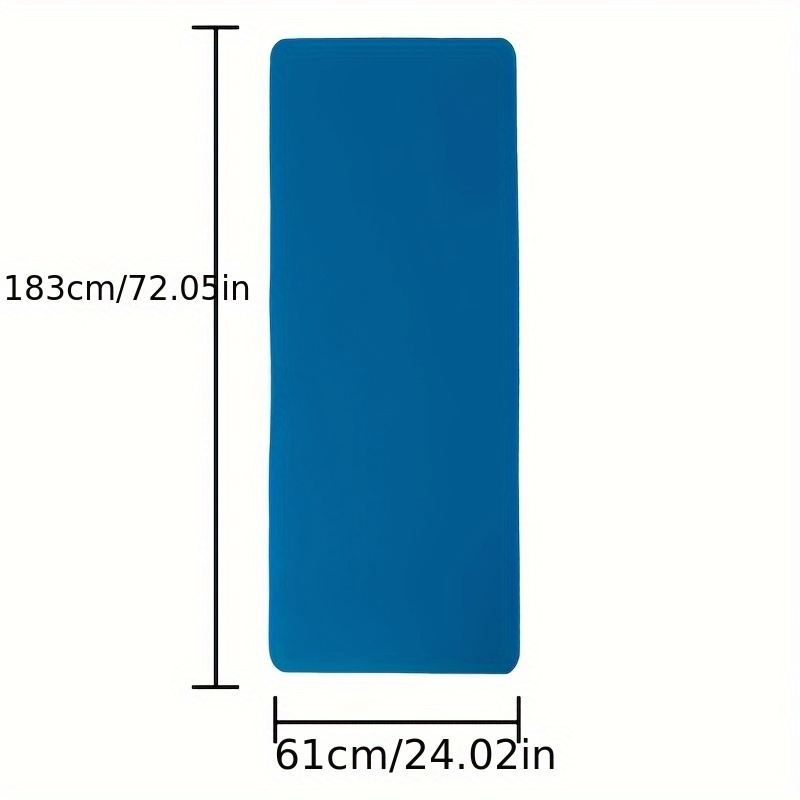
The foundation is the mat itself — thickness affects comfort directly, especially for sensitive knees. Our guide on how to choose yoga mat thickness walks through the trade-offs, and if your knees complain during floor work, see the best yoga mat for bad knees. The 8mm Thick Non-Slip Yoga Mat hits a sweet spot: cushioned enough for kneeling, stable enough for standing balances.
Choosing Your First Props
| Prop | Problem it solves | What to look for | Starting advice | | --- | --- | --- | --- | | Blocks (×2) | Floor too far; hips too tight to sit tall | Foam or cork, standard size | Tallest height first, work down | | Strap | Can't reach feet; shoulders too tight to bind | Non-stretch, 1.8–2.4 m, secure buckle | Longer length if tall | | Bolster | Can't fully relax in rest poses | Firm fill, round or rectangular | Round is most versatile | | Blanket/towel | Sore knees; need seat elevation | Firm weave, folds flat | Use what you own first | | Mat | Slipping; sore knees and wrists | 6–8 mm, non-slip surface | 8 mm all-rounder |
If you buy one thing first, make it two blocks — they unlock the most poses for the least money. A strap is the second purchase; a bolster the third, once you know you enjoy slower or restorative practice.
A Mini Practice Using All Three Props
Try this 10-minute sequence to feel what props do:
- Supported child's pose (bolster or pillow) — 8 breaths. Notice how support lets your shoulders drop.
- Cat-cow (blanket under knees) — 6 cycles.
- Low lunge (blocks under hands) — 5 breaths each side. Torso stays tall.
- Seated forward fold (strap around feet, sitting on a folded blanket) — 8 breaths. Long spine, gentle stretch.
- Reclined bound angle (bolster under spine) — 2 minutes. Let the props hold you.
- Savasana (bolster under knees) — 3 minutes.
Compare this to muscling through the same shapes unassisted. That difference is the entire argument for props.
Common Mistakes
- Treating props as a crutch. Experienced teachers use props in every class. The ego says "real yogis don't use blocks" — ignore it.
- Wrong block height. If your spine rounds or shoulder hikes, the block is too low. Go taller; there is no prize for the lowest setting.
- Stretchy strap substitutes. A resistance band stretches; a yoga strap should not. Stretch in a forward fold just pulls you into a rounded back.
- Forcing range with props. A strap should maintain alignment at your current range, not drag you deeper. If you are straining against it, lengthen it.
- Buying everything at once. Start with blocks, add a strap, then a bolster. Household substitutes are fine for experimenting.
FAQ
Q: Do I really need props as a complete beginner?
You do not need them to start — but they make starting significantly more comfortable and safer. Two blocks are the highest-value first purchase; everything else can wait until you know which styles you enjoy.
Q: What can I use instead of props at home?
Books or sturdy boxes for blocks; a bathrobe belt, scarf, or leash as a strap; firm pillows or rolled blankets for a bolster; folded towels for knee padding. Improvisation is fine for trying things out.
Q: Which prop should I buy first?
Two yoga blocks. They assist the widest range of poses — standing, seated, and restorative — and their three heights give you a built-in progression system as flexibility improves. A strap is the natural second purchase.
Q: Are cork or foam blocks better?
Foam blocks are lighter, softer, and cheaper — ideal for beginners and travel. Cork blocks are denser, grippier, and more stable under full body weight. Either serves a beginner well; choose foam for comfort and portability, cork for stability and durability.
Q: How do I clean yoga props?
Wipe blocks with a damp cloth and mild soap, then air-dry (do not soak cork). Hand-wash straps and hang to dry. Most bolster covers are removable and machine-washable — check the label. Dry everything fully before storing to prevent odor.
The Bottom Line
Blocks bring the floor up to meet you. Straps extend your reach without compromising your spine. Bolsters let you truly rest. None of them are shortcuts — they are how yoga adapts to real bodies with real limitations, which is to say all of them. Start with two blocks, add a strap when you are ready, and notice how much more of each pose becomes available when alignment comes first and depth comes later.