Training to failure explained for beginners: what it means, the real risks and benefits, and the smarter intensity rules to use instead while you learn.
Training to Failure: Should Beginners Do It?
"Train to failure" is oft-repeated — and often misunderstood. It sounds like the price of admission to real results: push every set until your muscles simply give out. The direct answer for beginners is simpler and less dramatic than the internet makes it seem: no, you should not train to failure regularly while you are still learning. You will build strength faster, more safely, and with less burnout by stopping a few reps short and mastering your form first.
This guide explains what training to failure actually means, the difference between muscular and technical failure, why beginners are the worst candidates for it, the smarter intensity tools to use instead, and when — much later — failure training has a legitimate place. No hype, no guarantees: just honest guidance on how hard to push.
This guide contains affiliate links. If you buy through them, VÉLORA may earn a commission at no extra cost to you.
What "Training to Failure" Actually Means
Training to failure means performing repetitions of an exercise until you physically cannot complete another rep with good form despite maximum effort. On a dumbbell press, that is the rep where the weights stall halfway up and will not move no matter how hard you push.
There are two distinct kinds, and the difference matters enormously:
- Technical failure is the point where your form breaks down — your back starts rounding on a deadlift, your knees cave on a squat, your elbows flare wildly on a press. You might be able to grind out more ugly reps, but the safe, useful ones are over.
- Muscular failure is the point where the target muscles genuinely cannot produce another repetition even with acceptable form. This is true failure, and it arrives after technical failure if you keep pushing.
For beginners, technical failure arrives very early, because form is still being learned. That is the core of the problem: a beginner chasing muscular failure will spend most of the set in the danger zone past technical failure, where injury risk climbs and the training benefit shrinks.
The Direct Answer: Beginners Should Not Train to Failure Regularly
Here is why, plainly:
Your form is not stable enough yet. Strength training is a skill. In your first months, your nervous system is mainly learning coordination — which muscles fire, in what order, under load. Pushing to failure while coordination is still developing teaches your body to survive heavy reps with compensation patterns: rounded backs, shrugged shoulders, caving knees.
The injury risk is disproportionate. Beginners' connective tissues — tendons and ligaments — adapt more slowly than muscles. Grinding out failed reps, especially on presses and deadlift patterns, loads joints in compromised positions. A beginner has the most to lose and the least to gain from this trade.
Recovery costs more than it returns. Failure sets create substantially more fatigue and soreness than sets stopped a few reps short, but for beginners the extra muscle-building stimulus is negligible — beginners grow from almost any consistent, challenging training. You pay a high recovery price for almost no extra benefit, which means worse performance in your next sessions.
It teaches the wrong relationship with training. If every session ends in shaky, miserable grinders, training becomes something to dread. The beginners who last are the ones who finish sessions feeling worked but capable — and come back eager in two days.
None of this means beginners should train easily. Challenge is essential — it should come from good weight, controlled reps, and progressive overload, not from collapsing under the last rep.
The Smarter Tool: Reps in Reserve (RIR)
Instead of training to failure, use reps in reserve — ending each set with a deliberate number of good reps left in the tank. If you stop a set of squats feeling you could have done 3 more clean reps, that is 3 RIR.
For beginners, the practical rule is simple:
- Most sets: leave 2–4 reps in reserve. The set should feel challenging — the last reps noticeably harder — but never desperate. Your form on the final rep should look like your form on the first.
- In RPE terms (rate of perceived exertion, 1–10): aim for RPE 6–8 on most work. RPE 10 is failure; you are deliberately staying at 6–8.
- The last set of an exercise can occasionally go to 1–2 RIR — a bit closer — on safe movements like machine-free dumbbell rows or glute bridges, once your form is reliable.
This approach still drives progress. Sets taken close to — but not all the way to — failure build strength and muscle effectively, especially in beginners. You get nearly all the benefit with a fraction of the fatigue and risk.
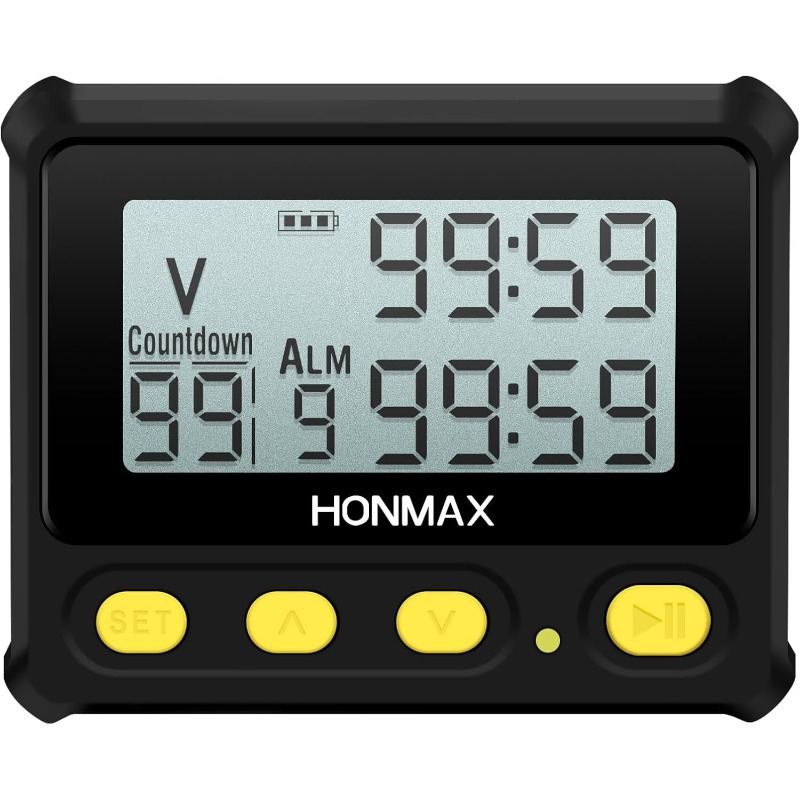
A simple interval timer helps you keep honest rest periods so fatigue does not silently push you toward failure — the Temu 8200 Interval Timer sits on a shelf and keeps your pacing consistent.
Intensity Methods Compared
| Method | Intensity guidance | Safety note | | --- | --- | --- | | Reps in reserve (2–4 RIR) | Stop with 2–4 clean reps left; RPE 6–8 | Safest for beginners; form stays intact; easy recovery | | Reps in reserve (1–2 RIR) | Stop with 1–2 reps left; RPE 8–9 | Fine on safe exercises once form is reliable; use sparingly | | Technical failure | Stop when form first breaks down | A reasonable hard stop for intermediates; never push past it | | Muscular failure | Cannot complete another rep at all | High fatigue and injury risk; only for advanced lifters, select exercises | | Beyond failure (forced reps, dropsets) | Past failure with help or reduced weight | No place in beginner training; advanced technique with real costs |
Notice the pattern: as experience grows, you earn the right to train closer to the edge — because your form holds up under stress and your body recovers from it. Beginners have not earned that yet, and there is no shortcut around it.
When Advanced Lifters Use Failure (and How They Do It Safely)
To be fair, training to failure is not useless — it is just a tool for later. Experienced lifters use it selectively:
- Only on safe exercises. Movements where failure does not trap you under a load: dumbbell curls, lateral raises, machine-free rows, glute bridges. Never on exercises where a failed rep means a loaded barbell coming down on you, and very rarely on heavy deadlift patterns where the lower back is the weak link.
- Only occasionally. Even advanced lifters do not take every set to failure. A common pattern is taking only the final set of an isolation exercise to failure.
- With full recovery accounted for. They plan easier days after failure sessions, because they know the fatigue cost.
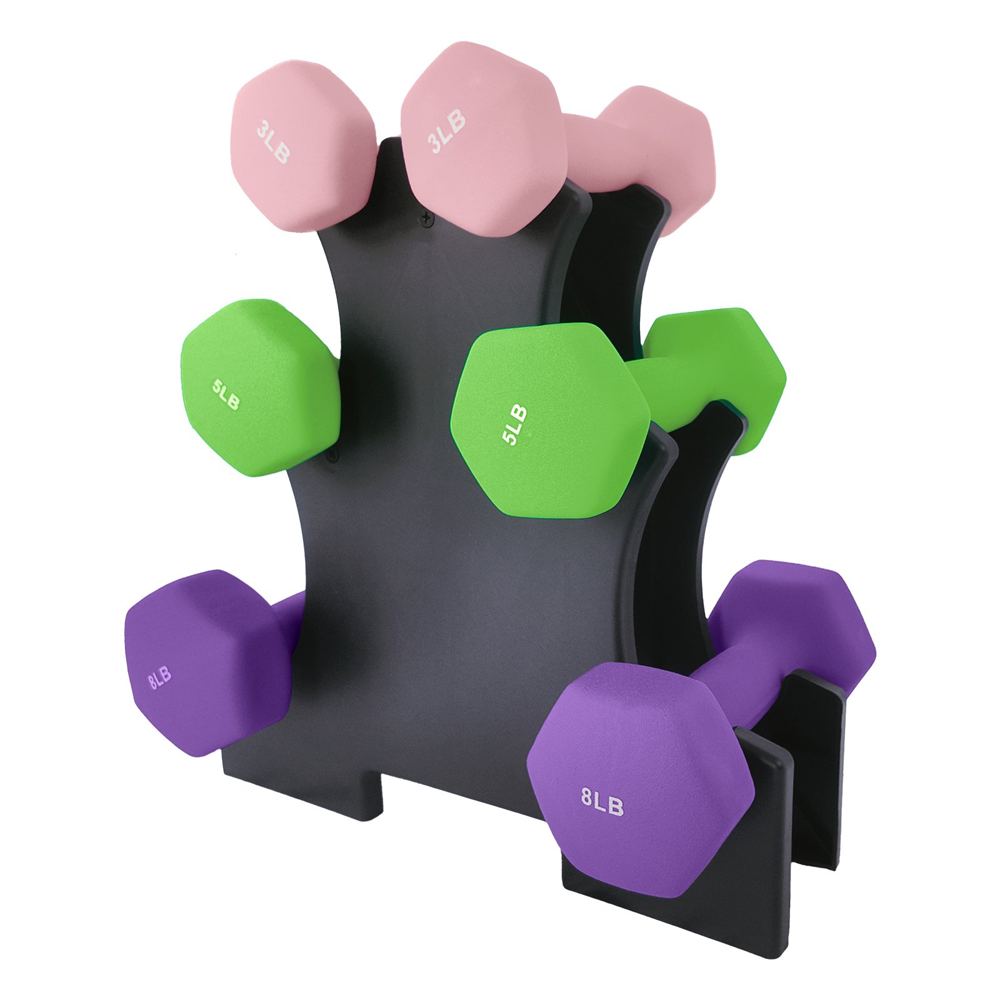
If you are training at home with dumbbells, the safety profile is actually kinder than a barbell gym — a failed dumbbell press means setting the weights down, not getting pinned. But the form and recovery arguments still apply fully to beginners. A home setup like the Women's Home Gym Dumbbell Kit is ideal for the RIR approach, since multiple weights on a stand make it easy to pick the right load.

Practical Intensity Rules for Beginners
Put it all together with these rules, which you can follow from your very first week:
- Choose a weight you can lift for the target reps plus 2–4 more. If your program says 3 sets of 10 and you pick a weight you could only do 10 reps with, you have accidentally programmed yourself to failure. Pick the weight you could do 12–14 reps with, and do 10.
- End every set with clean form. The last rep should look like the first. If it does not, the set went too far — note it and adjust next time.
- Progress by adding reps first. When all sets feel like 4+ RIR (too easy), add a rep or two per set before adding weight. This is progressive overload done safely.
- Rate your sets honestly. After each set, ask: "Could I have done 2 more good reps?" If no, back the weight off next set.
- Keep a simple log. Write the weight, sets, reps, and a quick RIR or RPE note. Patterns emerge fast — you will see exactly when an exercise is ready to progress.
These rules pair naturally with a structured plan. Our beginner strength training program uses RIR-style intensity throughout.
Common Mistakes
- Confusing effort with effectiveness. Grinding, shaking, and gasping feel productive, but for beginners they mostly produce fatigue.
- Testing your max instead of training. Regularly seeing "how much can I lift for one ugly rep" is testing, not training. It spikes injury risk and teaches nothing.
- Copying advanced lifters' intensity. The influencer screaming through failure sets has five years of base building behind them. Their program is not your program.
- Ignoring the warning reps. When rep 8 of 10 looks ragged, the correct move is to rack the weights — not to "push through" reps 9 and 10 with a rounded back.
FAQ
Q: Will I still build muscle if I never train to failure?
Yes. For beginners, the large majority of strength and muscle gains come from consistent training with challenging-but-controlled sets — the 2–4 RIR zone. Training to failure adds only a small extra stimulus at a large extra cost in fatigue and risk. Leave it out entirely for your first 6–12 months and you will not miss it.
Q: How do I know if I am training hard enough without going to failure?
Use the RIR self-check: after a set, honestly estimate how many more good reps you had. If it is consistently 5 or more, the weight is too light — increase it. If it is 2–4, you are in the right zone. If it is 0–1 on every set, back off. Your training log over several weeks is the real answer: weights and reps trending upward means the intensity is working.
Q: Is it ever okay for a beginner to go to failure?
Rarely and accidentally is fine — misjudging a weight once in a while is part of learning. What to avoid is programming failure deliberately: planning sets "to failure" or treating every session like a test. The occasional overshoot is a data point; the habit is the problem.
Q: What about bodyweight exercises like push-ups — same rule?
The same principle applies, with one nuance: bodyweight exercises to technical failure are lower-risk than loaded ones, since there is no external weight to drop. Still, for beginners learning the movement, stopping 2–3 reps before form breaks down builds better patterns. Once push-up form is automatic, an occasional set closer to failure is reasonable.
Q: Does training to failure burn more fat or "tone" better?
No. Fat loss comes overwhelmingly from sustained activity and nutrition over time, not from any single intensity technique — and no training method can target fat loss from specific body areas. "Toning" is simply building a little muscle while keeping body fat in check, which the RIR approach does just as well, more safely.
Conclusion
Training to failure is a real technique with a real place — several years into a lifting career, on safe exercises, used sparingly. For beginners, it is all cost and no benefit: shaky form, aching joints, crushing fatigue, and barely any extra progress to show for it. The smarter path is simple: leave 2–4 good reps in reserve, keep every rep clean, log your work, and progress patiently.