Sore joints but want to move? A gentle low-impact workout plan: joint-friendly exercises, bike and walking options, pain rules, and a 2-week starter schedule.
Low-Impact Workout Plan for Beginners With Sore Joints
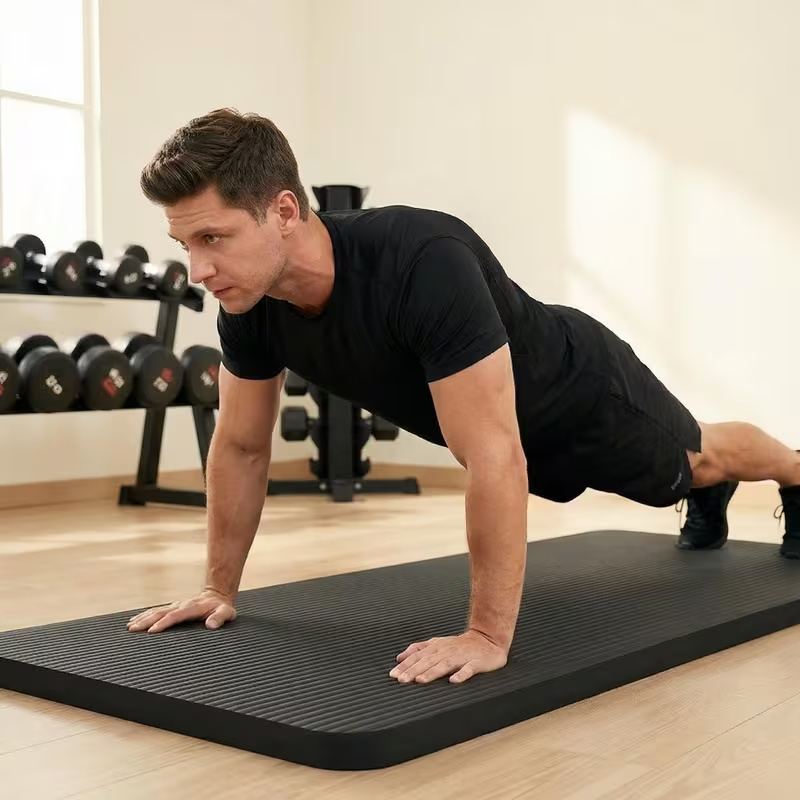
Sore knees, achy hips, a cranky lower back — and a genuine desire to move anyway. If that is you, you have probably been told two unhelpful things: "just push through it" (no) and "maybe exercise isn't for you" (also no). The truth sits in the middle: there is a whole category of training designed exactly for your situation. It is called low-impact training, and it is not a watered-down consolation prize — it is a legitimate, effective way to build strength and fitness while treating your joints kindly.
This guide covers the principles that make exercise joint-friendly, clear pain rules, the best low-impact cardio and strength options, and a complete 2-week starter schedule.
This guide contains affiliate links. If you buy through them, VÉLORA may earn a commission at no extra cost to you.
What "Low-Impact" Actually Means
"Impact" describes how much pounding force travels through your joints — particularly ankles, knees, hips, and spine. Running, jumping jacks, and burpees are high-impact: both feet leave the ground and land with force. Low-impact exercise keeps at least one foot on the ground (or the body supported) at all times: walking, cycling, swimming, rowing, elliptical work, and controlled strength training.
Low-impact does not mean low-effort. You can get thoroughly, satisfyingly tired from low-impact training — your muscles and heart do not know or care whether your feet left the floor. It simply means your joints are spared the pounding while everything else works hard.
Joint-Friendly Training Principles
Build every session on these five principles:
- Warm up longer than you think. Sore joints appreciate 8–10 minutes of gentle warm-up: easy marching, arm circles, leg swings, and slow bodyweight versions of your planned moves. Cold, stiff joints and sudden effort are a bad combination.
- Choose supported positions. Seated, lying, or wall-supported exercises reduce joint loading. A chest-supported row beats a bent-over row for a cranky back; a glute bridge beats a deep lunge for cranky knees.
- Control the range of motion. You do not need full depth on anything. Squat to a chair instead of ass-to-grass; press within a pain-free arc. Partial ranges done well beat full ranges done painfully.
- Progress load before complexity. Add a light resistance band or a slightly heavier dumbbell before adding balance challenges or speed. Simple and loaded beats fancy and painful.
- End with gentle mobility. Five minutes of easy stretching and slow joint circles after training keeps things moving well the next day.
If you are working around a diagnosed joint condition — arthritis, a previous injury, a disc issue, or anything your doctor is monitoring — get their clearance before starting a new program, and consider one session with a physiotherapist to learn your safe ranges. That is not being cautious to a fault; it is training intelligently.
Pain Rules: Discomfort vs. Pain
This is the most important section in the guide. Learning to tell productive discomfort from warning pain keeps you safe for years.
Normal, acceptable discomfort:
- Muscles feeling warm, tired, or "worked" during and after exercise
- Mild stiffness the next day that eases with gentle movement (typical soreness)
- A dull, even ache in muscles — not joints — that fades within 24–48 hours
Warning pain — stop the exercise:
- Sharp, stabbing, or shooting pain anywhere
- Pain located in a joint (deep in the knee, hip, or shoulder) rather than in the muscle around it
- Pain that gets worse with each rep instead of easing as you warm up
- Swelling during or after exercise, or a joint that feels hot
- Numbness, tingling, or a sensation of the joint "giving way"
Stop signals for the whole session: chest pain or pressure, unusual breathlessness, dizziness, or nausea. Rest, and seek medical advice if anything concerning persists.
The golden rule: pain that changes how you move is information, not weakness. Adjust the exercise, reduce the range, or skip it — there is always another movement that trains the same muscle kindly.
Low-Impact Cardio Options
Walking (the underrated champion)
Brisk walking is genuinely excellent cardio — free, joint-friendly, and endlessly scalable. Start with 10–15 minutes at a comfortable pace; add 5 minutes per week. Hills and a faster arm swing raise intensity without raising impact. Our walking workout guide has structured progressions.
Stationary cycling
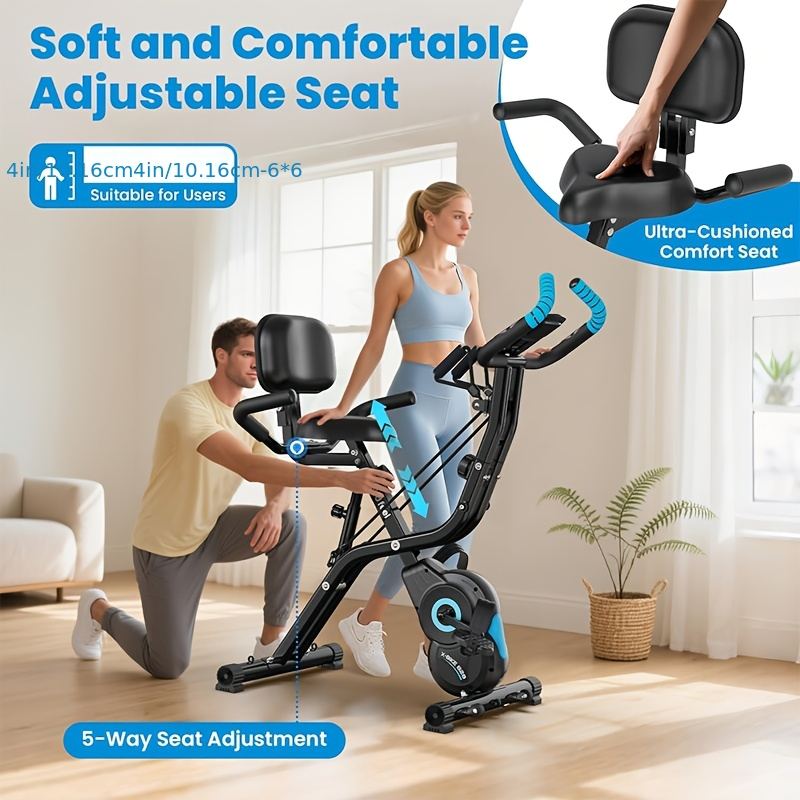
Cycling removes impact almost entirely while giving your heart and legs real work. A folding exercise bike fits in a corner and lets you control resistance precisely. Start with 10–15 minutes at easy resistance; intervals of 1 minute slightly harder / 2 minutes easy build fitness fast.
Swimming and water walking
Water supports your body weight, making this the kindest cardio of all for sore joints. Even walking laps in the shallow end counts. If you have pool access, 20–30 minutes of easy laps or water walking 2–3 times a week is superb.
Rowing and elliptical
Both keep joints moving through smooth, guided ranges with no pounding. Keep resistance moderate and focus on smooth rhythm rather than speed.
Low-impact cardio at home (no equipment)
Marching in place, step-touches, gentle step-ups on a low step, and seated boxing (punching while seated) all raise your heart rate with minimal joint stress. Aim for 10–20 minutes, moving continuously but conversationally.
Low-Impact Strength Options
Strength training is arguably more important for sore joints than cardio: stronger muscles support and protect joints. The key is choosing joint-friendly versions:
- Glute bridge instead of deep lunges — trains glutes and hamstrings with zero knee stress
- Wall or incline push-up instead of floor push-ups — same chest and arm work, kinder on wrists and shoulders
- Seated dumbbell press instead of standing — supported spine, same shoulders
- Chest-supported or band rows instead of bent-over rows — same back work, happier lower back
- Step-ups to a low step instead of jumping lunges — single-leg strength without impact
- Dead bug and bird dog for core — train the trunk without spinal pounding
- Light resistance bands for everything — bands like these light therapy resistance bands provide smooth, joint-friendly resistance that is easy to scale
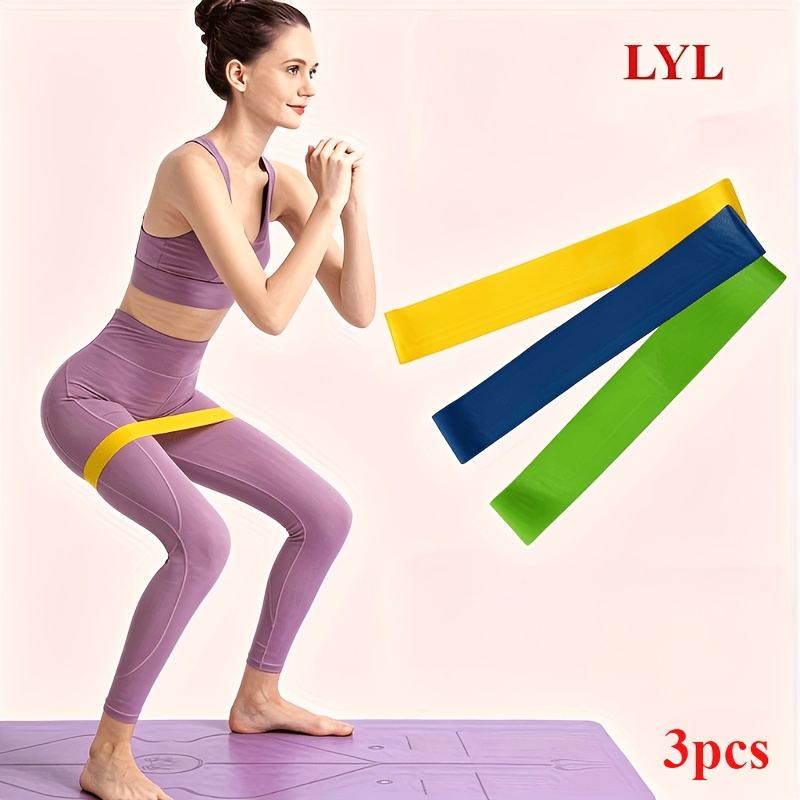
Work in ranges of 2–3 sets of 10–15 reps, resting 60–90 seconds between sets. Choose a resistance that feels challenging by the last few reps but never painful.
High vs. Low Impact: Smart Swaps
| Instead of this (high impact) | Try this (low impact) | What it trains | |---|---|---| | Running | Brisk walking or cycling | Heart, legs | | Jumping jacks | Step-touch jacks | Cardio, coordination | | Burpees | Walk-out to plank | Full body, conditioning | | Jump squats | Box or chair squats | Quads, glutes | | Mountain climbers | Slow standing knee drives | Core, cardio | | Jump lunges | Reverse lunges or step-ups | Legs, balance | | Box jumps | Step-ups to a low platform | Power (gentle), legs | | Jump rope | Marching with arm swings | Cardio, rhythm |
Keep this table bookmarked mentally: any workout can be made joint-friendly by swapping the left column for the right.
Your 2-Week Starter Schedule
Week 1 — learn the movements, keep it gentle:
- Day 1: 10-min walk + strength A (glute bridge, wall push-up, band row, dead bug) — 2 sets of 10–12
- Day 2: Rest or gentle stretching
- Day 3: 12-min easy bike or march + strength B (chair squat, seated press, step-ups, bird dog) — 2 sets of 10–12
- Day 4: Rest
- Day 5: 10-min walk + strength A again
- Days 6–7: Rest or a pleasant easy walk
Week 2 — add a little more:
- Day 1: 15-min walk + strength A — 2–3 sets of 12
- Day 2: Gentle mobility or rest
- Day 3: 15-min bike with 3 × 1-min slightly harder efforts + strength B — 2–3 sets of 12
- Day 4: Rest
- Day 5: 15-min walk + your favorite strength day
- Days 6–7: Rest or easy walk
After two comfortable weeks, extend cardio by 5 minutes per week and add a third strength set before adding new exercises. Slow, steady progression is the whole game.
A thick cushioned mat makes floor work far more comfortable on sensitive knees and hips — small comforts add up to consistent training.
Frequently Asked Questions
Is low-impact exercise actually effective, or just "easy" exercise?
It is genuinely effective. Your cardiovascular system responds to sustained elevated heart rate regardless of impact level, and your muscles respond to progressive resistance regardless of whether your feet leave the ground. Many people build impressive fitness entirely with low-impact training — "low-impact" describes joint stress, not results.
How do I know if my joint pain means I should stop exercising entirely?
General soreness and stiffness usually improve with gentle movement, and most people with achy joints feel better — not worse — with regular low-impact activity. But sharp pain, swelling, joints that feel unstable, or pain that worsens over days despite rest are reasons to pause and consult your doctor or physiotherapist. When in doubt, get checked rather than guessing.
Can I do this plan with arthritis?
Many people with arthritis exercise successfully with low-impact programs — movement often helps stiffness and function. That said, arthritis varies enormously by type and severity, so get your doctor's or rheumatologist's clearance first, start at the gentlest end of every range, and treat flare-up days as rest days without guilt.
How long until my joints feel better?
There are no guaranteed timelines — bodies differ, and anyone promising results in "X weeks" is selling something. What is realistic: many people notice less morning stiffness and easier daily movement within a few consistent weeks, because stronger supporting muscles and better circulation genuinely help. Track how daily life feels (stairs, carrying groceries), not just workout metrics.
Should I use heat or ice for sore joints after exercise?
General guidance: gentle warmth and movement help typical muscle soreness and stiffness; ice or cold can calm a joint that feels hot or swollen after activity. If a specific joint repeatedly swells after workouts, that is worth discussing with your clinician rather than just icing through it indefinitely.
Can I ever progress to higher-impact exercise?
Possibly — and many people do, gradually. The path is: months of consistent low-impact strength and cardio, then introducing tiny doses of impact (a few seconds of gentle jogging, low step hops) and watching how joints respond over 48 hours. Some joints welcome it; some prefer to stay low-impact forever. Both outcomes are fine — fitness is the goal, not jumping.
Conclusion
Sore joints do not disqualify you from fitness — they just change the route. Low-impact training respects your joints while still building the strength, stamina, and confidence that make daily life easier. Start with the 2-week schedule, honor the pain rules, progress slowly, and check in with your clinician about any diagnosed condition.
Move kindly, move consistently, and let your body — not anyone else's program — set the pace.