How to choose a jump rope: sizing by height, rope types (PVC, beaded, weighted, cordless), bearing vs bushings, and the best pick for your space and goal.
How to Choose a Jump Rope: Length, Weight and Bearing Types
A jump rope is one of the cheapest, most portable pieces of fitness equipment you can own — and one of the most deceptively tricky to buy. Too long, and it drags and trips you; too short, and you will catch the rope with your feet on every turn. A rope meant for speed work feels nothing like a rope meant for learning, and the little metal parts inside the handles matter more than you would expect. Getting these details right turns ten frustrating minutes into ten enjoyable ones.
This guide walks through exactly how to choose a jump rope: how to size it for your height, the four main rope types, the difference between bearings and bushings, and what to buy whether you are a beginner, a boxer, or chasing double-unders.
This guide contains affiliate links. If you buy through them, VÉLORA may earn a commission at no extra cost to you.
Step 1: Get the Length Right
Length is the single most important factor, and it is easy to get right. Stand in the middle of the rope with one foot, pull both handles up along your sides, and the handles should reach roughly your armpits — a few centimetres below the shoulders is the classic sizing zone for general fitness skipping. Handles at your collarbone means the rope is short enough for speed work; handles above your shoulders means it is too long.
Most ropes are adjustable — you shorten the cable at the handle and trim the excess. As a starting point, use this height guide:
| Your height | Rope length (approximate) | | --- | --- | | Under 5'2" (158 cm) | 8 ft (244 cm) | | 5'3" – 5'6" (160–168 cm) | 9 ft (274 cm) | | 5'7" – 6'0" (170–183 cm) | 10 ft (305 cm) | | Over 6'0" (184 cm+) | 11 ft (335 cm) |
Beginners do better with a slightly longer rope: it turns more slowly, gives you a margin for timing errors, and lets you feel the rope's rotation. As your coordination improves, shorten it gradually. If you are training on a hard surface, a longer rope also wears less per session, because the strike point sits slightly flatter.
You need space too. A rope needs roughly your own length of clear floor plus a comfortable margin front and back — about a 2 × 1 metre patch for most people. Low ceilings are a real problem: a garage, patio, or balcony works better than a basement with a low joist. If your space is truly tight, a cordless rope removes the clearance question entirely.
Step 2: Choose Your Rope Type
The rope itself — its material and thickness — decides how it feels in the air. There are four families, each with a clear personality.
Speed ropes (thin PVC or wire cable)
A thin PVC or coated-steel cable, usually around 4–5 mm, designed to rotate fast with minimal drag. These are the ropes of boxers and CrossFit athletes: the cable cuts through the air quickly, which is exactly what you want for fast singles and double-unders. The trade-off is feedback — you cannot feel where the rope is, so timing must come from practice. On concrete they wear out; use a mat or smooth surface.
Beaded ropes
Short plastic beads threaded along a cord. Each bead adds weight and makes a satisfying clicking sound as the rope turns, which is why these are the classic learning rope: you can hear and feel the rope's position, so your timing corrects itself. They are slower and draggier than speed ropes, which is a feature for beginners. They also last well on rough surfaces. If you are teaching yourself from scratch, start here.
Weighted ropes
Ropes with weight in the handles (typically 0.25–1 lb per handle) or along a thicker cable. They turn slowly and deliberately, which makes them forgiving to learn on, and they noticeably work your shoulders, forearms, and grip. Weighted ropes are excellent for short conditioning circuits — a few minutes with one will light up your upper body. They are not for double-unders; the extra weight makes fast rotation exhausting and awkward.
Cordless ropes
Handles with short weighted cords or spinning balls instead of a full rope — nothing to catch on furniture or ceilings. These are the honest answer for small apartments and low ceilings: you get the arm-turning and footwork of skipping without the arc. The footwork timing still trains coordination, but you lose the satisfying rhythm of a real rope passing under your feet. If you are short on space, our guide to quiet, apartment-friendly home gym equipment has more options in this vein.
| Rope type | Spin feel | Best for | Watch out for | | --- | --- | --- | --- | | Speed (PVC/wire) | Fast, light, low feedback | Boxers, double-unders, cardio intervals | Trips easily until timing is solid; wears on rough ground | | Beaded | Slower, audible, high feedback | Beginners learning rhythm | Too draggy for speed work; beads can chip on concrete | | Weighted | Slow, deliberate, grip-intensive | Upper-body conditioning, strength circuits | Too heavy for fast skills; wrists and forearms tire quickly | | Cordless | No arc to manage | Small apartments, travel, low ceilings | Less authentic timing feedback; footwork is the real workout |
Bearings vs Bushings: The Little Parts That Matter
Inside each handle, the rope connects through either a ball bearing or a simple bushing (a plain plastic or metal sleeve). Ball bearings let the rope spin freely and smoothly — the rope rotates around the handle rather than twisting up, which matters when you are doing hundreds of fast turns. Sets like the jump rope set with ball bearings and a storage bag are built around this, and a storage bag is a genuinely useful extra — it keeps the rope from tangling into a nest in your drawer.
Bushings are cheaper and perfectly adequate for casual use: short sessions, learning, and cordless ropes. They do develop friction over time, and the rope can start to twist at the handle. If you plan to skip more than a few minutes a day, or you are working on double-unders, bearings are worth the small premium. For a beginner buying a first rope, either is fine — bearings simply age better.
Handles, Grip and Extras
Removable weight inserts are a nice touch in adjustable ropes: start light, add weight as your forearms adapt. A storage bag and a spare cable (for wire speed ropes) are the extras worth paying for.
What Should You Buy? Three Honest Picks
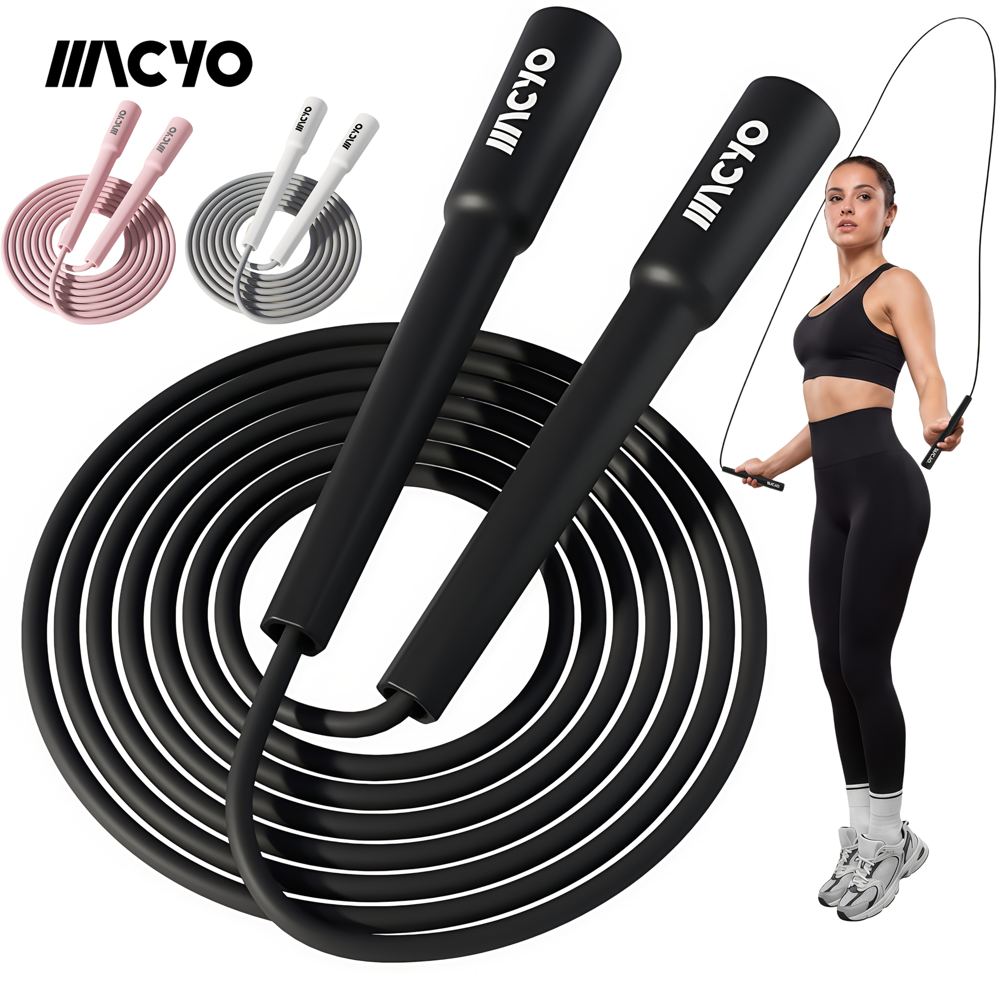
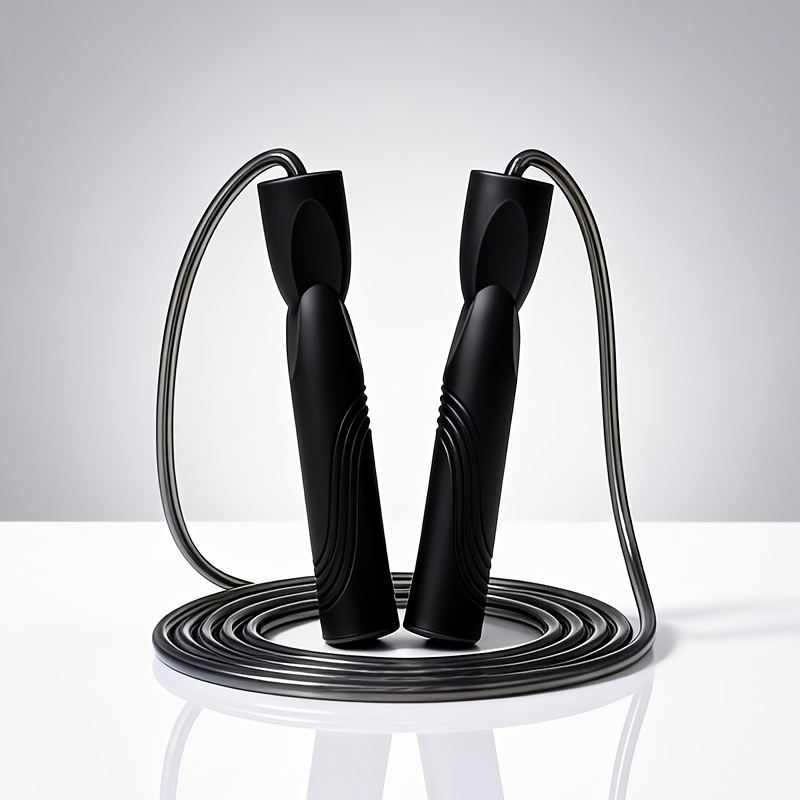
Beginners: start with a beaded rope or a lightweight speed-style PVC rope with adjustable length. The MACYO tangle-free rapid speed rope is a good example of the adjustable speed style — its tangle-free design means less time untying knots and more time learning rhythm. Set it long, practice 5-minute sessions, and shorten it as you improve.
Boxers and cardio athletes: a thin PVC speed rope with ball bearings. You want fast rotation and durability through high-volume sessions. Pair it with a mat to protect the cable and your floor.
Small spaces or apartment living: a cordless rope. The weighted cordless jump rope for fitness gives you the arm and footwork pattern without the arc overhead — ideal when ceilings and neighbours are a concern. Combine it with the no-jumping routines in our apartment-friendly workout guide for complete quiet cardio days.
Technique: Skipping Well From Day One
Starting position. Stand tall with feet close together, elbows bent at about 90 degrees and tucked lightly at your sides. Your hands should sit just in front of your hips — if your arms drift out wide, you are compensating for a rope that is too long.
Technique. Turn the rope with small wrist circles, not big arm swings. Jump just high enough for the rope to pass — about 2–3 cm off the floor — and land softly on the balls of your feet with knees slightly soft. Keep your gaze forward, not down at your feet.
Breathing. Breathe rhythmically rather than holding your breath through sets — most people settle into a breath every 4–6 turns at an easy pace.
Sessions. Start with 30-second bouts and 30–60 seconds of rest, building toward 5–10 minute blocks over a few weeks. A beginner might do 5 rounds of 1 minute on / 1 minute off; a fitter skipper can extend to 3–5 minutes continuous. Never work through calf or shin pain — that is your body asking for a rest day.
Common mistakes. Jumping too high (wastes energy), arms drifting out (shortens the arc and trips you), looking down (tilts you forward), and starting on concrete without a mat (hard on joints and ropes alike).
Safety. Warm up with a minute of marching or arm circles first. Skip on forgiving surfaces — wood, rubber, or a mat — especially if you are heavier or returning after time off. If you have ankle, knee, or foot injuries, get clearance from a clinician before starting; a cordless rope reduces impact concerns but the footwork still loads your joints.
FAQ
Q: How do I know if my jump rope is too long?
Do the foot test: stand on the middle of the rope and pull the handles up. If they rise above your shoulders, it is too long — shorten it until the handles reach your armpits. If you keep tripping in front of your feet, length is the first suspect.
Q: Are weighted jump ropes better for a workout?
They are different, not better. Weighted ropes slow the turn and load your shoulders and grip, which makes them great for upper-body conditioning circuits. For cardio and skill work — fast singles, double-unders — a standard-speed rope is superior. Many regular skippers own one of each.
Q: Can I skip in an apartment without annoying neighbours?
A cordless rope removes the arc problem, and landing softly on the balls of your feet on a mat keeps impact noise down. Even better, skip during reasonable hours and consider a mat with some density. Our apartment-friendly workouts without jumping are worth bookmarking for your loudest days.
Q: Do I need ball bearings in the handles?
Not for casual skipping. Bushings work fine for short sessions. Bearings become worth it when you skip regularly (several times a week), do fast intervals, or work on double-unders — they keep the spin smooth and the rope untwisted over months of use.
Q: How long should a jump rope session be?
Beginners: 5–10 minutes total in short intervals, 2–3 times a week, is a genuine session. As fitness builds, 15–20 minute blocks work well. There is no minimum effective dose to chase — consistency matters more than any single number.
Q: Will jumping rope hurt my knees?
Done on a forgiving surface with soft landings and gradual progression, most healthy people skip without knee trouble. Land on the balls of your feet with soft knees, keep sessions short at first, and stop if you feel joint pain rather than muscle effort. If you have an existing knee condition, check with a clinician first.
Conclusion
Choosing a jump rope comes down to three decisions: length (handles to armpits, adjustable so you can shorten it as you improve), type (beaded to learn, speed for performance, weighted for conditioning, cordless for tight spaces), and bearings if you plan to skip often. The rope is simple; the consistency is the skill. Two or three patient weeks of short sessions will teach you more than any upgrade ever could.
